The Complete Guide to Gypsum Board Finish Levels: Specs & Costs
Master the six gypsum board finish levels (0-5). Compare specs, joint compounds, lighting requirements, and current costs for Level 4 and 5 finishes.

The Architecture of Drywall Finishing: Decoding GA-214
The quality of a drywall installation is not determined solely by the board itself, but by the finishing system applied over it. In the construction industry, the Gypsum Association standard GA-214 serves as the definitive blueprint for specifying drywall finishes. This standard categorizes finishing into six distinct tiers, from Level 0 to Level 5, dictating the exact number of joint compound coats, taping methods, and skim coating requirements. Misunderstanding these levels is the leading cause of post-construction disputes, particularly when modern LED lighting exposes imperfections that were invisible during the framing stage.
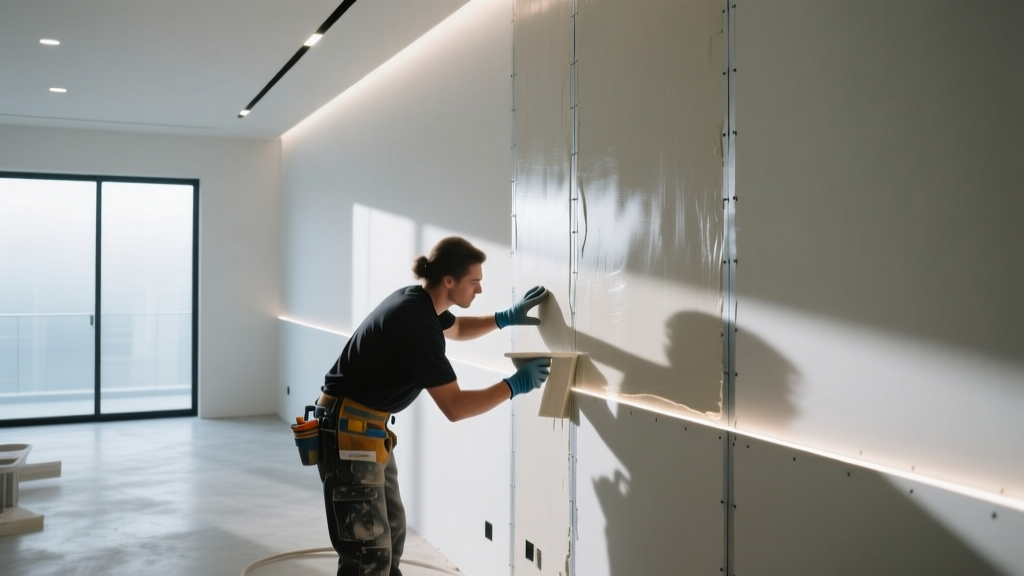
Detailed Breakdown of Gypsum Board Finish Levels
Levels 0, 1, and 2: Utility and Concealed Tiers
These foundational levels are rarely seen in finished living spaces but are critical for specific structural and commercial applications.
- Level 0: No taping, finishing, or corner beads. Used for temporary construction or when the final decoration is undetermined. Fasteners must be driven slightly below the surface of the gypsum board.
- Level 1: Tape is embedded in joint compound at all joints and angles, but no additional coats are applied. Excess compound and tape ridges are acceptable. This level is strictly specified for plenums, above-ceiling spaces, and smoke barrier partitions where fire-stopping is the primary concern, not aesthetics.
- Level 2: Tape is embedded and wiped with a joint knife, followed by one additional coat over fasteners and beads. This is the mandatory baseline for gypsum board that will receive ceramic tile, stone veneer, or serve as a backing for commercial acoustic panels. The surface must be free of ridges, but tool marks are permissible.
Level 3: Heavy Texture Baselines
Level 3 requires tape embedded in joint compound, followed by two separate coats of compound over all joints, fasteners, and accessories. This level is engineered specifically for walls and ceilings that will receive heavy spray textures (such as knockdown or popcorn) or commercial-grade vinyl wallcoverings. It is entirely unsuitable for flat paints or light textures, as the underlying joint ridges will telegraph through the finish.
Level 4: The Residential Standard (and Its Pitfalls)
Level 4 is the default specification for most residential construction and standard commercial offices. It requires three coats of joint compound over tapered joints and angles, and two coats over fastener heads. The surface must be sanded smooth and free of tool marks. While Level 4 is acceptable for flat paints and light spray textures, it is the most frequently abused level in modern construction. Applying eggshell, satin, or semi-gloss paints over a Level 4 finish will inevitably result in 'joint banding'—visible shadows where the joint compound meets the gypsum paper face.
Level 5: The Premium Skim Coat Standard
Level 5 encompasses all requirements of Level 4, but adds a critical final step: a thin, uniform skim coat of joint compound (or a specialized proprietary primer-surfacer) applied over the entire surface of the gypsum board. This unifies the porosity and texture of the paper face and the joint compound. Level 5 is strictly mandatory for gloss and semi-gloss paints, dark or deep-toned colors, and any surface subjected to critical lighting. According to the Association of the Wall and Ceiling Industry (AWCI), omitting a Level 5 finish in areas with raking light is a guaranteed path to callback repairs.
Comparative Matrix: Specs, Applications, and Costs
The following matrix outlines the technical requirements and current market pricing for professional drywall finishing. Costs reflect national averages for labor and materials.
| Finish Level | Coats Over Joints | Full Skim Coat | Ideal Application | Avg. Cost (per sq. ft.) |
|---|---|---|---|---|
| Level 1 | Tape only | No | Smoke barriers, plenums | $0.40 - $0.60 |
| Level 2 | 1 Coat | No | Tile/stone backing | $0.75 - $1.10 |
| Level 3 | 2 Coats | No | Heavy textures, commercial vinyl | $1.20 - $1.60 |
| Level 4 | 3 Coats | No | Flat paints, light textures | $1.80 - $2.50 |
| Level 5 | 3 Coats + Skim | Yes | Gloss paint, critical lighting | $2.80 - $4.25 |
Material Science: Joint Compounds and Tape Selection
Achieving a flawless Level 4 or Level 5 finish requires understanding the chemical difference between setting-type and drying-type joint compounds.
Setting-Type Compounds (Chemical Cure)
Products like USG Sheetrock Brand ProForm 45 or 90 are gypsum-based and cure via an exothermic chemical reaction. They are highly resistant to shrinkage and provide structural rigidity. Expert Rule: Always use a setting-type compound for the first (taping) coat and for filling deep gaps or butt joints. Using a drying-type compound for deep fills guarantees shrinkage cracks as the water evaporates.
Drying-Type Compounds (Evaporation Cure)
Products like USG Sheetrock UltraLightweight All-Purpose dry as water evaporates into the air. They are softer, easier to sand, and prone to shrinkage. These should be reserved strictly for the second and third (topping) coats where thin applications minimize shrinkage risk.
Tape: Paper vs. Fiberglass Mesh
While fiberglass mesh tape (e.g., FibaTape) is popular for its speed and mold resistance, it lacks the tensile strength of paper tape. For Level 5 finishes, especially on butt joints (where two non-tapered ends meet), paper tape is mandatory. Fiberglass mesh on butt joints frequently results in 'ridging'—a visible raised line caused by the natural expansion and contraction of the wood or steel framing pushing the joint outward.
The 'Critical Lighting' Trap: Why Level 4 Fails Under LEDs
The most common failure in modern drywall finishing occurs when a Level 4 finish is paired with critical lighting. Critical lighting is defined by the USG finishing guidelines as strong side-lighting from natural sources (large windows) or artificial sources (wall-washers, recessed LED can lights placed within 3 feet of the wall).
Even if a Level 4 wall is sanded perfectly flat, the gypsum board face paper and the joint compound have different surface textures and porosities. When raking LED light hits the wall at an acute angle, it highlights this micro-texture difference, creating 'joint banding' or 'photodegradation.' A Level 5 skim coat bridges this gap, creating a monolithic surface with uniform light reflection.
Primer and Sanding Protocols for Flawless Execution
The finish does not end with the drywall contractor; the painting contractor's preparation is equally vital.
- Sanding Grits: For Level 4, use 150-grit sanding screens on a pole sander to knock down ridges. For Level 5, the skim coat should be troweled as smooth as possible to minimize sanding. If sanding is required, use 220-grit screens to avoid scratching the delicate skim layer.
- Dust Removal: Never apply primer over dusty drywall. Use a commercial drywall duster or a slightly damp microfiber mop to remove silica dust. Primer applied over dust will blister and peel.
- Primer Selection: Standard PVA (Polyvinyl Acetate) drywall primers are sufficient for Level 4 walls receiving flat paint. However, for Level 5 walls receiving high-sheen paints, specify an acrylic drywall sealer or a high-build primer-surfacer. Acrylic primers seal the surface more uniformly, preventing the paint from soaking into the joint compound at a different rate than the paper face.
By strictly adhering to GA-214 specifications, selecting the correct chemical compounds for specific coats, and anticipating the effects of modern LED lighting, contractors can eliminate the most costly and contentious drywall defects in the industry.
Written by
Marcus ChenMarcus Chen is a licensed structural engineer (PE) and building materials analyst with over 12 years of experience across residential, commercial, and industrial construction. He holds a Master of Science in Civil Engineering from UC Berkeley and spent six years at Thornton Tomasetti before transitioning to independent consulting and technical writing. Marcus specializes in material selection for seismic-prone regions, concrete reinforcement strategies, and lifecycle cost analysis. His work has been cited by the American Concrete Institute (ACI) and the Structural Engineers Association of California (SEAOC). When he is not on a job site or at his desk, you will find him hiking the Sierra Nevada or restoring a 1920s craftsman bungalow in Oakland, CA.
More from Marcus Chen
View all
Construction Cost
How Much Did the Eiffel Tower Cost to Build?
How much did the Eiffel Tower cost to build in 1889? We adjust for inflation and compare its budget to modern skyscraper construction.
Aug 4, 2026

Fire Resistance
What Is a Fire Resistant Material? Testing & Certification Guide
Discover what is a fire resistant material through ASTM and UL testing. Learn how fire ratings, certifications, and assemblies work in construction.
Aug 4, 2026

Construction Cost
How Much Did the Burj Khalifa Cost to Build?
How much did the Burj Khalifa cost to build? We break down the $1.5B project and extract 5 money-saving strategies for your next build.
Jul 30, 2026