Gypsum Board Installer Job Description: Key Installation Techniques
Explore the real gypsum board installer job description, detailing core installation techniques, framing tolerances, fastening specs, and finishing skills.

Beyond the Resume: Technical Realities of the Trade
A standard gypsum board installer job description often reduces the role to basic manual labor: measuring, cutting, and hanging drywall. However, from an installation techniques perspective, the role is a highly technical trade governed by strict building codes, material science, and precision tolerances. Modern installers must navigate complex fire-rated assemblies, acoustic decoupling systems, and stringent indoor air quality standards. This guide deconstructs the actual technical competencies required on the job site, moving beyond generic HR summaries to detail the exact methodologies that define professional drywall installation.
Phase 1: Substrate Verification and Layout
Before a single sheet of ASTM C1396-compliant gypsum board is lifted, the installer must verify the substrate. Hanging drywall over compromised framing guarantees callbacks, nail pops, and cracked joints.
Framing Tolerances and Preparation
- Plumb and Plane: Wall studs must not deviate more than 1/8 inch in 10 feet from the true plane. Installers use a 6-foot level or string line to identify crowned or bowed studs.
- Spacing Verification: Standard residential framing is 16 inches on-center (OC), while commercial or 5/8-inch board applications often utilize 24 inches OC. Installers must verify spacing matches the specific board thickness and orientation (horizontal vs. vertical).
- Backing and Blocking: The job requires installing wood or metal blocking at horizontal joints, heavy fixture mount points (cabinets, grab bars), and ceiling perimeters to ensure all tapered edges land on solid framing.
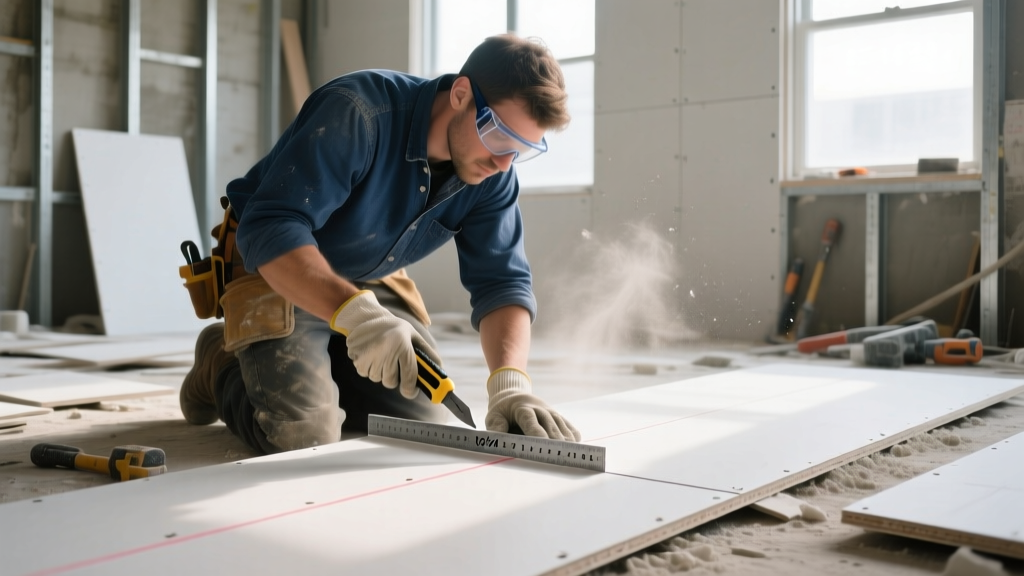
Phase 2: Precision Hanging and Fastening Techniques
The hanging phase dictates the structural integrity and surface flatness of the final assembly. Professional installers employ specific sequencing and fastening patterns to minimize stress and prevent edge blowouts.
Fastening Specifications
Screw selection and placement are non-negotiable technical skills. Installers must select coarse-thread screws (typically 1-1/4 inch for 1/2-inch board) for wood framing and fine-thread screws for light-gauge steel. The screw head must dimple the paper face exactly 1/32 of an inch deep without breaking the paper surface. If the paper is broken, the screw loses its holding power and must be abandoned, with a new screw driven 2 inches away.
| Application Area | Edge Fastener Spacing | Field Fastener Spacing | Minimum Fasteners per 4x8 Sheet |
|---|---|---|---|
| Ceilings (Wood) | 7 inches | 12 inches | 36 |
| Walls (Wood) | 7 inches | 8 inches | 48 |
| Walls (Steel Stud) | 8 inches | 12 inches | 32 |
Phase 3: The 3-Coat Finishing System
Taping and mudding transform individual panels into a monolithic surface. The Association of the Wall and Ceiling Industry (AWCI) defines specific levels of finish, with Level 4 being the standard for residential flat paint and Level 5 required for high-gloss paints or severe lighting conditions.
Compound Selection and Application
A competent installer understands the chemical and physical differences between joint compounds. All-purpose (green lid) compounds contain higher glue content, making them ideal for embedding paper tape and bedding screws due to their high bond strength. Lightweight topping compounds (blue lid) have lower shrinkage and are easier to sand, reserved exclusively for the second and third coats.
- First Coat (Bedding): Apply all-purpose compound into the tapered joints. Embed paper tape, pressing firmly with a 4-inch or 6-inch taping knife to squeeze out excess mud and eliminate air bubbles. Cover all screw heads.
- Second Coat (Filling): Once completely dry (typically 24 hours depending on humidity), apply a wider layer of topping compound using a 10-inch knife. Feather the edges to blend with the board.
- Third Coat (Finishing): Apply a final, thin layer of topping compound with a 12-inch knife. The goal is to create a seamless transition where the joint compound is no thicker than the gypsum board's tapered edge depression.
Specialized Competencies: Fire, Moisture, and Acoustic Assemblies
The modern gypsum board installer job description frequently includes specialized commercial and high-end residential systems that require advanced technical knowledge.
Type X Fire-Rated Systems
Type X gypsum board contains glass fibers and other additives to achieve a minimum 1-hour fire rating per ASTM E119 when installed in specific assemblies. Installers must stagger vertical and horizontal joints so that no four corners meet at a single point. In multi-layer fire assemblies, the base layer is attached with adhesive and screws, while the face layer is applied with screws only, ensuring that face-layer joints do not align with base-layer joints.
Moisture and Mold Resistance
For wet areas (showers, tub surrounds), installers must transition from standard drywall to glass-mat gypsum panels (e.g., DensShield) or cement backer boards. Standard moisture-resistant (green board) is no longer code-compliant for direct tile application in wet zones in most jurisdictions. Installers must treat seams with alkali-resistant mesh tape and waterproofing membranes rather than standard joint compound.
"In sound-rated partitions, the installer must ensure that the gypsum board does not touch the floor, ceiling, or adjacent walls. A 1/4-inch gap must be maintained and sealed with acoustical sealant to prevent sound flanking, a detail frequently missed by inexperienced crews." — Gypsum Association (GA-600)
Safety, Ergonomics, and Silica Mitigation
Drywall finishing generates significant amounts of respirable dust. Under the OSHA Respirable Crystalline Silica Standard, installers and employers must implement specific engineering controls. While gypsum itself contains low silica levels, the joint compounds and the underlying concrete or plaster being sanded may exceed permissible exposure limits (PEL).
Professional installers are now required to utilize pole sanders equipped with HEPA vacuum shrouds or wet-sanding techniques for Level 5 finishes. Furthermore, the physical demands of the job—lifting 50 to 70-pound sheets, repetitive overhead screwing, and prolonged kneeling—require strict adherence to ergonomic lifting protocols and the use of mechanical panel lifters for ceiling installations to prevent chronic musculoskeletal injuries.
Summary of Core Competencies
To accurately evaluate a candidate against a gypsum board installer job description, contractors and project managers must look for demonstrated proficiency in substrate verification, precise fastener scheduling, multi-stage compound chemistry, and specialized assembly execution. Mastery of these installation techniques separates a basic laborer from a skilled tradesperson capable of delivering flat, crack-free, and code-compliant wall and ceiling systems.
Written by
James ThorntonJames Thornton is a construction industry veteran with 25 years of hands-on experience in wood framing, lumber grading, and residential building codes. He started as a framing carpenter in rural Oregon, earned his ICC Residential Building Inspector certification, and eventually became a senior plan reviewer for the City of Portland Bureau of Development Services. James holds a B.S. in Wood Science & Technology from Oregon State University and is a certified lumber grader through the West Coast Lumber Inspection Bureau (WCLIB). He has inspected over 3,000 residential construction sites and authored the city's internal guide on advanced framing techniques (2x6 at 24" O.C.). James lives in Bend, OR, where he builds custom timber-frame cabins and competes in lumberjack sports.
More from James Thornton
View all
Insulation
Best Home Insulation Materials: Complete 2026 Guide
Compare top home insulation materials for 2026. Find R-values, installed costs per square foot, and best uses for fiberglass, spray foam, and mineral wool.
Aug 4, 2026

Sustainable Building
Certify Your Green Building Material for LEED and WELL
Step-by-step guide to certifying a green building material for LEED v5 and WELL v2. Master EPDs, HPDs, and VOC limits for 2026 project specifications.
Aug 4, 2026

Stone & Masonry
Veneer Stacked Stone Panels: Interior Design & Style Showcase
Discover how veneer stacked stone panels transform interiors. Explore modern design profiles, material pairings, and technical installation specs.
Aug 4, 2026