Expert Guide to Gypsum Board Lath Installation for Plaster
Master gypsum board lath installation for veneer plaster systems. Learn exact fastener schedules, joint treatments, and base selection for flawless walls.

The Terminology and Mechanics: Gypsum Lath vs. Standard Drywall
While veteran plasterers and specification writers often use the term gypsum board lath (or 'rock lath'), the modern building materials industry classifies this product as veneer plaster base. Understanding the mechanical difference between plaster base and standard drywall is the most critical factor in preventing catastrophic system failure.
Standard gypsum board features a face paper engineered to resist moisture absorption, allowing joint compound to dry slowly and evenly. In contrast, gypsum board lath utilizes a highly absorptive, specially treated face paper. When wet veneer plaster is applied, this paper rapidly pulls water from the plaster matrix, creating a powerful mechanical interlock and chemical bond as the plaster cures.
Selecting the Correct Veneer Base for Your System
Choosing the right gypsum board lath depends entirely on whether you are executing a one-coat or two-coat veneer plaster system. The thickness typically ranges from 3/8-inch to 1/2-inch, with 1/2-inch being the modern standard for commercial and high-end residential applications to minimize framing deflection.
| Product / Brand | System Type | Face Paper Absorbency | Best Application |
|---|---|---|---|
| USG Imperial Veneer Base | Two-Coat (Scratch & Finish) | Highly Absorptive | High-humidity areas, commercial corridors, maximum impact resistance. |
| USG Diamond Veneer Base | One-Coat or Two-Coat | Moderately Absorptive | Standard residential interiors, single-family renovations. |
| Gold Bond Kal-Kote Base | One-Coat or Two-Coat | Controlled Absorption | Versatile base for National Gypsum Kal-Kote finish plasters. |
Precision Framing Tolerances and Fastener Schedules
Veneer plaster is a rigid, unforgiving finish. Unlike drywall joint compound, which can bridge minor gaps, plaster will telegraph any framing movement or deflection. According to the Gypsum Association guidelines, framing for gypsum board lath must be significantly more rigid than standard drywall framing.
Framing Requirements
- Wood Framing: Maximum 16 inches on center (o.c.) for both 3/8-inch and 1/2-inch lath. Lumber must be kiln-dried with a moisture content below 19% to prevent twisting.
- Steel Studs: Minimum 20-gauge steel. Maximum 16 inches o.c. for 3/8-inch lath; 24 inches o.c. is permissible for 1/2-inch lath in non-load-bearing partitions.
- Deflection Limit: Framing must not deflect more than 1/240 of the span under a 100-pound concentrated load.
Fastener Spacing Matrix
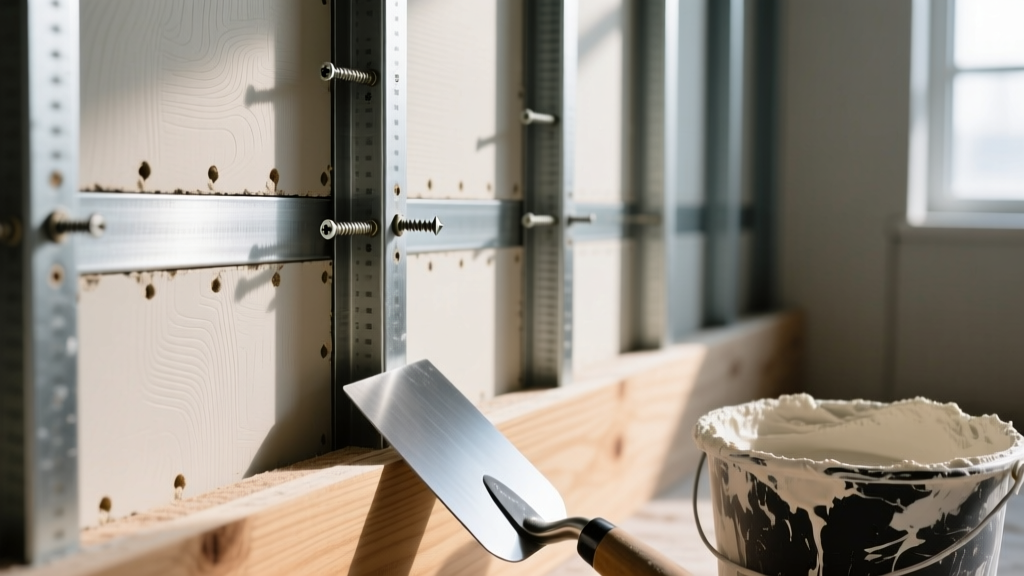
Use only corrosion-resistant, plaster-base specific screws (typically Type S for steel, Type W for wood). The heads must feature a bugle shape designed to dimple the highly absorbent paper without piercing it.
| Location | 3/8-Inch Lath (Wood) | 1/2-Inch Lath (Wood) | Steel Studs (Any Thickness) |
|---|---|---|---|
| Ceiling Perimeter | 7 inches o.c. | 8 inches o.c. | 8 inches o.c. |
| Ceiling Field | 12 inches o.c. | 12 inches o.c. | 12 inches o.c. |
| Wall Perimeter | 8 inches o.c. | 8 inches o.c. | 8 inches o.c. |
| Wall Field | 16 inches o.c. | 16 inches o.c. | 24 inches o.c. (max) |
Step-by-Step Hanging Technique
- Sequence the Hang: Always install ceiling panels first, pushing them tight against the wall framing. Follow with wall panels, pushing the top edge tight against the ceiling panels. This creates a compressive lock that prevents edge cracking.
- Cutting the Lath: Score the face paper deeply with a utility knife and snap the core. Because the core of veneer base is often denser than standard drywall, use a keyhole saw or a router with a flush-trim bit for cutouts around electrical boxes. Do not kick or break the board, as this shatters the core and ruins the edge integrity.
- Driving the Fasteners: Drive screws so the head creates a clean dimple in the face paper. Do not break the paper. If the paper is torn, the absorptive properties are compromised at that node, and the screw head will rust through the plaster finish. If a screw breaks the paper, drive another screw 2 inches away.
- Maintain the Gap: Leave a strict 1/16-inch gap between all butt joints and tapered edges. This gap allows the scratch coat of plaster to key into the joint, creating a monolithic plaster membrane rather than relying solely on the gypsum core.
Pro Tip: Never force a panel into a space that is too tight. Bowed or compressed gypsum lath stores kinetic energy that will eventually release, causing the plaster to crack along the stress line. Trim the board to allow a natural 1/16-inch expansion gap.
Joint Treatment and Pre-Plaster Preparation
Unlike standard drywall, you do not apply three coats of joint compound to gypsum board lath. However, the joints cannot be left completely raw before the plasterer arrives.
For two-coat systems, the plasterer will typically embed a fiberglass mesh tape or a specific plaster joint tape directly into the scratch coat. For one-coat systems, or when there will be a delay between hanging and plastering, you must treat the joints to prevent air drafts from drying the plaster unevenly. Apply a single, thin coat of setting-type joint compound (like USG Durabond 90) over the joints and fastener heads. Do not feather the edges broadly; keep the treatment tight to the joint to preserve the absorptive face paper in the field of the board.
Troubleshooting Common Installation Failures
Plaster Delamination
Cause: Using standard drywall instead of plaster base, or applying a primer/sealer to the lath before plastering.
Fix: Total removal. Ensure only unsealed, highly absorptive veneer base is used.
Rust Staining
Cause: Screws driven too deep, breaking the face paper and exposing the metal head to the alkaline, moisture-heavy plaster.
Fix: Counter-sink properly. Treat existing stains with a stain-blocking shellac primer post-cure.
Linear Joint Cracking
Cause: Framing deflection exceeding 1/240 span, or panels butted too tightly without a gap for the plaster key.
Fix: Reinforce framing with cross-blocking. Ensure 1/16-inch gaps during the hang.
Mastering gypsum board lath installation requires abandoning standard drywall habits. By respecting the absorptive mechanics of the face paper, adhering to rigid fastener schedules, and preparing joints for a plaster key, you create a substrate that yields a finish far superior in durability and acoustics to conventional painted drywall.
Written by
Priya KapoorPriya Kapoor is a real estate market analyst and construction economics researcher with expertise in housing affordability, development feasibility, and infrastructure investment. She holds a Master of Regional Planning from Cornell University and previously worked as a senior analyst at CBRE's Investment Properties group, where she modeled returns for $4B in mixed-use development pipelines. Priya now runs an independent research practice advising developers, municipalities, and REITs on construction cost forecasting and market timing. She publishes the quarterly "BuildMat Market Pulse" report tracking material price indices across 12 commodity categories. Based in Austin, TX, Priya serves on the board of Habitat for Humanity Austin and is a marathon runner.
More from Priya Kapoor
View all
Construction Cost
Cost to Build a 1600 Sq Ft Home in 2026: Full Breakdown
Accurate 2026 cost to build a 1600 sq ft home—material, labor, and regional pricing breakdowns included. Plan your budget with real-time estimates.
Aug 11, 2026

Wood & Lumber
Name the Types of Wood for Pressure Treatment and Preservation
Learn how to name the types of wood best suited for pressure treatment. Compare species treatability, chemical retention levels, and 2026 preservation costs.
Aug 4, 2026

Stone & Masonry
Stone Veneer Suppliers Lindenhurst: 2026 Cost Analysis
Analyze 2026 stone veneer costs in Lindenhurst, NY. Compare local supplier pricing, delivery fees, and Suffolk County installation labor rates.
Aug 4, 2026