How to Install Metal Roofing: Critical Specs and Performance Ratings
Master how to install metal roofing by focusing on performance ratings, underlayment specs, fastener torque, and wind uplift limits.
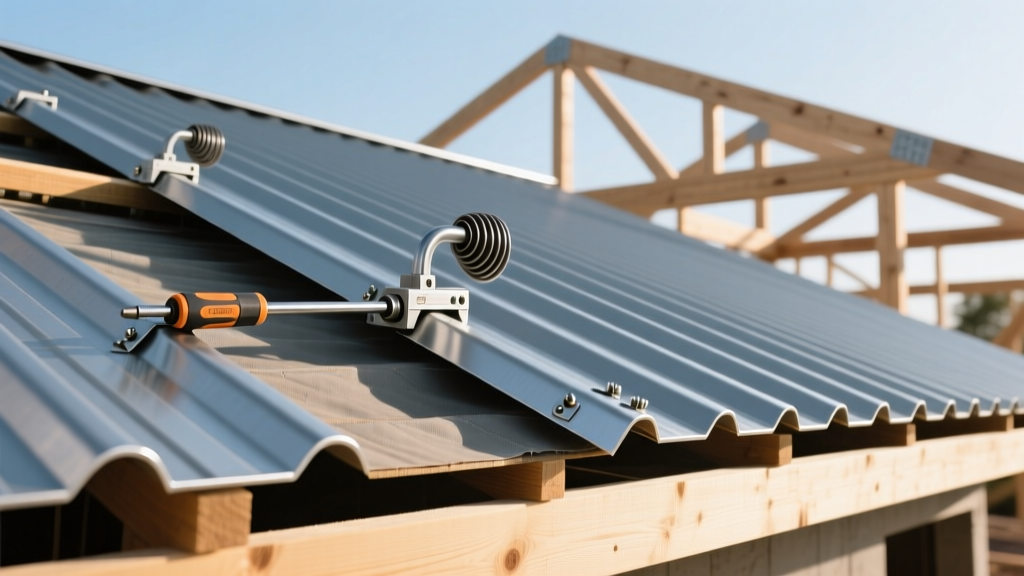
Decoding Metal Roofing Performance Ratings Before Installation
Learning how to install metal roofing requires moving beyond basic overlapping techniques and focusing heavily on performance ratings and material specifications. A metal roof is an engineered system designed to manage thermal expansion, wind uplift, and moisture intrusion. When installers ignore manufacturer specifications or ASTM standards, the roof's warranty is voided and its lifespan drops from 50+ years to under a decade. This guide details the exact technical specifications, fastener torque limits, and underlayment perm ratings required to execute a high-performance metal roofing installation.
Underlayment Specifications: The Hidden Performance Layer
The underlayment acts as the secondary weather barrier and slip sheet. Selecting the wrong underlayment for your roof slope and climate is a primary cause of condensation and premature decking rot. According to the National Roofing Contractors Association (NRCA), underlayment selection must be dictated by perm ratings (moisture vapor transmission) and high-temperature thresholds.
| Underlayment Type | Material Composition | Perm Rating | Temp Limit | Specification / Best Use |
|---|---|---|---|---|
| Synthetic | Woven Polypropylene | 5 - 15 perms | 240°F | Standard slopes > 3:12; allows structural drying. |
| Self-Adhered | Rubberized Asphalt | < 0.1 perms | 240°F | Ice and water shield for eaves, valleys, and slopes < 3:12. |
| Felt (30lb) | Asphalt Saturated | 10 - 20 perms | 180°F | Budget applications; degrades faster under high heat. |
Fastener Selection and Wind Uplift Resistance
Fasteners are the weakest link in any exposed-fastener metal roof system. To meet ASTM E1592 wind uplift standards, you must specify the correct screw diameter, thread pitch, and washer composition. For standard 26-gauge to 29-gauge steel panels attaching to 14-gauge steel purlins, specify #10 or #12 hex-washer-head screws with a minimum 1-inch penetration into the structural framing.
The EPDM Washer Compression Spec
Every metal roofing screw must feature an EPDM (Ethylene Propylene Diene Monomer) washer. EPDM is specified because it retains its elasticity across a -40°F to 250°F range, unlike PVC or rubber washers that become brittle under UV exposure. The installation specification for driving these fasteners is exact:
- Underdriven: Washer is not compressed. Leaves a capillary path for water intrusion.
- Correctly Driven: Washer bulges slightly past the edge of the metal head (the 'smiley face' seal). Compresses the EPDM by exactly 1/32 inch.
- Overdriven: Washer is squeezed out entirely. The metal head cuts into the EPDM, exposing it to UV degradation and causing micro-tears that fail within 3 years.
Step-by-Step Installation: Driven by Thermal and Structural Specs
When figuring out how to install metal roofing, the sequence of panel placement must account for the coefficient of thermal expansion. Steel expands at a rate of approximately 6.5 x 10^-6 inches per inch per degree Fahrenheit. For a 40-foot steel panel experiencing a 100°F temperature swing, expect roughly 0.3 inches of longitudinal movement.
- Drip Edge and Starter Trim: Install the eave trim with a minimum 2-inch overlap at horizontal joints. Seal the overlap with a 3/8-inch continuous bead of polyurethane sealant (never use silicone, which suffers adhesion failure during thermal cycling).
- Panel Alignment and Slotted Holes: When fastening exposed fastener panels, drive the screw in the exact center of the slotted hole. This allows the panel to slide laterally up to 1/8 inch as it expands and contracts. If you pin the panel to one side of the slot, the steel will buckle and tear around the fastener.
- Side Laps and Butyl Tape: For side laps, apply a 1/4-inch x 1/4-inch bead of butyl tape sealant 1 inch from the panel edge. Butyl tape is specified for lap seams because it remains permanently pliable and does not skin over or cure hard like polyurethane.
- Ridge Cap Installation: Install closure strips under the ridge cap. Specify closed-cell foam closures that match the exact panel profile to prevent wind-driven rain and pest intrusion while allowing a minimum 1 inch of vertical ventilation clearance.
Standing Seam Clip Spacing for High-Velocity Wind Zones
For concealed fastener standing seam roofs, the panel is not pinned to the deck; it is attached via sliding clips. The Metal Construction Association (MCA) provides strict clip spacing matrices based on local wind uplift ratings (e.g., UL 580 Class 90). In coastal or high-velocity hurricane zones (HVHZ), the standard specification requires a dual-clip or reduced-spacing layout.
- Field Area: Clips spaced at 24 inches on-center (o.c.).
- Perimeter Zone (Edge): Clips spaced at 12 inches o.c. to resist corner uplift vortices.
- Corner Zone: Clips spaced at 8 to 12 inches o.c., often requiring structural reinforcement of the deck.
Common Installation Failures and Specification Violations
Even experienced crews make errors when rushing through panel layout. Below is a diagnostic matrix linking visual defects to the specific performance specification that was violated during installation.
| Visual Symptom | Specification Violation | Required Correction |
|---|---|---|
| Oil Canning (Wavy ripples in flat pan) | Purlin tolerance exceeded > 1/4 inch in 10 ft; or panels pinned too tightly preventing movement. | Shim purlins to planar tolerance. Ensure fasteners are centered in slotted holes. Specify panels with stiffening ribs. |
| Fastener Back-out | Wrong thread pitch for substrate; drill clutch set too high, stripping the hole. | Switch to #12 screws with a finer thread pitch for thin steel. Recalibrate drill clutch. Use oversized repair screws if stripped. |
| Capillary Draw at Side Laps | Side lap overlap < 1.5 inches; missing butyl sealant tape; panels fastened before sealant compression. | Maintain minimum 1.5-inch overlap (2 inches for low slope). Apply continuous butyl tape. Fasten immediately to compress tape. |
| Chalking / Fading at Cut Edges | Field-cutting panels with abrasive saws; melting the galvanized/zinc coating and factory paint. | Use only mechanical shears or fine-tooth carbide blades. Apply factory-matched touch-up paint to all field-cut edges immediately. |
Expert Verdict on Metal Roofing Compliance
Understanding how to install metal roofing from a performance-driven perspective separates a 15-year roof from a 50-year asset. By strictly adhering to underlayment perm ratings, executing precise EPDM fastener torque, and accommodating thermal expansion through proper clip and slot spacing, you ensure the system performs exactly as engineered. Always cross-reference your local building codes with the specific wind uplift and fire ratings (such as UL Class A or FM Global approvals) required for your project's geographic zone before driving the first screw.