Installation Guide for Different Types of Lumber in Construction
Master the installation of different types of lumber. Learn framing, decking, and engineered wood procedures, fastener schedules, and moisture limits.
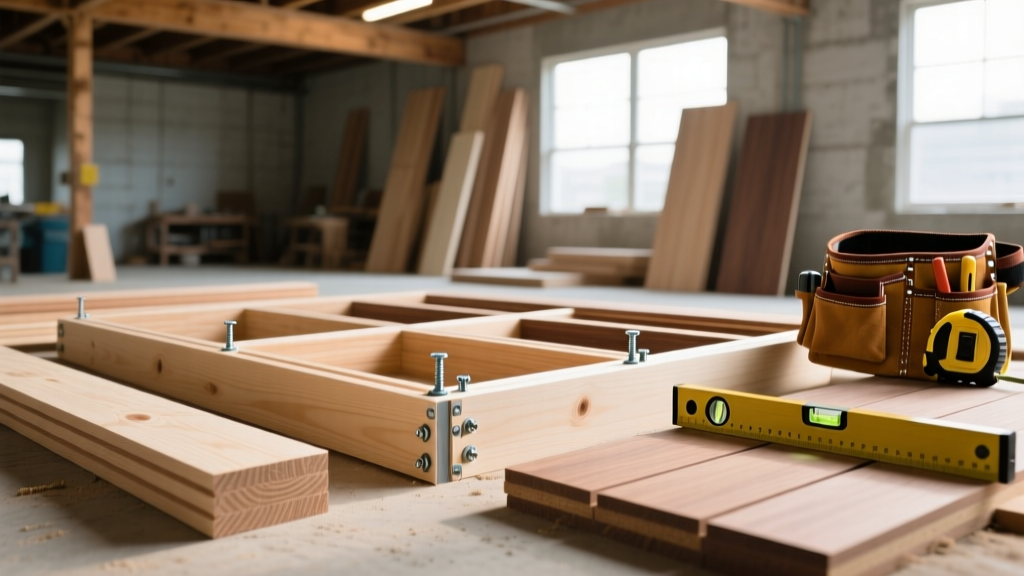
Dimensional Softwood Lumber (SPF and Douglas Fir) for Structural Framing
When installing dimensional lumber for structural framing, the primary variables dictating success are moisture content (MC) and fastener scheduling. Spruce-Pine-Fir (SPF) and Douglas Fir-Larch (DF-L) dominate the North American framing market, but their installation tolerances differ significantly based on their grading and moisture state at the time of delivery.
Moisture Content and Shrinkage Allowances
Framing lumber is typically stamped as S-DRY (surfaced dry, 19% MC or less) or S-GRN (surfaced green, above 19% MC). Installing S-GRN lumber in enclosed, climate-controlled environments without accounting for shrinkage leads to drywall cracking, popped nails, and truss uplift. According to the USDA Forest Products Laboratory Wood Handbook, wood shrinks approximately 1% for every 4% to 5% drop in moisture content below the fiber saturation point (around 30%).
- Cross-Grain Shrinkage: Expect a 2x10 DF-L joist to shrink roughly 1/8 to 3/16 inch across its width as it acclimates from 19% to an interior equilibrium of 9%. Install plumbing and HVAC drops with flexible connectors or oversized bored holes (minimum 1/2 inch clearance around pipes) to prevent crushing during joist shrinkage.
- Longitudinal Shrinkage: Shrinkage along the grain is negligible (typically 0.1% to 0.2%) and does not require structural compensation in standard wall framing.
Fastener Schedules for Framing
Proper nail selection ensures structural shear resistance. The International Residential Code (IRC) mandates specific fastener sizes for light-frame construction:
- Stud to Plate (Toe-nailing): Use two 16d (3.5-inch) common nails or three 16d box nails per end.
- Top Plate to Top Plate (Splicing): Face-nail with six 16d common nails (three on each side of the splice joint).
- Sheathing to Framing: Use 8d common nails (2.5-inch) spaced at 6 inches on center at panel edges and 12 inches on center in the field for standard shear wall applications.
Pressure-Treated Lumber: Ground Contact and Deck Subframes
Pressure-treated (PT) lumber requires strict adherence to preservative retention levels and hardware compatibility. The American Wood Protection Association (AWPA) categorizes treated wood by Use Categories (UC). Selecting and installing the wrong UC for a specific application is a leading cause of premature structural rot.
IRC R502.2.1 Note: Wood used in decks that is exposed to the weather must be naturally durable or preservative-treated. Fasteners and hardware must be compatible with the specific preservative chemical used.
AWPA Use Categories in Practice
| Use Category | Application Scenario | Minimum Retention (pcf) for CA-C |
|---|---|---|
| UC3B | Above ground, exposed to weather (decking, rails) | 0.25 |
| UC4A | Ground contact, general use (posts, stair stringers) | 0.40 |
| UC4B | Heavy-duty ground contact (critical structural posts) | 0.60 |
⚠️ Critical Warning: End-Cut Treatment
Whenever you cross-cut, rip, or drill pressure-treated lumber, you expose untreated core wood. AWPA standards mandate that all field cuts be coated with a copper naphthenate or zinc naphthenate end-cut preservative (e.g., Osmose End-Cut U). Failure to seal cuts in UC4A or UC4B materials voids the manufacturer's warranty and accelerates localized decay.
Hardware Compatibility with Modern Preservatives
Since the phase-out of Chromated Copper Arsenate (CCA), modern preservatives like Alkaline Copper Quaternary (ACQ) and Micronized Copper Azole (MCA) are highly corrosive to standard metals. You must install hardware that meets ASTM A153 Class D (G185 hot-dipped galvanized) or use 304/316 stainless steel. Electroplated zinc (standard shiny joist hangers) will corrode within 2 to 3 years when paired with ACQ-treated lumber.
Engineered Lumber (LVL and I-Joists) for Long Spans
Engineered wood products (EWP) eliminate the shrinkage and twisting associated with solid sawn lumber, but they demand rigorous adherence to manufacturer installation protocols. The APA - The Engineered Wood Association provides stringent guidelines for handling these high-stress materials.
Laminated Veneer Lumber (LVL) Beam Installation
LVL beams are used for headers, rim boards, and primary girders. When installing multi-ply LVL beams (e.g., three 1.75-inch plies nailed together to form a 5.25-inch beam), the fastener schedule is critical to ensure the plies act as a single monolithic unit.
- Bearing Length: Maintain a minimum bearing length of 1.5 inches on wood or steel supports, and 3 inches on masonry or concrete. Apply a moisture barrier (e.g., composite shims or EPDM tape) between the LVL and masonry to prevent wicking.
- Nailing Schedule: For a 3-ply 11.875-inch LVL, install two rows of 10d common nails at 12 inches on center, staggered between rows. At supports and point loads, increase to 12-inch rows at 4 inches on center.
- Bolted Connections: When bolting LVL, use 1/2-inch minimum diameter bolts with 2-inch x 2-inch x 1/8-inch steel washers under both the head and the nut to prevent crushing the wood fibers under high torque.
I-Joist Web Penetrations and Stiffeners
I-joists consist of solid lumber or LVL flanges and an OSB or plywood web. The flanges carry the bending stress; the web carries the shear stress.
Pro-Tip: Never Notch the Flange
Under no circumstances should the top or bottom flange of an I-joist be notched, cut, or drilled. Any penetration for plumbing or HVAC must occur exclusively in the OSB web, following the manufacturer's predefined hole size and location charts. Holes must typically be kept at least 6 inches away from the bearing edge and a minimum of 2 inches away from the flange glue line.
At intermediate bearing points (where a joist rests on an interior beam), install engineered wood web stiffeners (squash blocks) on both sides of the web. These blocks transfer vertical loads directly through the web to the support, preventing the OSB from buckling under concentrated point loads.
Western Red Cedar and Redwood for Exterior Trim and Siding
Cedar and Redwood are prized for their natural decay resistance and dimensional stability, making them ideal for exterior siding, fascia, and trim. However, their installation requires specific techniques to manage tannin bleed and end-grain splitting.
Managing Tannin Bleed
Both species contain high levels of water-soluble tannins. If exposed to moisture and painted with standard latex acrylics, these tannins will migrate through the paint film, causing severe brown staining. To prevent this during installation:
- Prime all six sides of the lumber (including the back and end cuts) with a high-quality alkyd (oil-based) primer before installation. Acrylic primers are insufficient for blocking heavy tannin bleed.
- Allow the primer to cure fully before applying 100% acrylic topcoats.
Fastening and Pre-Drilling
Cedar and Redwood are relatively soft and brittle near the end grain. Driving nails within 1 inch of the board's end without pre-drilling will cause splitting, compromising the holding power and allowing moisture ingress.
- Fastener Type: Use hot-dipped galvanized or stainless steel ring-shank or spiral-shank nails. Smooth shank nails will back out over time due to the wood's natural expansion and contraction cycles.
- Blind Nailing: For bevel siding, utilize blind nailing techniques where the nail is driven just above the overlap line of the previous course, allowing the next board to conceal the fastener head while securing the board.
Fastener and Hardware Compatibility Matrix
Using the wrong fastener with specific types of lumber leads to galvanic corrosion, structural failure, and aesthetic degradation. Refer to this matrix when specifying hardware for your installation procedures.
| Lumber Type | Preservative / Chemical | Minimum Fastener Requirement | Prohibited Hardware |
|---|---|---|---|
| Untreated SPF / DF-L | None | Standard Zinc (G90), Bright Steel | None (for interior) |
| PT Lumber (MCA / ACQ) | Copper-based Alkaline | G185 Hot-Dipped, 304 Stainless | Electroplated Zinc, Aluminum |
| Cedar / Redwood | Natural Tannins / Oils | 304 Stainless, Hot-Dipped Galv | Bright Steel, Copper (staining) |
| LVL / I-Joists | Resins / Adhesives | Standard Zinc (Interior), G185 (Exterior) | Over-sized drill bits in connections |
Acclimation and Installation Tolerances
Regardless of the lumber type, proper acclimation is non-negotiable for finish applications. Solid wood flooring and interior trim must be delivered to the job site and allowed to acclimate to the environment's equilibrium moisture content (EMC). For a home maintained at 70°F and 40% relative humidity, the EMC is approximately 8%. Installing kiln-dried trim at 6% MC into a high-humidity environment will cause the wood to swell, buckling miter joints at the corners. Conversely, installing wood at 11% MC into a dry winter environment will result in open joints and visible gaps. Always use a pin-type moisture meter to verify that the lumber MC is within 2% of the subfloor or ambient structural EMC before proceeding with finish nail installation.