Mastering OSB Board Sheathing Installation for Structural Rigidity
Learn exact OSB board sheathing installation procedures, including fastener matrices, expansion gaps, and moisture management for modern builds.
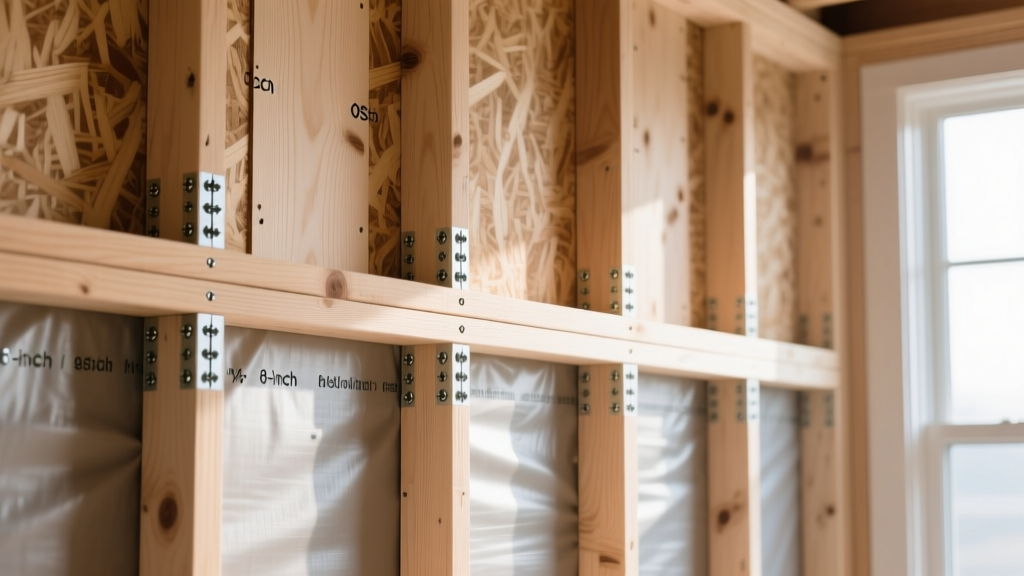
Pre-Installation Material Handling & Moisture Defense
Oriented Strand Board (OSB) dominates North American structural framing, accounting for over 70% of wall and roof sheathing applications. However, its structural integrity and dimensional stability are entirely dependent on correct site handling and installation. The most common failure mode in OSB board sheathing is edge swell caused by premature moisture exposure before the building is dried in.
Before unloading panels from the delivery truck, inspect the edges. If the factory-applied edge sealant is scuffed or missing, apply a field coat of polyurethane-based edge sealer (such as Trex Protect or a generic equivalent) to the exposed strands. This $15 investment per project prevents the capillary action that draws water into the panel core during rain events.
Fastener Specifications & Spacing Matrices
The shear capacity of an OSB shear wall is dictated not just by the panel thickness, but by the fastener schedule. Using the wrong nail length or spacing will result in failed structural inspections and compromised diaphragm action during seismic or high-wind events.
| Application & Thickness | Minimum Nail Size | Panel Edge Spacing | Interior Field Spacing | Penetration Depth |
|---|---|---|---|---|
| Wall Sheathing (7/16'') | 8d Common (2.5'') | 6'' o.c. | 12'' o.c. | 1.5'' into framing |
| Wall Sheathing (1/2'') | 8d Common (2.5'') | 4'' o.c. (High Wind) | 12'' o.c. | 1.5'' into framing |
| Roof Decking (19/32'') | 8d Common (2.5'') | 6'' o.c. | 12'' o.c. | 1.5'' into truss |
| Roof Decking (23/32'') | 10d Common (3'') | 6'' o.c. | 12'' o.c. | 1.75'' into truss |
For high-wind zones (HVHZ) or seismic design categories D, E, and F, substitute smooth-shank nails with 8d ring-shank or deformed-shank nails. According to the APA The Engineered Wood Association, ring-shank nails increase withdrawal resistance by nearly 40%, which is critical for preventing roof uplift during hurricane-force winds.
Step-by-Step Wall Sheathing Application
Proper wall installation requires a systematic approach to maintain the 1/8-inch expansion gap mandated by the International Residential Code (IRC). OSB expands linearly when its moisture content fluctuates; failing to leave this gap will cause the panels to buckle against each other, creating a visible ridge under exterior siding.
- Establish the Starting Point: Begin at a corner of the building. Align the first panel flush with the corner stud and the bottom plate. If the bottom plate is pressure-treated lumber, use hot-dipped galvanized (HDG) or stainless steel nails to prevent chemical corrosion from the copper azole or ACQ preservatives.
- Maintain the Gap: Use 10d nails or specialized plastic spacing tools placed between the panel edges to guarantee a strict 1/8-inch gap. Remove the spacers immediately after nailing the adjacent panel.
- Stagger Vertical Joints: When installing the second course of panels (if using 4x8 panels horizontally), stagger the vertical end joints by at least 24 inches. This distributes shear forces across multiple studs and prevents continuous vertical weak points.
- Block Horizontal Joints (Optional but Recommended): While not strictly required by code for standard residential walls if using H-clips or tongue-and-groove profiles, adding solid wood blocking behind horizontal butt joints significantly increases the rigidity of the shear wall and provides a nailing surface for exterior trim.
Roof Decking: Managing H-Clips and Overhangs
Roof decking endures concentrated live loads (snow, workers) and dead loads (asphalt shingles, clay tiles). For standard 24-inch on-center truss spacing, 5/8-inch or 19/32-inch OSB board sheathing is the minimum requirement, but 23/32-inch is heavily preferred in 2026 to prevent sagging between trusses over the lifespan of the structure.
The Role of H-Clips
When the unsupported span between roof trusses exceeds 48 inches, or when using thinner panels on 24-inch centers, metal H-clips are mandatory at the unsupported horizontal edges. The H-clip transfers the load from one panel to the adjacent one, reducing edge deflection. Slide the H-clip onto the tongue or square edge of the installed panel before setting the next panel in place. Never force an H-clip with a hammer after the panel is laid, as this will crush the OSB edge strands and compromise the clip's grip.
Rake and Eave Overhangs
OSB is highly susceptible to wicking moisture at exposed edges. For roof overhangs (rakes and eaves), ensure the OSB does not extend more than 2 inches past the fascia board without continuous soffit support. If a longer overhang is architecturally required, the exposed OSB edges must be sealed with a high-quality exterior oil-based primer or wrapped in a self-adhering ice and water shield membrane before the drip edge is installed.
Common Failure Modes & Troubleshooting
Even experienced framing crews encounter issues when working with OSB board sheathing. Refer to the American Wood Council guidelines for structural retrofits if you encounter severe deviations from the matrix below.
Symptom: Edge Swell / Ridges
Cause: Water intrusion prior to dry-in, or failure to maintain the 1/8-inch expansion gap.
Fix: If the swell is less than 1/4 inch and the panel core is dry and structurally sound, sand the ridges flush using a 40-grit belt sander. If the swell exceeds 1/4 inch or the strands are delaminating, cut out and replace the affected panel. Do not simply drive more nails into the swollen edge; this will split the framing lumber.
Symptom: Squeaky or Bouncy Roof Deck
Cause: Missed field nails (nails driven between the trusses) or panels installed tight against each other without expansion gaps, causing friction.
Fix: From the attic, locate the missed framing lines. Apply a continuous bead of polyurethane subfloor adhesive (e.g., Loctite PL Premium) along the truss, and drive 2.5-inch structural wood screws through the OSB into the truss at 6-inch intervals to pull the panel tight and eliminate the friction gap.
Symptom: Fungal Staining (Black/Gray Spots)
Cause: Prolonged moisture exposure (MC > 20%) combined with warm temperatures, leading to surface mold or blue-stain fungus.
Fix: Surface mold does not immediately compromise the structural resins of Exposure 1 OSB. Scrub the affected areas with a 10% bleach solution or a commercial borate-based fungicide. Allow the panels to dry to below 16% MC before installing interior vapor barriers or exterior weather-resistive barriers (WRB). If the panel is soft to the touch or flakes when pressed with a screwdriver, it has suffered structural rot and must be replaced.
Mastering the installation of OSB board sheathing requires strict adherence to fastener schedules, deliberate moisture management, and precise gap spacing. By treating the sheathing phase as the creation of a unified structural diaphragm rather than just a surface to hold house wrap, builders ensure the long-term rigidity, safety, and durability of the entire building envelope.