How to Treat and Preserve Different Types of Wood Trim Moulding
Expert guide to treating and preserving all types of wood trim moulding, from solid hardwoods to MDF, with specific finishes and moisture protocols.

The Hidden Vulnerabilities of Interior Trim
Interior trim is the transitional boundary of any room, bridging the gap between walls, floors, and ceilings. Because of its location, trim moulding is uniquely susceptible to physical impact from vacuums and footwear, moisture wicking from mopped floors, and UV degradation from adjacent windows. When selecting and finishing the various types of wood trim moulding—from baseboards and casings to crown and chair rails—a one-size-fits-all approach to preservation will inevitably lead to premature failure. The cellular structure of solid hardwoods reacts to finishing chemicals entirely differently than the compressed fibers of medium-density fiberboard (MDF) or the resinous pockets of softwoods. Understanding these material-specific vulnerabilities is the first step in achieving a durable, architectural-grade finish that withstands decades of environmental stress.
Material-Specific Treatment Protocols
Before applying any topcoat, the substrate must be properly prepared and sealed according to its specific botanical or engineered composition. According to the USDA Forest Products Laboratory, the moisture content of interior wood trim must be stabilized between 6% and 8% prior to finishing to prevent post-installation checking and joint separation.
Solid Hardwoods (Oak, Maple, Mahogany)
Hardwoods are typically chosen for stain-grade applications where the natural grain is the focal point. Open-grained species like red oak and ash possess deep cellular pores that can trap dust and cause an uneven finish if left unfilled. For a glass-smooth, modern profile, apply a silica-based pore filler (such as Wunderfil or Timbermate) tinted to match your stain before sealing. For a more natural, tactile preservation, penetrating hardwax oils like Osmo Polyx-Oil 3062 (Matte) or Rubio Monocoat are the 2026 industry standard. These products bond at the molecular level with the wood fibers, providing exceptional water resistance without forming a brittle surface film that can scratch or peel on high-traffic baseboards.
Softwoods (Pine, Fir, Cedar)
Softwoods present a unique preservation challenge due to their uneven density and high resin content. The earlywood (light bands) absorbs stain rapidly, while the latewood (dark bands) resists it, leading to severe blotching. Furthermore, knots and pitch pockets will bleed sap through traditional primers and water-based polyurethanes, causing yellow halos. To preserve softwood trim, a mandatory pre-treatment with a dewaxed shellac barrier—specifically Zinsser B-I-N—is required over all knots and sap streaks. Follow this with a gel stain, which sits on the surface rather than penetrating unevenly, ensuring a uniform color before applying a waterborne alkyd topcoat.
Paint-Grade & Engineered (Poplar, MDF, Finger-Jointed Pine)
Paint-grade trim relies on a continuous, impermeable film for preservation. Poplar and finger-jointed pine require a high-build primer like Sherwin-Williams ProBlock to fill the grain and create a uniform surface. MDF, however, requires aggressive moisture management. The exposed routed edges of MDF baseboards and crown moulding act like sponges, wicking ambient humidity and swelling irreversibly.
Environmental Stress Matrix: Choosing the Right Finish
Preservation is not just about the wood species; it is about the micro-environment the trim inhabits. The University of Minnesota Extension emphasizes that matching the finish's chemical properties to the room's environmental stressors is critical for long-term adhesion and UV stability.
| Environment | Primary Threat | Recommended Finish System | Maintenance Cycle |
|---|---|---|---|
| Bathrooms & Kitchens | High humidity, condensation, alkaline cleaners | Waterborne Urethane-Alkyd Hybrid (e.g., Benjamin Moore Advance) | 10-15 Years |
| Sunrooms & South-Facing | UV degradation, thermal expansion/contraction | Spar Urethane with UV inhibitors (e.g., Epifanes Clear Varnish) | 3-5 Years |
| Hallways & Mudrooms | Physical abrasion, scuffing, impact from shoes/bags | Catalyzed Water-Based Polyurethane (e.g., General Finishes Enduro-Var) | 7-10 Years |
| Standard Living Areas | Dust accumulation, minor dry abrasion | Hardwax Oil or Standard Acrylic-Polyurethane Blend | 15+ Years |
Step-by-Step Preservation Workflow for Stain-Grade Trim
Achieving a professional, furniture-grade finish on site-installed wood trim requires strict adherence to a sequential workflow. Skipping grits or rushing dry times will compromise the chemical cross-linking of modern topcoats.
- Substrate Verification: Use a pinless moisture meter to confirm the trim is below 8% moisture content. If installed over a fresh concrete slab, ensure the subfloor vapor barrier is intact to prevent upward moisture migration into baseboards.
- Abrasive Sequencing: Sand the raw wood progressively. Start with 120-grit aluminum oxide to remove mill glaze and machining marks. Follow with 150-grit, and finish with 220-grit. Never skip directly from 120 to 220, as the deep scratches will be sealed into the finish and become visible under angled light.
- Solvent Wiping: Vacuum the dust using a HEPA-filtered shop vac, then wipe the trim with a lint-free cloth dampened with mineral spirits or denatured alcohol. This removes microscopic dust and raises the grain slightly, allowing you to knock down 'whiskers' with a final pass of 220-grit sandpaper.
- Sealer Application: Apply a thin coat of sanding sealer or dewaxed shellac. Once dry (typically 45 minutes), lightly scuff-sand with 320-grit synthetic steel wool to remove any raised grain or dust nibs.
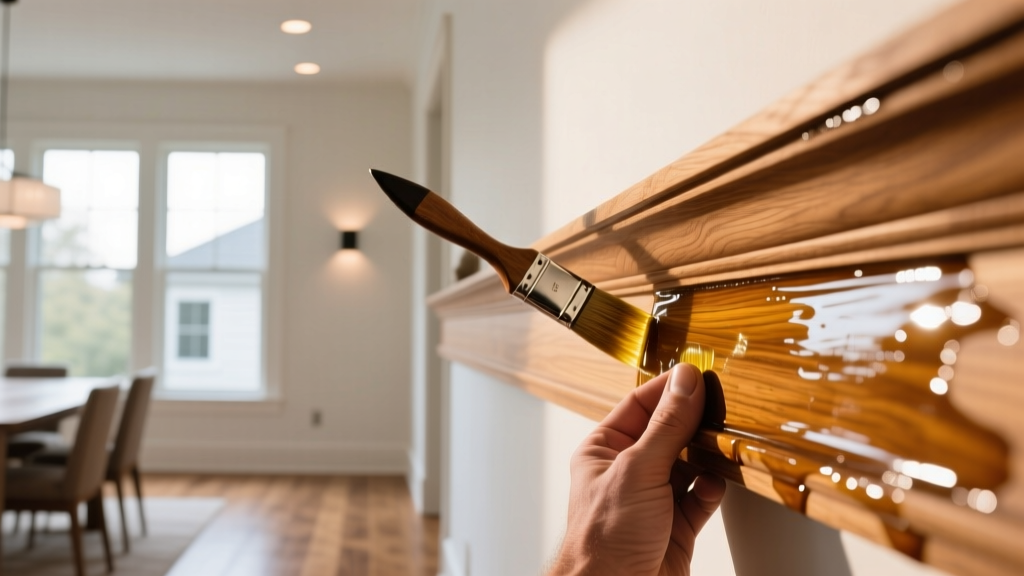
- Topcoat Application: Apply your chosen topcoat using a high-quality 1.5-inch angled sash brush (such as a Purdy Nylox or Wooster Alpha). For intricate profiles like ogee or cove moulding, use a stippling technique to work the finish into the crevices, followed by a light 'tipping off' stroke in the direction of the grain to eliminate brush marks.
- Curing vs. Drying: Understand that waterborne finishes may feel dry to the touch in 2 hours, but they require 21 to 30 days to fully cross-link and achieve their maximum chemical and abrasion resistance. Avoid washing the trim with liquid cleaners during this window.
Troubleshooting Common Trim Failures
Even with meticulous preparation, environmental variables can cause finish failures. Recognizing these symptoms early allows for targeted remediation without requiring a complete strip-and-refinish.
- Symptom: Tannin Bleed (Yellow/Brown Staining)
Cause: Water-based primers and topcoats dissolve the natural tannins in woods like oak, mahogany, and cedar, pulling them to the surface.
Fix: Spot-prime the bleeding areas with two coats of Zinsser B-I-N shellac. Once sealed, topcoat with your original waterborne finish. Never use standard PVA or acrylic primers for tannin-rich species. - Symptom: Alligatoring or Cracking on Thick Profiles
Cause: Applying oil-based polyurethane too thickly on deep, routed crown moulding. The surface dries and skins over while the bottom layer remains liquid, causing tension fractures as the solvents eventually escape.
Fix: Strip the affected area using a non-methylene chloride stripper (like Dumond Smart Strip). Reapply using three ultra-thin coats rather than one heavy coat, ensuring proper ventilation to facilitate solvent evaporation. - Symptom: MDF Baseboard Swelling at the Bottom Edge
Cause: Capillary wicking from wet mopping. The latex paint film is flexible, but the MDF core expands when it absorbs water, breaking the paint seal.
Fix: Cut out the swollen section. Replace with PVC or solid wood trim in wet zones. If MDF must be used, install a 1/2-inch reveal gap above the finished floor and fill with a color-matched, high-grade silicone caulk (such as OSI QUAD Max) to create an impermeable water dam at the floor junction. - Symptom: Blushing (Milky White Haze in Clear Coats)
Cause: Trapped moisture within a lacquer or fast-drying waterborne finish, usually caused by applying the finish in high humidity (>70%) or on a cold surface.
Fix: For lacquer, misting the area with a 'blush retarder' solvent can re-melt the finish and allow the moisture to escape. For waterborne polys, the affected area must be sanded down to bare wood and recoated under controlled humidity conditions (ideally 40-50% RH).
Preserving the diverse types of wood trim moulding found in modern architecture requires moving beyond generic 'paint and poly' advice. By matching the chemical properties of your finishes to the specific cellular structure of the wood and the micro-climate of the room, you ensure that the trim remains a lasting, protective, and beautiful architectural detail for decades.
Written by
David NakamuraDavid Nakamura is a licensed architect (AIA) and construction technology writer focused on sustainable building methods, mass timber engineering, and high-performance building envelopes. He holds a Master of Architecture from the University of Washington and is a certified Passive House Consultant (CPHC). David spent eight years at the Seattle firm Mithun, where he led the design of three LEED Platinum projects, before founding his own practice specializing in net-zero residential design. He serves on the editorial advisory board of GreenBuilder Magazine and has authored peer-reviewed papers on cross-laminated timber (CLT) connections for the Journal of Structural Engineering. In his spare time, David teaches woodworking at Pratt Fine Arts Center and kayaks the Puget Sound.
More from David Nakamura
View all
Construction Cost
Labor Cost to Build a Deck Per Sq Ft: 2026 Installation Guide
Discover the exact labor cost to build a deck per sq ft in 2026. This installation guide breaks down contractor rates, complexity factors, and hidden fees.
Aug 4, 2026

Construction Cost
How Much Does It Cost to Build a 3 Bedroom House? Financing Guide
Learn exactly how much it costs to build a 3 bedroom house and explore 2026 financing options, construction loan types, and budget frameworks for your build.
Aug 4, 2026

Construction Cost
Cost to Build a Tennis Court: 2026 Guide
How much does it cost to build a tennis court in 2026? Breakdowns for asphalt, concrete, and synthetic surfaces plus fencing and lighting.
Jul 30, 2026