Concrete vs Cement: Installer's Guide to Mixes and Applications
Master the concrete vs cement distinction on the job site. Learn exact mix ratios, installation techniques, and curing protocols for slabs and mortar.

The Core Distinction: Ingredient vs. Final Product
On any active job site, confusing concrete and cement leads to catastrophic installation failures. While often used interchangeably by laymen, the distinction is absolute: cement is a dry powdered binder (typically Portland cement), while concrete is the final composite structural material created when cement is mixed with water and aggregates (sand, gravel, or crushed stone). You do not 'install' cement by itself; you use it to manufacture concrete, mortar, or grout. Understanding this chemical and physical divergence dictates your mix design, water ratios, tooling methods, and curing timelines.
Installation Scenario 1: Pouring Structural Concrete (Slabs & Footings)
When installing structural elements like driveway slabs, foundation footings, or patio pads, you are working with concrete. The installation success hinges on the water-to-cement ratio and aggregate grading. According to the American Concrete Institute (ACI), the maximum w/c ratio for exterior concrete exposed to freeze-thaw cycles must not exceed 0.45 to ensure durability.
Selecting the Right Mix Design
For standard residential flatwork, a 3,000 PSI mix is the baseline. However, for driveways subject to vehicular loads or regions with severe winter weather, specify a 4,000 PSI air-entrained mix. Products like Quikrete 5000 Concrete Mix (which achieves 5,000 PSI in 28 days) are ideal for high-stress applications like structural post bases or heavy-equipment pads. Air entrainment introduces microscopic bubbles that give freezing water room to expand, preventing surface spalling.
Execution and Screeding Protocol
- Subgrade Preparation: Compact the subgrade to a minimum 95% Proctor density. Lay a 4-inch base of crushed angular gravel (not round river rock) for capillary break and drainage.
- Vapor Barrier: Install a 10-mil or 15-mil polyethylene vapor retarder directly under the slab if moisture-sensitive floor coverings will be applied later.
- Placement and Consolidation: Pour the concrete and immediately use an internal pencil vibrator along the forms to eliminate honeycombing. Do not over-vibrate; stop as soon as the surface glistens with paste.
- Screeding and Floating: Strike off the surface with a straight edge. Follow with a bull float while the bleed water is still present to embed large aggregate. Wait for the bleed water to evaporate completely before applying a steel trowel finish; trapping water beneath the surface guarantees future scaling.
Installation Scenario 2: Mixing and Applying Cement-Based Mortar
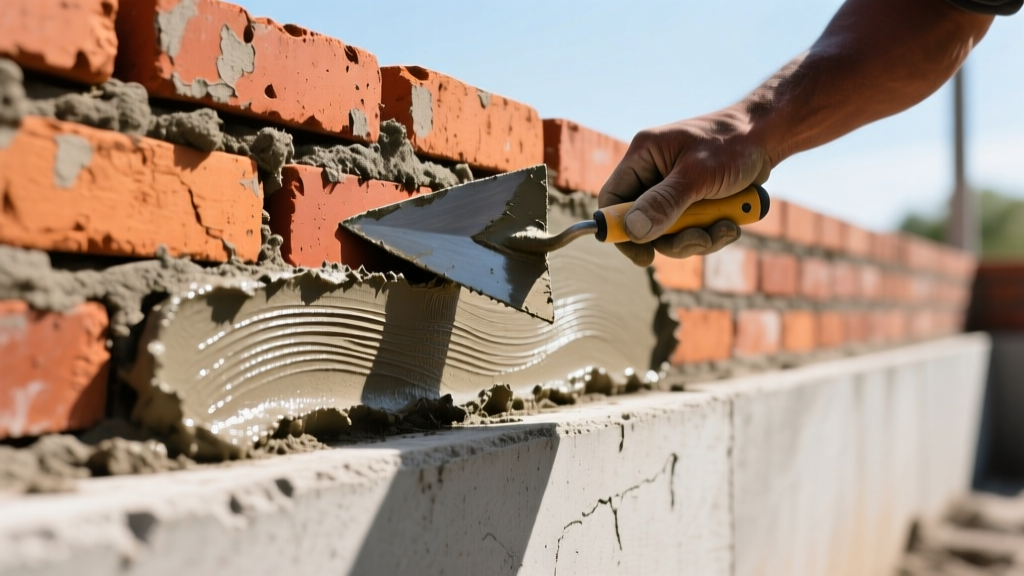
When laying brick, block, or stone veneer, you are not using concrete; you are installing cement-based mortar. Mortar requires a higher cement-to-sand ratio and the addition of hydrated lime to provide workability, water retention, and autogenous healing of micro-cracks.
Type N vs. Type S Mortar Specifications
Choosing the correct mortar type prevents masonry cracking due to differential movement. Type N (approx. 750 PSI) is the general-purpose choice for above-grade exterior walls. Type S (approx. 1,800 PSI) contains a higher concentration of Portland cement and is mandatory for below-grade applications, retaining walls, or masonry in high seismic zones.
| Feature | Structural Concrete (Flatwork) | Type S Cement Mortar (Masonry) |
|---|---|---|
| Volumetric Ratio | 1 part cement : 2 parts sand : 3 parts gravel | 1 part cement : 0.5 part lime : 4.5 parts sand |
| Target Compressive Strength | 3,000 - 5,000 PSI | 1,800 PSI |
| Ideal Slump / Flow | 4 to 5 inches (Slump) | 70% to 110% (Flow) |
| Primary Application | Slabs, footings, columns | Bricklaying, block bonding, stone setting |
The 'Slaking' Period: A Critical Installation Step
When mixing cement-based mortar on-site, installers frequently skip the slaking period, leading to poor bond strength. After initially mixing the Portland cement, lime, sand, and water, allow the batch to sit undisturbed for 10 to 15 minutes. This slaking period allows the lime particles to fully hydrate and swell. Remix the batch briefly without adding water before troweling it onto the masonry units.
Curing Protocols: Where Installers Make or Break the Project
Curing is not 'drying'. It is the chemical process of hydration, where cement reacts with water to form calcium silicate hydrate (C-S-H) crystals. If moisture evaporates from the surface before hydration is complete, the installation will suffer from plastic shrinkage cracking and a weak, dusty surface profile. The National Ready Mixed Concrete Association (NRMCA) emphasizes that proper curing can increase surface impermeability and overall strength by up to 50%.
- Wet Curing (Concrete Slabs): For high-performance flatwork, flood the slab with water or cover it with wet burlap and 4-mil polyethylene for a minimum of 7 days. This is the gold standard for preventing thermal cracking.
- Membrane Curing Compounds: When wet curing is impractical, apply an ASTM C1315 compliant liquid membrane-forming compound immediately after final finishing. Apply at a rate of 200 square feet per gallon using a pump sprayer to ensure an even, non-streaking seal.
- Mortar Curing (Masonry): Cement mortar requires a different approach. Mist the masonry joints lightly with water twice a day for 3 days in hot, arid climates to prevent the porous bricks from sucking the moisture out of the fresh mortar too rapidly.
Common Installation Failures and Edge Cases
Plastic Shrinkage Cracking
When installing concrete or mortar in high wind or low humidity, surface evaporation outpaces bleed water rising to the top. This causes plastic shrinkage cracks, which appear as shallow, parallel fissures. Mitigate this by erecting temporary windbreaks, using an evaporation retardant spray (like aliphatic alcohols), and scheduling pours for early morning or late evening.
Efflorescence in Cement Mortar
White, powdery deposits on new masonry are caused by water-soluble salts migrating to the surface. This occurs when masonry is installed without proper flashing, or when the cement mortar is mixed with too much water. To prevent efflorescence, strictly adhere to the mortar flow limits, use clean, washed sand, and ensure the wall is detailed with through-wall flashing and weep holes to shed bulk water.
Warning: Never 're-temper' (add water to) partially set concrete or mortar. Once the initial set begins (typically 45-90 minutes depending on ambient temperature and admixtures), adding water destroys the crystalline matrix, reducing the final PSI by as much as 40%. Discard any mix that has lost its plasticity.
Mastering the physical and chemical differences between concrete and cement transforms your installation quality. By respecting the specific mix designs, adhering to strict water ratios, and executing rigorous curing protocols, you ensure structural longevity and eliminate costly callbacks. For further reading on mitigating environmental variables during installation, consult the Portland Cement Association's guidelines on cracking and durability.
Written by
David NakamuraDavid Nakamura is a licensed architect (AIA) and construction technology writer focused on sustainable building methods, mass timber engineering, and high-performance building envelopes. He holds a Master of Architecture from the University of Washington and is a certified Passive House Consultant (CPHC). David spent eight years at the Seattle firm Mithun, where he led the design of three LEED Platinum projects, before founding his own practice specializing in net-zero residential design. He serves on the editorial advisory board of GreenBuilder Magazine and has authored peer-reviewed papers on cross-laminated timber (CLT) connections for the Journal of Structural Engineering. In his spare time, David teaches woodworking at Pratt Fine Arts Center and kayaks the Puget Sound.
More from David Nakamura
View all
Construction Cost
Labor Cost to Build a Deck Per Sq Ft: 2026 Installation Guide
Discover the exact labor cost to build a deck per sq ft in 2026. This installation guide breaks down contractor rates, complexity factors, and hidden fees.
Aug 4, 2026

Construction Cost
How Much Does It Cost to Build a 3 Bedroom House? Financing Guide
Learn exactly how much it costs to build a 3 bedroom house and explore 2026 financing options, construction loan types, and budget frameworks for your build.
Aug 4, 2026

Construction Cost
Cost to Build a Tennis Court: 2026 Guide
How much does it cost to build a tennis court in 2026? Breakdowns for asphalt, concrete, and synthetic surfaces plus fencing and lighting.
Jul 30, 2026