Polished Concrete vs Epoxy Repair: Troubleshooting Guide
Diagnose and fix floor failures with our polished concrete vs epoxy repair guide. Learn exact causes, costs, and step-by-step solutions for both surfaces.

The Anatomy of Floor Failures: Polished Concrete vs Epoxy
When high-traffic commercial and industrial floors fail, the root cause is rarely the daily abuse itself; it is almost always a failure in the initial substrate preparation, chemical curing, or moisture mitigation. Facility managers frequently inherit floors that look degraded and must decide between localized repair or full replacement. Understanding the distinct failure modes of polished concrete versus epoxy coatings is the first step in executing a cost-effective, long-lasting repair.
Before deploying grinders or chemical strippers, use this diagnostic matrix to identify the exact failure mechanism.
| Symptom | Substrate | Root Cause | Diagnostic Test |
|---|---|---|---|
| White powdery residue / Blistering | Epoxy | Osmotic pressure from high Moisture Vapor Emission Rate (MVER) | ASTM F1869 Calcium Chloride test or F2170 RH probe |
| Chalking / Amber discoloration | Epoxy | UV degradation of aromatic epoxy resin | Visual inspection near UV light sources (skylights/doors) |
| Localized dulling / White etch marks | Polished Concrete | Acidic spill neutralizing calcium hydroxide in the paste | pH testing of the stain; visual inspection of surface micro-pitting |
| Tire marks that won't wash off | Epoxy | Plasticizer migration from hot tires into uncured or soft epoxy | Solvent wipe test (MEK) to check cross-link density |
| Spalling at saw-cut joints | Polished Concrete | Subgrade settlement or lack of joint stabilization | Deflectometer test or straight-edge across the joint |
Troubleshooting Polished Concrete: Dulling, Staining, and Spalling
Issue 1: Chemical Etching and Oil Stains
Polished concrete is not impervious; it is merely highly dense. When acidic liquids (battery acid, citrus juices, vinegar-based cleaners) sit on the surface, they eat through the topical stain guard and react with the free lime (calcium hydroxide) in the cement paste. This leaves a permanent, dull, white etch mark.
The Repair Protocol:
- Neutralize and Clean: Apply an alkaline cleaner (pH 10-11) to neutralize any residual acid. Rinse thoroughly and allow to dry.
- Spot Hone: Use a handheld planetary grinder with a 400-grit metal-bond diamond pad to remove the etched layer. Do not drop below 400-grit, or you will expose raw aggregate and create a visible 'dish' in the floor.
- Re-Densify: Apply a lithium silicate densifier (e.g., Prosoco Consolideck LS). Lithium silicates react faster and leave less unreacted residue than sodium or potassium silicates. Allow 20 minutes of dwell time, keeping the surface wet.
- Burnish: Once fully cured (usually 24 hours), run a high-speed propane burnisher (1,500 to 2,100 RPM) equipped with a 3,000-grit resin pad to restore the micro-scratch pattern and gloss.
Issue 2: Loss of Gloss and Micro-Scratching
Heavy foot traffic and steel-wheeled carts eventually wear down the sacrificial topical stain guard (usually a fluorochemical or polyurethane-based product). The floor doesn't necessarily need a full re-polish; it needs a guard replenishment.
The Repair Protocol: Deep scrub the floor with an auto-scrubber using a neutral pH cleaner (pH 7-9). Apply a burnishable micro-ceramic or polyurethane guard using a microfiber applicator. Once dry, burnish with a hog-hair pad at 1,500 RPM to melt the guard into the micro-pores, restoring a 60+ gloss reading on a standard gloss meter.
Issue 3: Joint Spalling and Pop-outs
Saw-cut control joints are the weakest point of any polished slab. If the subgrade was poorly compacted, the edges of the joint will deflect under forklift traffic, causing the arris (edge) to break off.
The Repair Protocol: Route out the spalled joint using a V-blade grinder to create a clean, solid edge. Vacuum all dust. Fill the joint with a semi-rigid polyurea joint filler (e.g., Metzger/McGuire Spall Guard). Polyurea cures in 15 minutes and has a Shore A hardness of 90, providing enough rigidity to support forklift wheels while retaining slight flexibility for thermal expansion. Once cured, shave the overfill flush with a stiff razor scraper and run a 800-grit resin pad over the joint to blend the repair.
Never apply a topical film-forming guard (like an acrylic or urethane sealer) over a polished concrete slab that has high moisture vapor emissions. The vapor will become trapped beneath the film, causing blisters and peeling. Always verify MVER is below 3 lbs/1000 sq ft/24 hrs before applying non-breathable topical guards. Penetrating lithium silicates and breathable stain guards do not have this limitation.
Troubleshooting Epoxy Coatings: Delamination, Yellowing, and Hot Tire Pickup
Issue 1: Peeling and Delamination
Epoxy delamination is almost always a moisture or surface preparation failure. If the concrete was not profiled correctly, or if hydrostatic pressure is pushing moisture up through the slab, the epoxy will lose its mechanical bond.
The Repair Protocol:
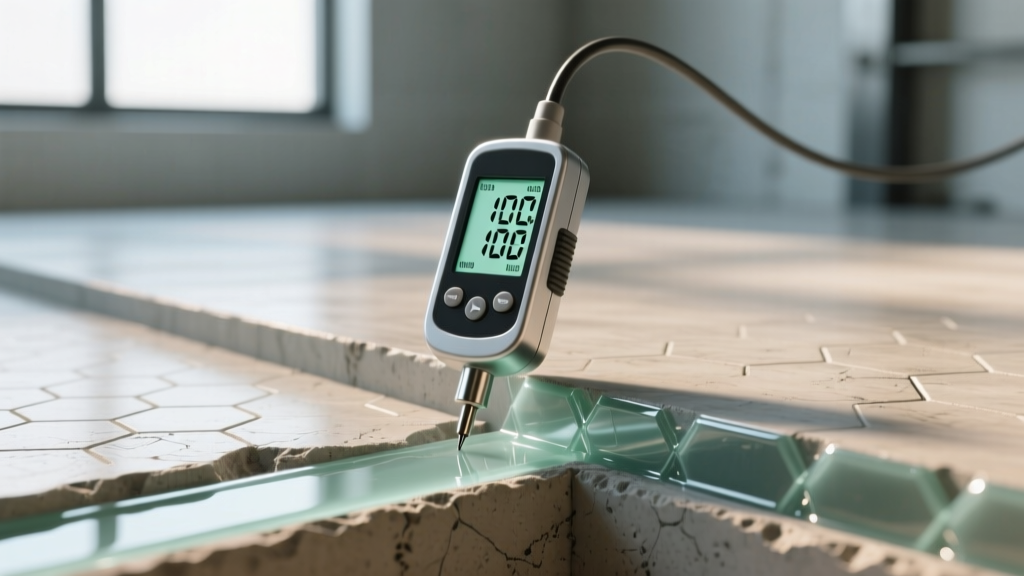
- Test Moisture: Perform quantitative RH testing per ASTM F2170. If RH exceeds 75%, standard epoxies will fail again.
- Remove and Profile: Shot blast the failing epoxy down to bare concrete. The International Concrete Repair Institute (ICRI) mandates a Concrete Surface Profile (CSP) of 3 to 4 for standard 100% solids epoxies. CSP 2 is insufficient for heavy-duty industrial coatings.
- Moisture Mitigation: If moisture is high, apply a two-part moisture mitigation primer (e.g., Sherwin-Williams Macropoxy 646 or a dedicated silicate-based moisture barrier) that penetrates the capillaries and cures to block vapor transmission.
- Recoat: Apply a 100% solids epoxy base coat, broadcast with quartz sand for slip resistance, and seal with a topcoat.
Issue 2: UV Yellowing and Chalking
Standard bisphenol-A (Bis-A) epoxies are aromatic, meaning their chemical structure breaks down under ultraviolet light, turning the floor yellow and causing the surface to chalk. This is a chemical degradation, not dirt.
The Repair Protocol: You cannot bleach or clean UV damage back to its original color. The surface must be lightly sanded with a 120-grit screen to remove the chalky, degraded layer. Follow with a solvent wipe to remove dust, then apply an aliphatic polyurethane or polyaspartic topcoat. Aliphatic resins contain UV stabilizers that prevent future yellowing, locking in the color indefinitely.
Issue 3: Hot Tire Pickup and Plasticizer Migration
When vehicles park on an epoxy floor, the heat from the tires softens the rubber, releasing plasticizers (chemical softening agents). These plasticizers migrate into the epoxy coating, causing it to soften, lift, and leave permanent black tire marks. This occurs when an epoxy lacks a high cross-link density topcoat.
The Repair Protocol: Grind off the affected areas using a 60-grit metal bond diamond. Clean with a degreaser to pull out embedded plasticizers. Apply a polyaspartic polyurea topcoat. Polyaspartics cure via a different chemical mechanism than epoxies, creating a highly cross-linked, dense surface that is entirely impervious to tire plasticizer migration.
Cost-to-Repair Matrix: Polished Concrete vs Epoxy (2026 Pricing)
Understanding the financial impact of repairs is critical for facility management budgeting. The following table outlines average commercial repair costs per square foot for 2026, assuming a minimum 2,500 sq ft project size.
| Repair Procedure | Substrate | Average Cost (per sq ft) | Expected Lifespan Post-Repair |
|---|---|---|---|
| Burnish and Re-Guard (Topical) | Polished Concrete | $1.25 - $2.50 | 1 - 3 Years |
| Joint Routing and Polyurea Fill | Polished Concrete | $8.00 - $12.00 (per linear ft) | 5 - 8 Years |
| Spot Etch Repair and Hone | Polished Concrete | $3.50 - $5.00 | Permanent (Life of slab) |
| Epoxy Topcoat Re-application | Epoxy | $2.75 - $4.50 | 3 - 5 Years |
| Full Tear-off, Shot Blast, and Recoat | Epoxy | $7.50 - $12.50 | 10 - 15 Years |
| Moisture Mitigation Primer Add-on | Epoxy | $2.00 - $3.50 (Add-on) | Prevents future failure |
The 'Repair vs. Replace' Decision Tree
Use this logical framework to determine the most viable path forward when assessing a degraded floor.
- Scenario A: The floor is polished concrete with localized stains and dulling.
- Action: Repair. Spot-hone the stains, densify, and execute a full-floor burnish and guard re-application. Full replacement is unnecessary and cost-prohibitive.
- Scenario B: The floor is polished concrete with widespread micro-cracking and joint failure.
- Action: Repair and Stabilize. Route and fill joints with polyurea. If cracking is structural (reflective cracking from subgrade failure), consult a structural engineer; polishing cannot fix structural slab movement.
- Scenario C: The epoxy floor is yellowing and showing hot tire marks, but is fully adhered.
- Action: Repair. Screen-sand the surface to promote adhesion and apply a UV-stable polyaspartic topcoat. Do not tear off a well-adhered base coat.
- Scenario D: The epoxy floor is blistering, peeling, and failing in high-traffic aisles.
- Action: Replace. This indicates a systemic moisture or preparation failure. Patching will only result in adjacent failures. Execute a full tear-off, test for MVER, apply a moisture mitigation primer, and reinstall a 100% solids system.
Expert Sourcing and Material Standards
Executing these repairs requires strict adherence to industry standards. For concrete surface profiling and preparation guidelines, facility managers and contractors should consult the International Concrete Repair Institute (ICRI), specifically their guidelines on Concrete Surface Profiles (CSP). For structural concrete tolerances and jointing best practices, the American Concrete Institute (ACI) provides the definitive codes (such as ACI 310.1R). Finally, for epoxy and polyurethane coating application standards, environmental controls, and safety data, the Society for Protective Coatings (SSPC) remains the primary authority for industrial floor coating systems.
Written by
Sarah WhitfieldSarah Whitfield is a chartered quantity surveyor (MRICS) and construction cost analyst with 15 years of experience in material pricing, procurement strategy, and project budgeting. She earned her degree in Construction Management from the University of Reading (UK) and has worked on projects ranging from $2M custom homes to $180M mixed-use developments across North America and Europe. Sarah currently leads cost estimating for BuildMat Insight, maintaining a proprietary database of 4,000+ material price points updated quarterly. She is a frequent contributor to RSMeans cost data panels and has presented at the International Cost Engineering Council (ICEC) congress. Based in Denver, CO, Sarah is an avid trail runner and volunteer mentor for Women in Construction.
More from Sarah Whitfield
View all
Wood & Lumber
What Are the Different Types of Wood? A Builder's Guide
Compare structural softwoods, finish hardwoods, and engineered lumber. Analyze Janka ratings, MOE values, and 2026 pricing for construction.
Aug 4, 2026

Walls & Panels
Steel Framing vs Wood Framing: Corrosion and Moisture Defense
Compare steel framing vs wood framing for moisture resistance. Learn about galvanized coatings, condensation risks, and corrosion protection strategies.
Jul 21, 2026

Stone & Masonry
How to Cut Stone Veneer: Wet Saw vs Grinder Comparison
Compare the best tools for cutting stone veneer. We review wet saws, angle grinders, and chop saws to help you achieve clean, chip-free cuts.
Jul 21, 2026