Installation Guide: How to Install Low Cost Decking Material for Maximum Lifespan
Learn how to properly install low cost decking material like pressure-treated pine and bamboo. Expert tips on joist spacing, fasteners, and moisture.

The Reality of Budget Decking: Why Installation Dictates Lifespan
When building on a budget, selecting a low cost decking material like pressure-treated (PT) Southern Yellow Pine or stranded woven bamboo is a smart financial move. However, the inherent vulnerability of budget materials means that installation precision is non-negotiable. While premium composites can forgive minor framing errors or improper fastening, inexpensive wood and bamboo will rapidly warp, cup, or rot if structural best practices are ignored. This guide details the exact installation protocols required to make a $3.00 per linear foot deck board perform like a $10.00 premium alternative.
Material Breakdown and Pre-Installation Moisture Management
Before driving a single screw, you must understand the moisture content (MC) of your chosen material. According to the USDA Forest Products Laboratory, wood movement is directly tied to equilibrium moisture content. Budget decking is rarely kiln-dried to interior standards.
| Material | Avg. Cost (per LF) | Typical MC at Purchase | Required Joist Spacing | Shrinkage Factor |
|---|---|---|---|---|
| Standard PT Pine (5/4x6) | $2.50 - $3.50 | 19% - 35% (Wet) | 12 inches O.C. | High (Up to 1/4 inch) |
| KDAT PT Pine (5/4x6) | $3.25 - $4.25 | 15% or less | 16 inches O.C. | Moderate (Approx. 1/8 inch) |
| Stranded Woven Bamboo | $4.00 - $5.50 | 8% - 12% | 12 inches O.C. | Low (Dimensionally stable) |
If your budget allows an extra $0.75 per linear foot, always source Kiln-Dried After Treatment (KDAT) pine. Standard wet PT lumber from big-box stores will shrink drastically as it dries in the sun, pulling out screws and opening massive gaps. KDAT lumber is pre-shrunk, allowing for tighter, more stable installation right out of the gate.
Step-by-Step Installation for Pressure-Treated Pine
1. Joist Preparation and Flashing
The fastest way a low cost deck fails is not the deck boards themselves, but the untreated joists beneath them rotting from trapped moisture. Before laying boards, apply a butyl-based flashing tape (such as Trex Protect or Grace Vycor) to the top edge of every joist. This seals the nail/screw holes and prevents water from pooling on the joist hangers. Ensure your joist spacing is strictly 12 inches on-center (O.C.) for standard wet 5/4x6 pine to prevent structural bounce and subsequent board cupping.
2. Reading the End Grain for Board Orientation
Never install PT boards randomly. Look at the end grain to determine the growth rings. You must install the boards with the growth rings curving downward (resembling a frown). As the wood dries and shrinks, it will naturally cup slightly downward. This convex shape sheds rainwater. If installed with the rings curving upward (a smile), the edges will cup upward, creating a trough that holds water and accelerates rot.
3. Spacing Based on Moisture Content
Gap spacing is where most DIYers ruin budget decks.
- For wet, heavy PT boards: Install them tight against each other. As they dry over the first summer, they will shrink and naturally open up to a perfect 1/4-inch gap.
- For KDAT boards: Leave a 1/8-inch gap (the thickness of a 16d nail shaft) between boards during installation to allow for minor seasonal expansion during wet winter months.
Fastening Strategies for Budget Boards
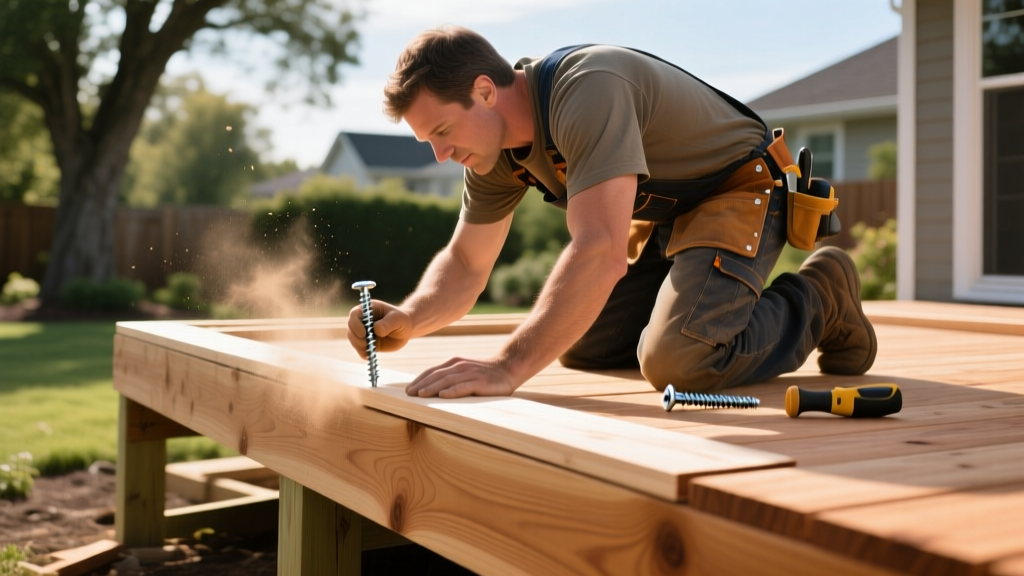
Hidden fastener systems are generally incompatible with standard pressure-treated pine due to the wood's high shrinkage rate, which can snap plastic clips or pull boards out of metal grooves. For low cost decking material, face-screwing remains the most reliable method, provided you use the correct hardware.
Do not use galvanized nails; they will pop as the wood shrinks. Instead, use #9 x 3-inch polymer-coated star-drive (Torx) deck screws. The polymer coating resists the corrosive copper-based preservatives (like ACQ or MCQ) used in modern PT lumber, which will rapidly corrode standard zinc-plated screws. Drive two screws per joist, positioned 1 inch from each edge of the board.
Southern Yellow Pine is exceptionally dense and prone to splitting at the ends. You must pre-drill the last 2 inches of every board end with a 1/8-inch countersink bit before driving the screw. Skipping this step will result in splintered board ends that wick moisture directly into the core.
Alternative Low Cost Option: Bamboo Decking Installation
Stranded woven bamboo is an increasingly popular low cost decking material that offers the hardness of tropical woods (like Ipe) at a fraction of the price. However, its installation requires a completely different approach than pine.
- Pre-Grooving: Unlike wood, bamboo cannot be easily face-screwed without pre-drilling every single hole, which is labor-prohibitive. Instead, use a slot-cutter router bit to cut a 5/32-inch groove along the edges of the boards.
- Hidden Clip System: Utilize stainless steel hidden fastening clips (such as the Tiger Claw system) that lock into the routed grooves. This allows the bamboo to expand and contract laterally without popping fasteners.
- End Sealing: Bamboo is highly susceptible to end-checking (cracking at the cuts). Immediately after cutting a bamboo board on-site, apply a commercial end-grain sealer (like Anchorseal) to the exposed cut. Failure to do so will result in deep splits within weeks of installation.
Post-Installation Sealing Timeline
A common myth is that you should seal a new pressure-treated deck immediately. If you are using standard wet PT lumber, applying a water-repellent sealer on day one will trap the internal moisture inside the wood, leading to severe warping and fungal decay. According to guidelines supported by the American Wood Protection Association, you must allow wet PT wood to weather and dry for at least 30 to 90 days. Perform the 'water drop test': sprinkle water on the deck boards. If it beads up, the wood is still too wet to seal. If it absorbs into the grain within 10 seconds, the wood is ready for a penetrating, oil-based semi-transparent stain. KDAT lumber, however, can and should be sealed within the first week of installation to prevent UV graying.
Critical Installation Mistakes to Avoid
- Ignoring the 1/2-inch overhang rule: Deck boards should overhang the outer rim joist by exactly 1/2 inch to 1 inch. Less than this, and water will wick back under the boards via capillary action, rotting the rim joist.
- Butting boards too tightly at the ends: When two boards meet end-to-end on a single joist, cut them at a 45-degree miter (scarf joint) rather than a straight 90-degree butt joint. A scarf joint sheds water outward and hides the inevitable shrinkage gap that will form at the end grain.
- Skipping the safety inspection: The North American Decking and Railing Association (NADRA) emphasizes that budget decks often fail at the ledger board connection. Always use structural lag screws (not standard carriage bolts) and verify that your ledger board is properly flashed behind the house siding.
By treating low cost decking materials with the same structural rigor as premium composites, you can easily extend the lifespan of a budget pine or bamboo deck from a mere 7 years to well over 15 years, maximizing your return on investment without compromising on safety or aesthetics.
Written by
David NakamuraDavid Nakamura is a licensed architect (AIA) and construction technology writer focused on sustainable building methods, mass timber engineering, and high-performance building envelopes. He holds a Master of Architecture from the University of Washington and is a certified Passive House Consultant (CPHC). David spent eight years at the Seattle firm Mithun, where he led the design of three LEED Platinum projects, before founding his own practice specializing in net-zero residential design. He serves on the editorial advisory board of GreenBuilder Magazine and has authored peer-reviewed papers on cross-laminated timber (CLT) connections for the Journal of Structural Engineering. In his spare time, David teaches woodworking at Pratt Fine Arts Center and kayaks the Puget Sound.
More from David Nakamura
View all
Construction Cost
Labor Cost to Build a Deck Per Sq Ft: 2026 Installation Guide
Discover the exact labor cost to build a deck per sq ft in 2026. This installation guide breaks down contractor rates, complexity factors, and hidden fees.
Aug 4, 2026

Construction Cost
How Much Does It Cost to Build a 3 Bedroom House? Financing Guide
Learn exactly how much it costs to build a 3 bedroom house and explore 2026 financing options, construction loan types, and budget frameworks for your build.
Aug 4, 2026

Construction Cost
Cost to Build a Tennis Court: 2026 Guide
How much does it cost to build a tennis court in 2026? Breakdowns for asphalt, concrete, and synthetic surfaces plus fencing and lighting.
Jul 30, 2026