Laminate Floor Edging Options: The Complete Transition Guide
Explore the best laminate floor edging options. Learn how to choose T-moldings, reducers, and stair noses for flawless, durable transitions.

The Structural Role of Laminate Floor Edging
Laminate flooring operates as a floating system, meaning it is not mechanically fastened to the subfloor. Because high-density fiberboard (HDF) cores expand and contract with ambient humidity shifts, the entire floor mass must move as a single unit. Laminate floor edging options—collectively known as transition moldings—are not merely aesthetic trim pieces; they are critical structural components designed to conceal mandatory expansion gaps while allowing lateral floor movement. Failing to select and install the correct edging profile will result in buckling, gapping, or catastrophic joint failure.
Core Laminate Floor Edging Options Compared
Selecting the right profile depends entirely on the adjacent surface's height and material. Below is the definitive matrix for standard laminate transitions.
| Molding Type | Primary Use Case | Typical Width | Avg. Cost (8ft) |
|---|---|---|---|
| T-Molding | Bridging two hard surfaces of equal height (e.g., laminate to tile). | 1.5" - 2.0" | $18 - $35 |
| Reducer | Transitioning from laminate down to a lower surface (e.g., vinyl or thin tile). | 1.75" - 2.25" | $20 - $40 |
| End Cap / Threshold | Finishing laminate against carpet, sliding glass doors, or fireplaces. | 1.5" - 2.0" | $15 - $30 |
| Stair Nose | Capping the leading edge of a stair tread; provides a rounded, safe overhang. | 2.0" - 3.0" | $35 - $65 |
| Quarter Round | Concealing perimeter expansion gaps against baseboards or walls. | 0.75" | $8 - $15 |
Material Selection: MDF vs. Solid Wood vs. Aluminum
The substrate material of your edging dictates its durability, moisture resistance, and installation method. While OEM (Original Equipment Manufacturer) moldings often match the laminate's printed decor layer perfectly, their core material may not suit high-stress environments.
Medium Density Fiberboard (MDF)
Most standard coordinating laminate moldings are constructed from MDF wrapped in a foil or veneer. They are cost-effective and visually seamless. However, MDF is highly susceptible to moisture swelling. If you are installing a reducer in a bathroom doorway or an end cap at an exterior sliding door, MDF will degrade if exposed to standing water. Furthermore, ensure any MDF molding carries CARB2 compliance to limit formaldehyde off-gassing, as verified by the California Air Resources Board (CARB) composite wood standards.
Solid Hardwood
For stair noses and high-traffic commercial thresholds, solid hardwood (like oak or maple) stained to match the laminate is vastly superior. Hardwood can be blind-nailed directly into the stair tread, providing mechanical strength that MDF lacks. It also resists chipping on the leading edge, a common failure point for wrapped MDF stair nosings when subjected to foot traffic and vacuum cleaner impacts.
Aluminum and Metal Profiles
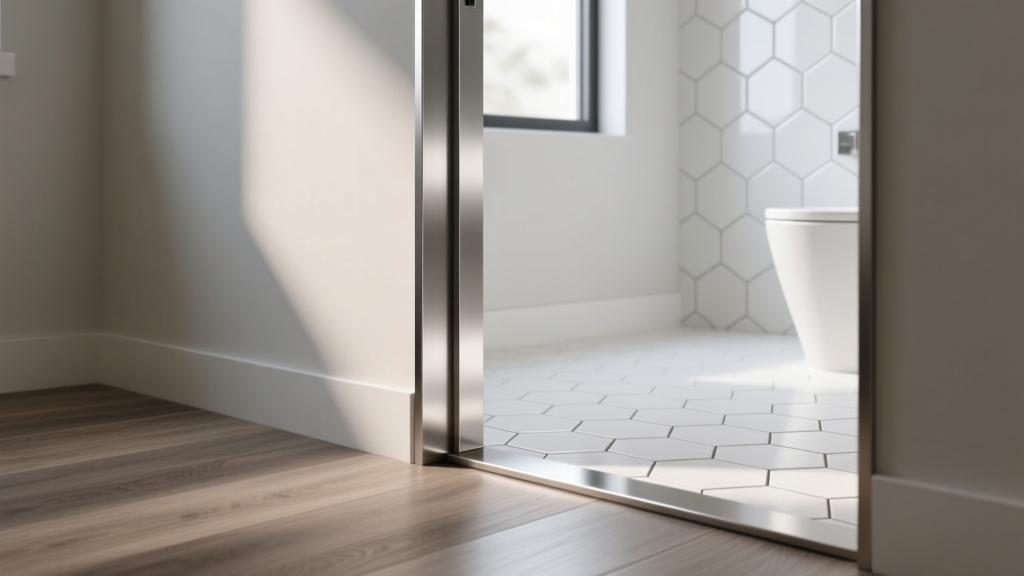
For ultra-modern aesthetics or commercial spaces requiring ADA-compliant, low-profile transitions, metal systems like the Schlüter Reno-T series are the gold standard. Aluminum T-moldings feature a minimal 1/16-inch top profile, eliminating trip hazards. They are 100% waterproof, impervious to heavy rolling loads (like commercial carts), and install via a heavy-duty polyurethane adhesive rather than mechanical tracks.
Step-by-Step Installation for Floating Transitions
The most frequent cause of laminate transition failure is improper anchoring. The golden rule of floating floor edging: Never pin the laminate flooring to the subfloor through the molding. The molding must anchor to the subfloor, while the laminate slides freely beneath the molding's lip.
- Acclimate the Moldings: Leave wood-core and MDF moldings in the installation room for 48 hours prior to installation to stabilize their moisture content.
- Cut the Track: Measure the doorway or transition line. Cut the plastic or metal U-channel track 1/2-inch shorter than the total width to allow for lateral expansion at the ends.
- Secure the Track (Wood Subfloor): Position the track centered over the gap. Fasten it using 1-inch ring-shank nails or #8 wood screws every 12 inches. Ensure no fasteners pierce the adjacent laminate planks.
- Secure the Track (Concrete Subfloor): Skip mechanical fasteners. Apply a continuous 3/8-inch bead of 100% polyurethane construction adhesive (e.g., Loctite PL Premium 3x) to the bottom of the track. Press firmly and weight it down for 4 hours.
- Snap in the Molding: Apply a thin bead of clear silicone caulk to the inside lips of the track (optional, but prevents squeaking). Align the molding profile and press down firmly until it clicks into the U-channel.
Common Failure Modes and Troubleshooting
Even premium laminate floor edging options will fail if environmental or mechanical variables are ignored. Use this diagnostic guide to resolve post-installation issues.
- Symptom: Squeaking or clicking when stepped on.
Cause: The bottom of the molding is rubbing against the top of the laminate plank due to subfloor deflection.
Fix: Remove the molding. Apply a layer of self-adhesive EVA foam tape (1/16-inch thick) to the underside of the molding's overlapping lips before snapping it back into the track. - Symptom: T-Molding repeatedly pops out of the track.
Cause: The expansion gap is too narrow, and the laminate is expanding laterally, pushing the two floor halves together and forcing the T-molding upward.
Fix: Remove the molding and track. Use a circular saw or oscillating multi-tool to undercut an additional 1/4-inch from the adjacent laminate edges to restore the expansion zone. - Symptom: Stair nose feels spongy or dips under weight.
Cause: The stair nose was glued only to the floating laminate, not the structural stair tread.
Fix: Pry up the stair nose. Apply PL Premium adhesive directly to the wooden stair tread substrate and blind-nail the stair nose through its tongue into the tread using a pneumatic pin nailer.
Expert Sourcing and Brand Recommendations
Finding an exact color match for laminate edging can be challenging, especially for discontinued lines or imported brands. OEM moldings from brands like Pergo, Shaw, and Mohawk are typically manufactured by third-party specialists.
Pro Sourcing Tip: If your flooring manufacturer does not offer a coordinating stair nose or reducer, check the catalog from Zamma Corporation. Zamma is the largest third-party molding manufacturer in North America and produces exact-match wrapped MDF and solid wood moldings for over 4,000 specific laminate and vinyl SKUs. Always match by the flooring's exact SKU or UPC, not just the color name, as dye lots vary between production years.
By prioritizing the correct profile geometry, selecting moisture-appropriate core materials, and strictly adhering to floating installation mechanics, your laminate transitions will remain structurally sound and visually seamless for the lifespan of the floor.
Written by
Elena RodriguezElena Rodriguez is a civil engineer and technical writer specializing in concrete technology, masonry systems, and ASTM/ACI compliance. She earned her B.S. in Civil Engineering from Texas A&M University and spent a decade at a materials testing laboratory, performing over 2,000 concrete compressive strength tests and masonry prism evaluations. Elena is an ACI-certified Field Testing Technician (Grade I) and a member of ASTM Committee C12 on Natural Building Stone. She currently consults on forensic engineering cases involving concrete failures and moisture intrusion. Based in San Antonio, TX, Elena is a proud member of the Society of Women Engineers (SWE) and coaches her daughter's FIRST Robotics team.
More from Elena Rodriguez
View all
Walls & Panels
Cost Analysis: Light Gauge Steel Framing Advantages and Disadvantages
Evaluate light gauge steel framing advantages and disadvantages through a strict cost analysis lens, comparing material, labor, and lifecycle expenses.
Aug 4, 2026

Walls & Panels
Gypsum Board Types: Exact Specifications, Thickness & Dimensions
Compare standard, Type X, and moisture-resistant gypsum board types. Get exact specifications, thicknesses, dimensions, and ASTM standards for your project.
Aug 4, 2026

Fire Resistance
Best Fire-Resistant Outdoor Decking Materials: 2026 Buyer Guide
Discover the best fire-resistant outdoor decking materials for 2026. Compare Class A PVC, aluminum, and hardwood options for WUI compliance and safety.
Aug 4, 2026