Diagram Types of Foundations: A Diagnostic Guide to Structural Cracks
Learn how to read a diagram of foundation types to diagnose structural flaws, map crack patterns, and identify slab, crawlspace, and basement failures.

The Diagnostic Blueprint: Mapping Load Paths to Failure Modes
When structural engineers diagram types of foundations, they are not merely sketching concrete footings; they are mapping complex load paths from the superstructure down to the bearing soil. Understanding these diagrams is the most critical step in diagnosing structural failures. A hairline crack in a slab-on-grade means something entirely different than the same crack in a poured concrete basement wall. By cross-referencing your specific foundation blueprint with observed symptom topography, you can isolate the exact vector of failure—be it differential settlement, hydrostatic pressure, or thermal shrinkage—before authorizing expensive and potentially unnecessary repairs.
Slab-on-Grade: Decoding Crack Topography
Slab foundations transfer the entire structural load directly to the underlying subgrade. When reviewing a slab diagram, pay close attention to the grade beam layout and the post-tensioning cable grid (if applicable). Failures here are almost exclusively driven by soil moisture fluctuation and poor subgrade compaction.
Differential Settlement vs. Plastic Shrinkage
Not all slab cracks indicate structural doom. Plastic shrinkage cracks typically appear within the first few hours of curing, are superficial (less than 1/16 inch wide), and follow a random, map-like pattern. Differential settlement, however, manifests as diagonal cracks radiating from corners or doors, often exceeding 1/8 inch in width.
For settling slabs, polyurethane foam jacking has largely replaced traditional mudjacking in 2026. High-density structural foam (2.5 to 4.0 lb/ft³) is injected through 5/8-inch ports, expanding to fill voids and lift the slab with pinpoint accuracy, adding negligible weight compared to the 100+ lb/ft³ slurry used in mudjacking.
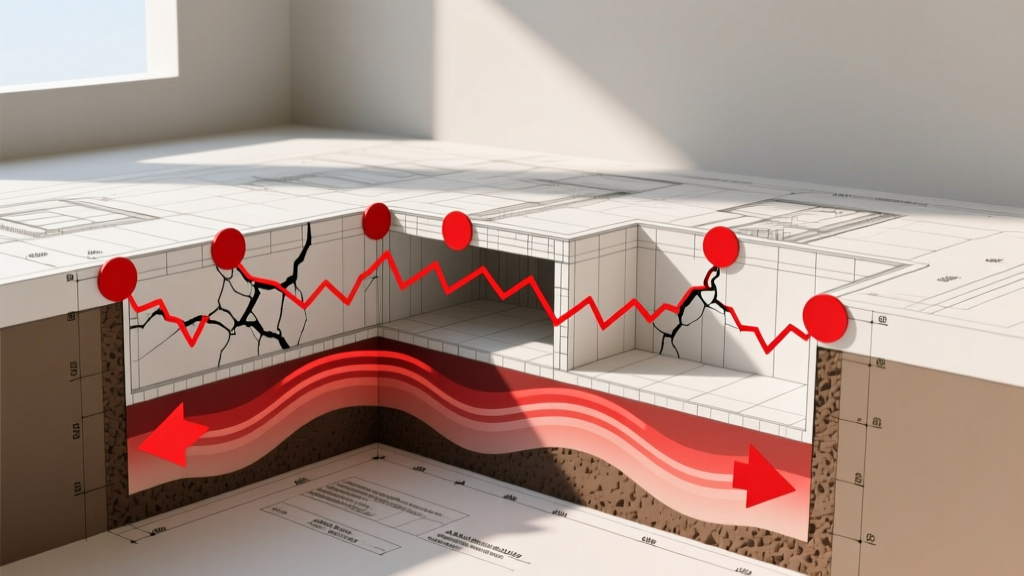
Crawlspace and Pier-and-Beam: The Moisture & Deflection Matrix
Diagrams of pier-and-beam or crawlspace foundations highlight the gap between the ground and the floor joists. This void is a primary vulnerability for moisture accumulation and wood-destroying organisms. Diagnosing issues here requires measuring both wood moisture content (WMC) and joist deflection.
| Warning Sign | Primary Cause | Diagnostic Tool / Threshold | 2026 Repair Cost Range |
|---|---|---|---|
| Bouncy or Sagging Floors | Pier settlement or undersized joists | Laser level; Deflection > L/360 | $1,800 - $3,500 per pier |
| Musty Odors / Cupping Hardwood | Evaporation from exposed dirt floor | Moisture meter; WMC > 20% | $3 - $6 per sq. ft. (vapor barrier) |
| Sticking Doors / Drywall Cracks | Girder beam rot or shim failure | Visual inspection; >2 shims stacked | $4,000 - $8,500 (beam replacement) |
When inspecting piers, look for 'shim stacking.' If a contractor has stacked more than two or three wooden or steel shims on top of a concrete pier to level the beam, the repair is temporary. The correct 2026 standard involves driving helical piers to a load-bearing stratum, utilizing a torque-to-capacity correlation where 1,000 ft-lbs of installation torque typically yields 10,000 lbs of ultimate capacity.
Basement Walls: Hydrostatic Pressure and Lateral Loads
A basement foundation diagram reveals the immense lateral earth pressure acting against the walls. Saturated soil can exert up to 60 pounds per square foot for every foot of water depth. When this pressure exceeds the wall's moment capacity, bowing and shearing occur.
Reading the Bowing Profile
- Top-Third Bowing: Usually indicates frost heave or heavy surface loading (like a driveway) placed too close to the foundation edge.
- Mid-Wall Bowing: The classic signature of hydrostatic pressure. The wall acts as a beam supported at the top and bottom, failing in the middle.
- Bottom-Third Shearing: Often caused by inadequate footing width or the wall sliding inward due to a lack of a proper keyway or rebar dowels connecting the wall to the footing.
For mid-wall bowing measuring less than 2 inches, carbon fiber straps (tensile strength exceeding 100,000 PSI) installed at 48 inches on center are the industry standard. If the wall has bowed beyond 2 inches, the concrete has likely yielded past its elastic limit, requiring excavation from the exterior, pushing the wall back to plumb, and installing helical tiebacks.
Step-by-Step Diagnostic Workflow for Homeowners
Before calling a foundation repair company—which often operates on a sales-commission model—perform this independent diagnostic workflow:
- Acquire the Blueprint: Request the original foundation diagram from your local municipal building department. Identify the exact type (e.g., post-tensioned slab, block basement, concrete pier).
- Map the Cracks: Use painter's tape to mark every crack. Measure the width with a feeler gauge and the shear displacement with a digital caliper.
- Monitor Over Time: Install Avongard glass crack monitors (available for under $15 each) across the primary fractures. Wait 30 to 60 days to determine if the movement is active or historical.
- Check the Perimeter: Verify that downspouts discharge at least 10 feet away from the foundation. According to HUD guidelines on residential foundation systems, improper surface drainage is the leading cause of premature foundation distress.
- Consult an Independent Engineer: If monitors show active movement exceeding 1/16 inch per month, hire an independent structural engineer (typically $500–$800) to draft a repair specification, rather than relying on a contractor's free inspection.
The Financial Cost of Misdiagnosing Foundation Types
Treating a post-tensioned slab like a conventional rebar-reinforced slab can lead to catastrophic repair failures. Cutting into a post-tension cable to install a standard concrete pier can compromise the entire slab's structural integrity, leading to repair bills exceeding $40,000. Similarly, attempting to waterproof a crawlspace by sealing the vents without installing a mechanical dehumidifier or conditioned air supply will trap moisture, accelerating joist rot. By accurately reading your foundation diagram and understanding the specific physics of your system, you ensure that the repair addresses the root structural vector, not just the cosmetic symptom.
Written by
Sarah WhitfieldSarah Whitfield is a chartered quantity surveyor (MRICS) and construction cost analyst with 15 years of experience in material pricing, procurement strategy, and project budgeting. She earned her degree in Construction Management from the University of Reading (UK) and has worked on projects ranging from $2M custom homes to $180M mixed-use developments across North America and Europe. Sarah currently leads cost estimating for BuildMat Insight, maintaining a proprietary database of 4,000+ material price points updated quarterly. She is a frequent contributor to RSMeans cost data panels and has presented at the International Cost Engineering Council (ICEC) congress. Based in Denver, CO, Sarah is an avid trail runner and volunteer mentor for Women in Construction.
More from Sarah Whitfield
View all
Wood & Lumber
What Are the Different Types of Wood? A Builder's Guide
Compare structural softwoods, finish hardwoods, and engineered lumber. Analyze Janka ratings, MOE values, and 2026 pricing for construction.
Aug 4, 2026

Walls & Panels
Steel Framing vs Wood Framing: Corrosion and Moisture Defense
Compare steel framing vs wood framing for moisture resistance. Learn about galvanized coatings, condensation risks, and corrosion protection strategies.
Jul 21, 2026

Stone & Masonry
How to Cut Stone Veneer: Wet Saw vs Grinder Comparison
Compare the best tools for cutting stone veneer. We review wet saws, angle grinders, and chop saws to help you achieve clean, chip-free cuts.
Jul 21, 2026