Step-by-Step Installation Guide for Shed Roofing Materials
Learn how to properly install shed roofing materials, from decking prep to shingle and metal panel fastening, with exact measurements and pro tips.

Pre-Installation: Decking and Slope Requirements
Before unboxing any shed roofing materials, you must verify the structural integrity and pitch of the roof deck. Unlike primary residences, sheds often lack soffit-to-ridge ventilation, making the decking highly susceptible to trapped moisture and condensation. For unventilated shed roofs, 5/8-inch APA Rated CDX plywood is vastly superior to 7/16-inch OSB. CDX plywood utilizes exterior-grade glues that resist delamination when exposed to the high humidity common in unvented shed interiors. According to the APA - The Engineered Wood Association, panels must be installed with a 1/8-inch gap at all edges and ends to accommodate thermal expansion, fastened with 8d ring-shank nails spaced 6 inches on center at the edges and 12 inches in the field.
Slope Decision Tree for Material Selection
- Less than 2:12 pitch: Abandon shingles. Use TPO, EPDM, or modified bitumen roll roofing.
- 2:12 to 4:12 pitch: Asphalt shingles or metal are viable, but you must install a double layer of underlayment or a full ice and water shield membrane.
- Greater than 4:12 pitch: Standard single-layer synthetic underlayment is sufficient for all shed roofing materials, including architectural shingles and corrugated metal.
Phase 1: Edge Metal and Underlayment Installation
Water management begins at the eaves. Install a 26-gauge galvanized steel drip edge along the eaves first, securing it with 1-1/4 inch roofing nails spaced 8 inches apart. Next, apply a self-adhering ice and water shield, such as Grace Ice & Water Shield, extending at least 24 inches past the interior wall line. This prevents wind-driven rain and ice dam meltwater from wicking under your primary shed roofing materials.
Synthetic Underlayment Overlaps
For the remainder of the deck, roll out a high-traction synthetic underlayment like Tyvek Protec 120. Synthetic underlayments offer higher tear resistance than traditional 15 lb asphalt felt, which is critical when working on the steep pitches often found on gambrel or A-frame sheds. Maintain a strict 4-inch horizontal overlap and a 6-inch vertical end-lap. Install the drip edge along the rakes (the side edges) over the underlayment to ensure water sheds cleanly off the edge metal rather than behind it.
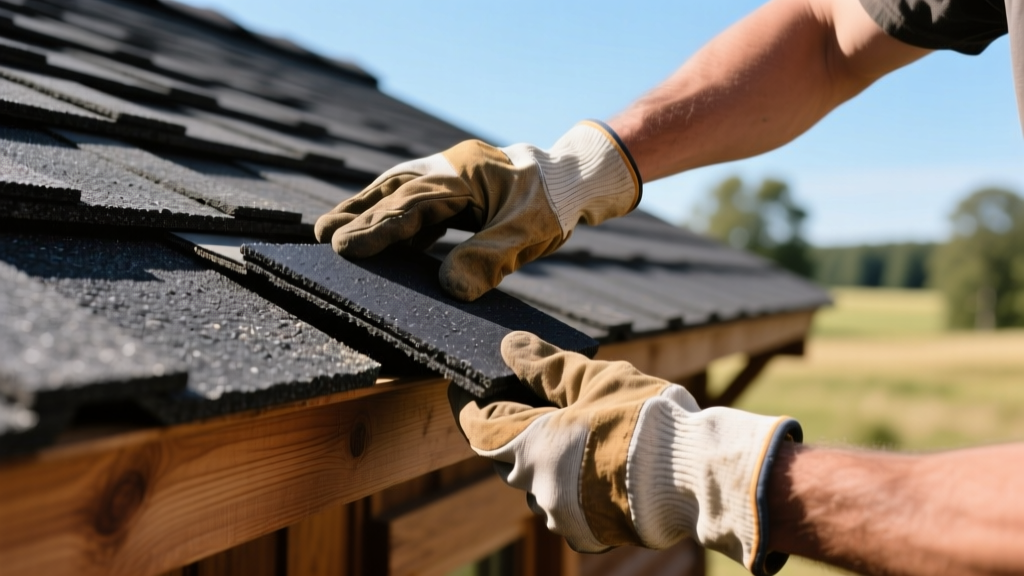
Phase 2: Fastening Architectural Asphalt Shingles
Architectural shingles, such as GAF Timberline HDZ or Owens Corning Duration, remain the most popular shed roofing materials due to their balance of cost, wind resistance, and aesthetic appeal. Installation requires precision to prevent blow-offs and premature granule loss.
The Starter Strip and First Course
Do not use a three-tab shingle for your starter strip. Instead, use a dedicated starter strip roll or cut the tabs off a matching architectural shingle. Install the starter strip with a 1/4-inch overhang past the eave drip edge. This seals the bottom edge of the first exposed course and fills the gaps where the shingle cutouts will sit.
Use 1-1/4 inch galvanized roofing nails with a minimum 3/8-inch head. For standard applications, 4 nails per shingle are required; upgrade to 6 nails per shingle if your shed is in a high-wind zone (greater than 110 mph). Nails must be driven perfectly flush. A nail driven too deep will cut through the fiberglass mat, reducing pull-through resistance by up to 40%. A nail left proud will prevent the overlying shingle from sealing, leading to creasing and blow-offs.
Stagger the vertical joints of subsequent courses by a minimum of 6 inches to prevent water channeling. Use the 5-5/6 inch reveal mark printed on the top of most modern architectural shingles to maintain straight, horizontal courses up to the ridge.
Phase 2 Alternative: Installing Corrugated Metal Panels
For agricultural or utility sheds, 29-gauge corrugated galvanized steel is a highly durable alternative. Metal panels require a different fastening philosophy than shingles. According to guidelines referenced by the National Roofing Contractors Association (NRCA), metal roofing must be allowed to expand and contract thermally without buckling.
- Fastener Type: Use #9 x 1-1/2 inch Woodgrip screws with neoprene washers. Never use nails for corrugated metal.
- Placement: Drive screws in the flat of the panel, not the high rib, to ensure a watertight seal against the decking. (Note: Some standing seam or specific ribbed profiles require rib-fastening; always check the manufacturer spec sheet).
- Spacing: Space fasteners 12 inches on center at the side laps and eaves, and 24 inches on center in the field of the panel.
- Overlaps: Maintain a minimum 1.5 corrugation side-lap and a 6-inch end-lap, sealing the end-lap with a 3/8-inch bead of butyl tape to prevent capillary action from drawing water uphill.
Troubleshooting Common Shed Roof Failures
Sheds experience unique failure modes due to surrounding tree cover, lack of gutter systems, and minimal insulation. Use this matrix to diagnose and correct issues with your shed roofing materials.
| Failure Mode | Root Cause | Corrective Action |
|---|---|---|
| Shingle blow-off at rake edge | Nails placed too high or outside the designated nail line; missing rake drip edge. | Remove damaged shingles, reinstall with 6 nails per shingle placed 5/8 inch above the butt edge, and apply a 3-inch bead of roofing cement under the rake edge. |
| Metal panel oil-canning (wavy appearance) | Screws over-tightened, restricting thermal expansion, or purlins not installed in a flat plane. | Back out over-driven screws a quarter turn. For future installs, use a torque-controlled drill clutch set to stop exactly when the neoprene washer kisses the metal. |
| Moss and algae buildup on north slope | Overhanging branches dropping debris and retaining moisture on porous asphalt surfaces. | Trim canopy back 10 feet. Install a 3-inch zinc or copper strip just below the ridge cap; rain washing over the metal will deposit ions that inhibit organic growth. |
| Interior condensation dripping onto tools | Unvented shed trapping humid air against cold metal panels or uninsulated decking. | Retrofit a 1-inch layer of closed-cell spray foam directly to the underside of the roof deck to create a thermal and vapor barrier. |
Final Inspection and Ridge Cap Sealing
The installation of your shed roofing materials is not complete until the ridge is sealed. For asphalt shingles, use pre-bent hip and ridge cap shingles, overlapping them by 5 inches and nailing 5-1/2 inches from the exposed edge. For metal roofs, install a 10-inch wide ridge cap with a 2-inch foam closure strip underneath to block wind-driven rain and pest entry. Walk the entire roof perimeter one final time to ensure no exposed nail heads remain; any exposed fastener must be immediately dabbed with a high-quality polyurethane roof sealant like OSI QUAD.
Written by
David NakamuraDavid Nakamura is a licensed architect (AIA) and construction technology writer focused on sustainable building methods, mass timber engineering, and high-performance building envelopes. He holds a Master of Architecture from the University of Washington and is a certified Passive House Consultant (CPHC). David spent eight years at the Seattle firm Mithun, where he led the design of three LEED Platinum projects, before founding his own practice specializing in net-zero residential design. He serves on the editorial advisory board of GreenBuilder Magazine and has authored peer-reviewed papers on cross-laminated timber (CLT) connections for the Journal of Structural Engineering. In his spare time, David teaches woodworking at Pratt Fine Arts Center and kayaks the Puget Sound.
More from David Nakamura
View all
Construction Cost
Labor Cost to Build a Deck Per Sq Ft: 2026 Installation Guide
Discover the exact labor cost to build a deck per sq ft in 2026. This installation guide breaks down contractor rates, complexity factors, and hidden fees.
Aug 4, 2026

Construction Cost
How Much Does It Cost to Build a 3 Bedroom House? Financing Guide
Learn exactly how much it costs to build a 3 bedroom house and explore 2026 financing options, construction loan types, and budget frameworks for your build.
Aug 4, 2026

Construction Cost
Cost to Build a Tennis Court: 2026 Guide
How much does it cost to build a tennis court in 2026? Breakdowns for asphalt, concrete, and synthetic surfaces plus fencing and lighting.
Jul 30, 2026