Application Guide: Specifying Bayview Building Materials Elma for PNW Construction
Learn how to select, handle, and install Bayview Building Materials Elma inventory for high-moisture Pacific Northwest construction projects.

Navigating High-Moisture Building Envelopes in Grays Harbor County
Constructing durable residential and commercial envelopes in the Pacific Northwest requires a departure from standard interior-climate building practices. The Elma, Washington microclimate, situated in Grays Harbor County, experiences annual precipitation exceeding 60 inches, prolonged winter dampness, and high humidity gradients. When sourcing regional inventory from Bayview Building Materials Elma, contractors must apply rigorous moisture-management protocols to prevent premature assembly failure. This application guide details the exact material specifications, handling procedures, and installation tolerances required to maximize the lifespan of timber, engineered wood, and cladding products in this specific coastal-adjacent environment.
Material Matrix for PNW High-Moisture Applications
Not all materials stocked at regional yards are suited for every exposure zone. The following matrix outlines the optimal application zones and critical failure risks for core structural and cladding materials commonly specified from local suppliers.
| Material Category | Required Specification / Grade | Optimal Application Zone | Primary Failure Risk if Misapplied |
|---|---|---|---|
| Pressure-Treated Douglas Fir | UC4A (Ground Contact) or UC4B | Sill plates, deck joists, retaining walls | Internal rot, structural decay at end-cuts |
| Fiber Cement Siding | 5/16" Thick, Pre-primed all 6 sides | Exterior cladding, wainscoting | Edge wicking, freeze-thaw delamination |
| Engineered Wood I-Joists | TJI 230 or equivalent, sealed flanges | Floor and roof framing | Flange splitting, OSB web mold growth |
| Integrated Sheathing | 7/16" OSB with integrated Class II WRB | Continuous exterior wall sheathing | Tape adhesion failure, thermal bridging |
Application Protocol: Engineered Wood and Fiber Cement Siding
Proper installation of exterior cladding is the first line of defense against wind-driven rain. The APA - The Engineered Wood Association mandates strict adherence to moisture barriers and fastening schedules. Below is the step-by-step protocol for applying these materials in the Elma region.
Step 1: Site Storage and Acclimation
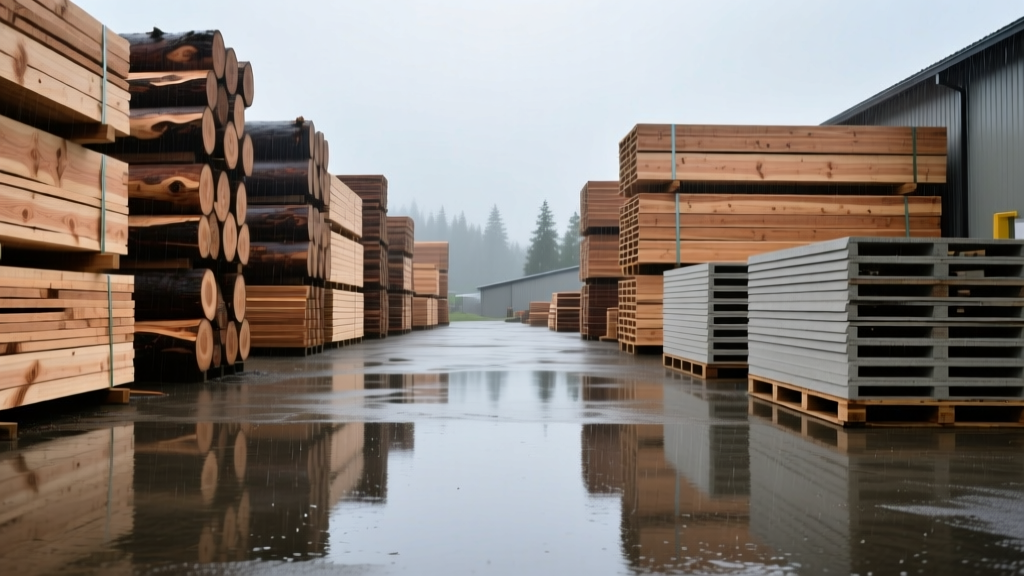
Materials delivered from Bayview Building Materials Elma must be protected immediately upon arrival. Store all engineered wood and fiber cement products on level dunnage spaced no more than 16 inches apart. Elevate the stack a minimum of 4 inches above the soil to prevent ground-moisture wicking. Cover the stack with a breathable, waterproof tarp (such as 6-mil woven polyethylene), ensuring the sides remain open for cross-ventilation. Never store fiber cement siding directly on wet soil, as the boards will absorb moisture and expand, leading to joint buckling post-installation.
Step 2: Weather-Resistive Barrier (WRB) and Rainscreen Integration
In high-precipitation zones, a simple WRB is insufficient. You must incorporate a ventilated rainscreen gap. Install a Class I or II vapor retarder on the interior side of the wall assembly (depending on exact heating degree days), and apply a drainable housewrap (e.g., Tyvek CommercialWrap) or a fluid-applied membrane on the exterior sheathing. Over the WRB, install vertical 1/4-inch to 3/8-inch thick furring strips (battens) aligned with the wall studs. This creates a critical capillary break and drainage plane, allowing any water that breaches the siding to flow downward and exit through weep holes at the bottom track. For comprehensive envelope design principles, refer to the Building Science Corporation builders guides.
Step 3: Fastening Schedules and Hardware Selection
The coastal-adjacent air in Grays Harbor County contains enough salt aerosol and humidity to rapidly corrode standard hardware.
Do not use standard galvanized or hot-dipped galvanized (HDG) fasteners for exterior cladding or structural hangers in this region. The zinc coating will degrade within 5 to 7 years under constant damp conditions. You must specify Type 316 Stainless Steel ring-shank nails for all siding and sheathing applications. Type 304 stainless steel is acceptable for interior framing connectors, but 316 is mandatory for any fastener exposed to the exterior or penetrating the WRB.
Step 4: Joint Treatment and Expansion Clearances
Wood and engineered materials expand and contract with seasonal humidity shifts. Maintain a strict 1/8-inch expansion gap at all end joints and abutments. Do not caulk the vertical end joints of lap siding; instead, use Z-flashing or H-clips behind the joint to shed water while allowing lateral movement. For penetrations (pipes, vents, exterior receptacles), seal the perimeter using an ASTM C920-compliant polyurethane sealant, which retains elasticity through the region's temperature swings, unlike cheaper silicone or acrylic latex alternatives.
Troubleshooting Common Moisture Intrusion Failures
Even with premium materials, application errors lead to callbacks. Use this diagnostic framework to identify and rectify common field failures.
- Symptom: Black or gray staining at the butt joints of cedar or engineered wood siding.
Cause: Tannin bleed from unsealed end-grain, or water pooling behind the joint due to missing flashing.
Fix: Remove the affected boards. Apply a zinc-based stain-blocking primer to all end-cuts before reinstalling. Ensure Z-flashing is properly lapped over the WRB behind the joint. - Symptom: Buckling or ridging in engineered wood subflooring (I-joists or OSB panels).
Cause: Failure to leave a 1/8-inch expansion gap between panel edges during installation, combined with high ambient humidity during the framing stage.
Fix: Use a circular saw set to the exact depth of the subfloor to cut relief kerfs along the buckled seams. Re-secure the panels with ring-shank nails at 6-inch intervals along the edges. - Symptom: Peeling paint on the bottom course of fiber cement siding.
Cause: Siding installed too close to the soil or hardscape, causing ground-splash wicking into the unprimed bottom edge.
Fix: Fiber cement must maintain a minimum 2-inch clearance above hardscapes and a 6-inch clearance above soil. If clearance cannot be achieved, replace the bottom course with PVC trim or composite lumber rated for ground contact.
Regional Building Code Compliance and Inspections
Washington State Building Code (WSBC) and local Grays Harbor County amendments enforce strict wind-driven rain resistance standards. When pulling permits for projects utilizing Bayview Building Materials Elma inventory, be prepared to demonstrate your moisture-management strategy during the rough framing and sheathing inspection. Inspectors will specifically look for properly integrated flashing at window rough openings (using a pan-flashing system with end dams) and continuous sealant beads at all sheathing penetrations. Furthermore, any pressure-treated lumber used in ground-contact applications must bear an AWPA UC4A or UC4B stamp; UC3B (above-ground only) will fail inspection if used for sill plates on concrete foundations. Always verify the treatment tags on-site before the framing crew begins assembly, as returning misgraded lumber delays critical path scheduling.
Written by
David NakamuraDavid Nakamura is a licensed architect (AIA) and construction technology writer focused on sustainable building methods, mass timber engineering, and high-performance building envelopes. He holds a Master of Architecture from the University of Washington and is a certified Passive House Consultant (CPHC). David spent eight years at the Seattle firm Mithun, where he led the design of three LEED Platinum projects, before founding his own practice specializing in net-zero residential design. He serves on the editorial advisory board of GreenBuilder Magazine and has authored peer-reviewed papers on cross-laminated timber (CLT) connections for the Journal of Structural Engineering. In his spare time, David teaches woodworking at Pratt Fine Arts Center and kayaks the Puget Sound.
More from David Nakamura
View all
Construction Cost
Labor Cost to Build a Deck Per Sq Ft: 2026 Installation Guide
Discover the exact labor cost to build a deck per sq ft in 2026. This installation guide breaks down contractor rates, complexity factors, and hidden fees.
Aug 4, 2026

Construction Cost
How Much Does It Cost to Build a 3 Bedroom House? Financing Guide
Learn exactly how much it costs to build a 3 bedroom house and explore 2026 financing options, construction loan types, and budget frameworks for your build.
Aug 4, 2026

Construction Cost
Cost to Build a Tennis Court: 2026 Guide
How much does it cost to build a tennis court in 2026? Breakdowns for asphalt, concrete, and synthetic surfaces plus fencing and lighting.
Jul 30, 2026