Architectural Stone Designs: Using Metal Lath for Stone Veneer
Discover how to use metal lath for stone veneer to achieve curved walls, cantilevers, and seamless architectural transitions in modern designs.

The Hidden Framework Behind High-End Stone Aesthetics
In contemporary architectural design, manufactured and natural stone veneers are frequently pushed beyond flat, vertical planes. Designers are specifying curved feature walls, floating hearths, and indoor-outdoor transitional soffits to create dynamic, biophilic spaces. However, the visual success of these complex geometries relies entirely on an unseen structural component: the metal lath for stone veneer. While the stone itself provides the aesthetic finish, the lath acts as the tensile skeleton that holds the mortar scratch coat in place, transfers the dead load to the framing, and prevents catastrophic delamination. Selecting the correct lath profile, weight, and fastening schedule is not merely a code compliance exercise; it is the foundational step in executing high-end stone aesthetics without compromising structural integrity.
Matching Lath Profiles to Architectural Stone Styles
Not all stone veneer profiles exert the same shear forces on a wall assembly. Heavy, deep-profile stones require a stiffer lath matrix to support the thicker mortar bed, while lightweight, tight-joint stacked stones can utilize standard diamond mesh. Below is a design-to-specification matrix for 2026 architectural applications.
| Stone Design Style | Recommended Lath Type | Weight / Gauge | Design Rationale & Mortar Depth |
|---|---|---|---|
| Tight-Stacked Ledgestone | Standard Diamond Mesh | 2.5 lb/sq yd | Minimal mortar bed (3/8'). Flexible enough for tight radius curves. |
| Heavy Fieldstone / Cobble | Ribbed Metal Lath | 3.4 lb/sq yd | Ribs provide stiffness for deep mortar beds (1/2' to 3/4') and heavy stone. |
| Dry-Stack Limestone | High-Rib / Flat Rib | 3.4 lb/sq yd | Prevents lath 'telegraphing' through thin mortar joints on smooth stone. |
| Oversized Ashlar Blocks | Woven Wire / Heavy Rib | 3.4+ lb/sq yd | Maximum shear strength for large, heavy individual units on tall walls. |
Executing Complex Geometries: Curves and Radii
Curved stone walls are a hallmark of luxury residential and commercial hospitality design. To achieve a smooth radius without buckling the lath or creating flat spots in the mortar, standard diamond mesh expanded metal lath is the preferred choice. The diamond openings allow the mesh to flex and conform to convex and concave radii.
When bending metal lath for stone veneer around a curved wall, the lath must be installed with the 'cups' or 'dimples' facing outward, away from the substrate. This creates a vital 1/4-inch space behind the lath, allowing the mortar to be forced through the mesh and key behind it, creating a mechanical lock. If installed flat against the sheathing, the mortar cannot wrap behind the wire, resulting in a weak bond that will eventually fail under the shear weight of the stone.
On tight radii (under 36 inches), standard side-lapping can create thick, unmanageable ridges of double-layered metal. Instead, use the shingle lap method: overlap the lath sheets in the direction of the curve so water and mortar gravity flow over the lap, much like roof shingles. Maintain a minimum 1-inch side lap and secure both layers simultaneously with 1/4-inch galvanized staples driven into the studs.
Cantilevers and Soffits: Defying Gravity with Stone
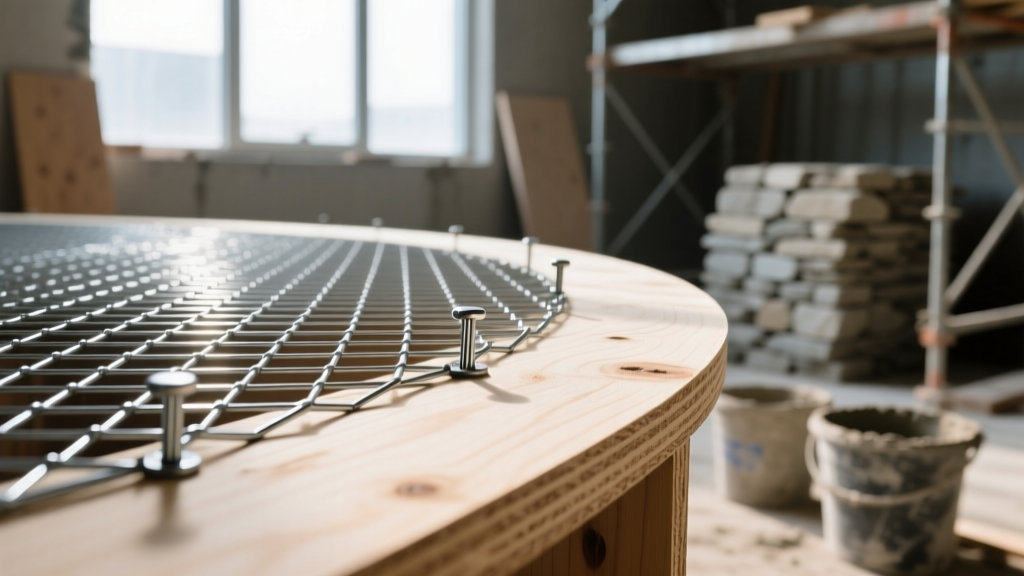
Applying stone veneer to ceilings, soffits, and the undersides of cantilevered staircases introduces severe gravitational pull on the mortar matrix. Standard 2.5 lb diamond mesh is strictly prohibited for overhead applications due to its lack of rigidity. For these designs, you must specify 3.4 lb/sq yd ribbed metal lath.
The ribs (typically spaced every 4 to 6 inches) act as miniature structural joists, providing the stiffness required to hold the heavy scratch coat in place while it cures. According to Cultured Stone Installation Guidelines, overhead lath must be fastened at a maximum spacing of 4 inches on center along the framing members, and the scratch coat must be allowed to cure for a minimum of 48 hours before any stone is applied. This extended cure time is non-negotiable; applying stone to a green overhead scratch coat will overload the tensile capacity of the lath, leading to immediate sagging or collapse.
Material Specifications & 2026 Cost Breakdown
Budgeting for architectural stone projects requires an accurate understanding of substrate costs. In 2026, material costs for metal lath have stabilized, but premium corrosion-resistant coatings command a noticeable premium. All exterior lath must meet ASTM C847 standards and feature a minimum G60 hot-dipped galvanized coating per ASTM A653.
| Lath Specification | Coating / Material | Est. Cost per Sq Ft (2026) | Best Application |
|---|---|---|---|
| 2.5 lb Diamond Mesh | G60 Galvanized Steel | $1.15 - $1.45 | Standard exterior/interior vertical walls |
| 3.4 lb Ribbed Lath | G60 Galvanized Steel | $1.85 - $2.30 | Heavy stone, soffits, high-wind zones |
| 2.5 lb Diamond Mesh | PVC-Coated Galvanized | $2.40 - $2.95 | Coastal environments, high-salinity zones |
| Self-Furring Lath | G60 Galvanized Steel | $1.60 - $1.90 | Masonry/concrete substrates (no furring nails) |
Seamless Transitions: Flashing and Weep Screeds
A major hallmark of poor design execution is the 'heavy bottom' look, where stone veneer appears to sink into the ground or deck. High-end architectural designs utilize a weep screed to create a clean, shadow-line termination point that also serves a critical moisture-management function. The metal lath for stone veneer must terminate over the weep screed flange, never behind it.
Per USG Metal Lath Product Specifications and standard building codes, the weep screed must be installed a minimum of 4 inches above grade or 2 inches above paved surfaces. The weather-resistive barrier (WRB) must lap over the weep screed flange, and the lath is then stapled through the WRB and flange into the bottom plate. This creates a continuous drainage plane that allows any incidental moisture behind the mortar to exit the wall cavity without rotting the bottom plate or staining the lower courses of stone.
Common Design Failures and How to Avoid Them
Even the most expensive natural stone will look disastrous if the substrate fails. Avoid these three common specification and installation errors:
- Rust Bleed-Through: Using electro-galvanized lath or standard steel staples on an exterior project. The alkaline environment of Portland cement mortar will rapidly corrode electro-galvanized coatings, causing brown rust streaks to bleed through the stone joints. Always specify hot-dipped galvanized (G60 minimum) or stainless steel fasteners and lath for exterior applications.
- Corner Cracking: Stopping the lath exactly at the corner of a wall. Mortar shrinks as it cures, and a hard stop at the corner will inevitably result in a vertical hairline crack. The lath must wrap continuously around exterior and interior corners, extending at least 8 inches past the corner in both directions to distribute tensile stress.
- Telegraphing: Using heavy ribbed lath behind thin, tight-joint manufactured stone without applying a sufficiently thick scratch coat. The ribs will press through the thin mortar bed and become visible through the stone joints. Match the lath profile to the mortar depth requirements of the specific stone profile.
Sourcing and Sustainability in Modern Lath
For projects targeting LEED v5 or WELL Building Standard certifications, the embodied carbon of the substrate matters. In 2026, most major domestic manufacturers produce expanded metal lath using 90% to 95% recycled steel content. When specifying materials for large-scale commercial stone veneer installations, request the Environmental Product Declaration (EPD) from the lath manufacturer to accurately track the recycled content and regional material sourcing for your sustainability scorecards. By treating the metal lath for stone veneer as a critical design component rather than an afterthought, architects and builders can ensure their most ambitious stone designs remain structurally sound and visually flawless for decades.
Written by
David NakamuraDavid Nakamura is a licensed architect (AIA) and construction technology writer focused on sustainable building methods, mass timber engineering, and high-performance building envelopes. He holds a Master of Architecture from the University of Washington and is a certified Passive House Consultant (CPHC). David spent eight years at the Seattle firm Mithun, where he led the design of three LEED Platinum projects, before founding his own practice specializing in net-zero residential design. He serves on the editorial advisory board of GreenBuilder Magazine and has authored peer-reviewed papers on cross-laminated timber (CLT) connections for the Journal of Structural Engineering. In his spare time, David teaches woodworking at Pratt Fine Arts Center and kayaks the Puget Sound.
More from David Nakamura
View all
Construction Cost
Labor Cost to Build a Deck Per Sq Ft: 2026 Installation Guide
Discover the exact labor cost to build a deck per sq ft in 2026. This installation guide breaks down contractor rates, complexity factors, and hidden fees.
Aug 4, 2026

Construction Cost
How Much Does It Cost to Build a 3 Bedroom House? Financing Guide
Learn exactly how much it costs to build a 3 bedroom house and explore 2026 financing options, construction loan types, and budget frameworks for your build.
Aug 4, 2026

Construction Cost
Cost to Build a Tennis Court: 2026 Guide
How much does it cost to build a tennis court in 2026? Breakdowns for asphalt, concrete, and synthetic surfaces plus fencing and lighting.
Jul 30, 2026