5/8 Gypsum Board R-Value: Thermal Installation Techniques
Discover the true 5/8 gypsum board R-value and learn advanced installation techniques to eliminate thermal bridging and maximize wall assembly efficiency.

The Baseline: Analyzing the 5/8 Gypsum Board R-Value
When designing high-performance wall assemblies, contractors and architects frequently evaluate every component for its thermal resistance. However, a common misconception in the field is overestimating the insulating properties of interior cladding. According to ASHRAE Handbook fundamentals and data published by the Gypsum Association, the inherent R-value of standard 5/8-inch gypsum board is approximately 0.56. While this is marginally higher than 1/2-inch board (R-0.45), it remains thermally negligible as a standalone insulator.
• 1/2-inch Standard Gypsum Board: R-0.45
• 5/8-inch Standard Gypsum Board: R-0.56
• 5/8-inch Type X (Fire-Rated) Gypsum Board: R-0.56 (Density variations do not significantly alter thermal resistance)
• Takeaway: 5/8-inch drywall contributes less than 3% to the total R-value of a standard 2x6 cavity-insulated wall.
Because the 5/8 gypsum board R-value is inherently low, the installation technique must shift from relying on the board for insulation to utilizing the board as a critical component of the assembly's thermal and air barrier continuity. Improper installation of 5/8-inch board can degrade the performance of high-R cavity insulation by as much as 20% through convective loops and thermal bridging.
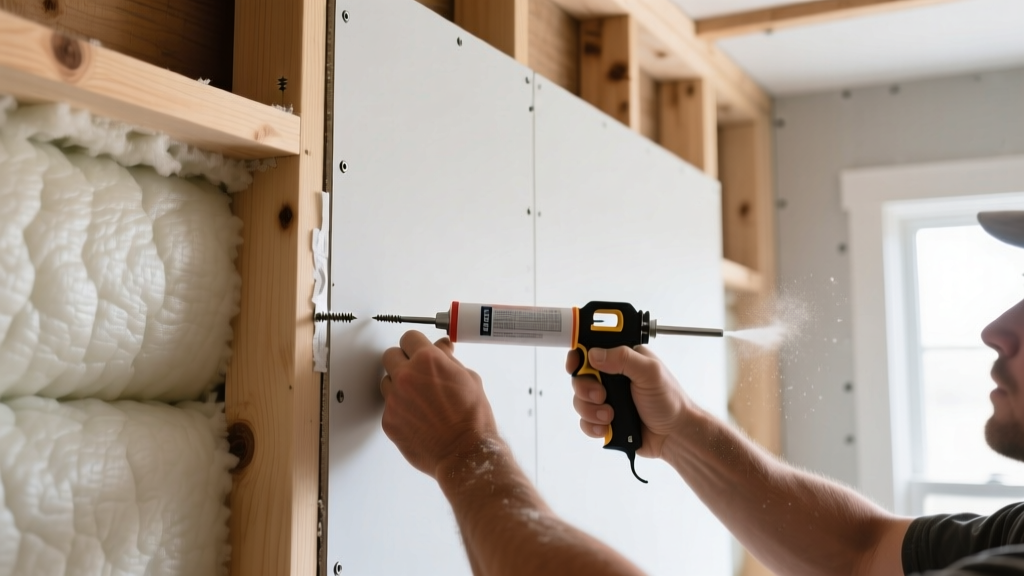
Installation Technique 1: The Airtight Drywall Approach (ADA)
To compensate for the low R-value of the gypsum itself, installers must leverage the 5/8-inch board's mass and rigidity to create a continuous interior air barrier. The Airtight Drywall Approach (ADA) seals the drywall to the framing, preventing warm, moist interior air from bypassing the insulation and condensing inside the wall cavity.
Sealant Specifications and Application
Standard joint compound does not provide an air seal at the perimeter. Installers must use a high-quality, non-hardening acoustical sealant (such as OSI SC-175 or Tremco Acoustical Sealant) at all framing intersections before hanging the 5/8-inch panels.
- Bottom and Top Plates: Apply a continuous 3/8-inch bead of acoustical sealant to the subfloor and top plates before positioning the 5/8-inch board. Press the board firmly into the bead to ensure a gasket-like seal.
- Intersecting Walls: Where a partition wall meets an exterior wall, install the exterior 5/8-inch board first, seal the edge, and butt the interior partition board against it, sealing the intersection with acoustical sealant before taping.
- Electrical Boxes: Use airtight electrical boxes equipped with integral gaskets. If standard boxes are used, apply a heavy bead of sealant around the perimeter of the box where it meets the 5/8-inch drywall cutout, and seal all wire penetrations with duct seal putty.
Installation Technique 2: Fastener Selection for Continuous Insulation
Modern energy codes (such as ASHRAE 90.1) increasingly mandate continuous insulation (ci) on exterior walls to mitigate thermal bridging through wood or steel studs. When installing 5/8-inch gypsum board over rigid foam ci, standard fastening protocols fail, leading to structural and thermal compromises.
Calculating Fastener Length and Thermal Impact
A standard 1-5/8-inch coarse-thread drywall screw is designed to penetrate the wood stud by at least 5/8-inch. If you add 1 inch of exterior or interior rigid foam ci, the 5/8-inch drywall plus 1 inch of foam equals 1-5/8 inches of material before reaching the stud. A standard screw will barely bite into the wood, resulting in a failed inspection and popping fasteners.
• 1/2" CI Layer: Use 2-1/2" Type W bugle-head screws.
• 1" CI Layer: Use 3" Type W screws or specialized insulated fastener systems (e.g., Simpson Strong-Tie INS).
• 1-1/2" CI Layer: Use 3-1/2" screws or transition to wood furring strips (1x3s) attached over the CI, allowing the use of standard 1-5/8" screws into the furring.
Furthermore, steel screws act as micro-thermal bridges, conducting heat through the 5/8-inch board. While the thermal impact of a single screw head is minimal, a standard fastener schedule of 16 inches on center creates hundreds of thermal bridges. Using furring strips over the ci allows you to attach the 5/8-inch board without penetrating the continuous insulation layer with steel fasteners, preserving the integrity of the thermal envelope.
Wall Assembly Thermal Performance Matrix
The table below illustrates how the installation method surrounding the 5/8-inch gypsum board drastically alters the overall U-factor and effective R-value of the wall assembly, as modeled by the U.S. Department of Energy.
| Wall Assembly Configuration | Cavity Insulation | Effective Assembly R-Value | Overall U-Factor |
|---|---|---|---|
| 2x6 Studs @ 16" OC + 5/8" Gypsum | R-19 Fiberglass Batt | R-15.2 | 0.066 |
| 2x6 Studs @ 24" OC + 5/8" Gypsum | R-19 Fiberglass Batt | R-16.8 | 0.060 |
| 2x6 Studs @ 24" OC + 1" Exterior ci + 5/8" Gypsum | R-19 Fiberglass Batt | R-22.5 | 0.044 |
| Staggered 2x4 Studs + 1" Interior ci + 5/8" Gypsum | R-15 Mineral Wool | R-24.1 | 0.041 |
Note: The 5/8-inch gypsum board R-value (0.56) is constant across all assemblies, but eliminating framing thermal bridges via ci and advanced framing yields a 58% improvement in effective thermal performance.
Managing Thermal Shock and Joint Cracking
Because 5/8-inch gypsum board possesses high thermal mass but low thermal resistance, it is highly susceptible to rapid temperature fluctuations if the wall assembly lacks adequate continuous insulation. When interior temperatures drop rapidly, the 5/8-inch board contracts. This phenomenon, known as thermal shock, is the primary cause of perimeter joint cracking and fastener pops in poorly insulated assemblies.
Compound Selection for High-Fluctuation Zones
To mitigate cracking in assemblies where the 5/8 gypsum board R-value is the primary interior barrier (such as in unconditioned garages adjacent to living spaces or poorly detailed rim joists), standard pre-mixed joint compound is insufficient due to its high shrinkage rate.
- First Coat (Embedding): Use a setting-type compound (e.g., USG Durabond 90 or CertainTeed ProForm 90). These chemical-curing compounds have virtually zero shrinkage and provide a rigid mechanical lock over the tape.
- Second Coat (Filling): Use a lightweight setting-type compound (e.g., ProForm Lite 45) to build the joint feather without adding excessive weight to the 5/8-inch panel edge.
- Third Coat (Finishing): Apply a high-quality pre-mixed topping compound. Sand to a Level 4 finish minimum; however, in areas subject to severe thermal cycling and critical lighting, upgrade to a Level 5 finish using a skim coat to unify the surface tension and prevent joint photographing.
Vapor Retarder Integration at the Drywall Plane
The installation of 5/8-inch gypsum board often serves as the mounting plane for interior vapor retarders. The Oak Ridge National Laboratory emphasizes that the placement and permeability of the vapor retarder must be carefully coordinated with the drywall installation to prevent interstitial condensation.
- Class I Vapor Retarders (Polyethylene): Rarely required in modern mixed-humid climates. If specified, the 5/8-inch board must be screwed directly through the poly into the studs. Care must be taken to tape all screw penetrations and seams with specialized sheathing tape to maintain the vapor barrier continuity.
- Class II Vapor Retarders (Kraft-faced Batts): The kraft facing is stapled to the face of the studs, not the inside edge. The 5/8-inch drywall is then installed directly over the flanges. Installers must slit the kraft facing around electrical boxes and seal them to the drywall backside with acoustical sealant.
- Class III Vapor Retarders (Painted Drywall): Standard 5/8-inch gypsum board painted with two coats of vapor-retarding latex paint (permeance < 1.0 perm) is the most resilient strategy for most climate zones. This allows the wall assembly to dry to the interior during cooling seasons while restricting vapor drive during heating seasons.
Ultimately, while the 5 8 gypsum board R-value itself will not insulate a building, treating the 5/8-inch panel as an integrated air, vapor, and thermal-mass membrane transforms it from a mere cosmetic finish into a high-performance building envelope component.
Written by
Priya KapoorPriya Kapoor is a real estate market analyst and construction economics researcher with expertise in housing affordability, development feasibility, and infrastructure investment. She holds a Master of Regional Planning from Cornell University and previously worked as a senior analyst at CBRE's Investment Properties group, where she modeled returns for $4B in mixed-use development pipelines. Priya now runs an independent research practice advising developers, municipalities, and REITs on construction cost forecasting and market timing. She publishes the quarterly "BuildMat Market Pulse" report tracking material price indices across 12 commodity categories. Based in Austin, TX, Priya serves on the board of Habitat for Humanity Austin and is a marathon runner.
More from Priya Kapoor
View all
Construction Cost
Cost to Build a 1600 Sq Ft Home in 2026: Full Breakdown
Accurate 2026 cost to build a 1600 sq ft home—material, labor, and regional pricing breakdowns included. Plan your budget with real-time estimates.
Aug 11, 2026

Wood & Lumber
Name the Types of Wood for Pressure Treatment and Preservation
Learn how to name the types of wood best suited for pressure treatment. Compare species treatability, chemical retention levels, and 2026 preservation costs.
Aug 4, 2026

Stone & Masonry
Stone Veneer Suppliers Lindenhurst: 2026 Cost Analysis
Analyze 2026 stone veneer costs in Lindenhurst, NY. Compare local supplier pricing, delivery fees, and Suffolk County installation labor rates.
Aug 4, 2026