Gypsum Board Ingredients: Troubleshooting Drywall Failures
Learn how specific gypsum board ingredients dictate drywall failures. Expert troubleshooting and chemical-compatible repair strategies for lasting fixes.

The Chemical Anatomy of Drywall Failures
When drywall fails—whether through sagging, paper delamination, fastener pop-outs, or mold proliferation—the root cause is rarely just poor installation. It is almost always a chemical or physical reaction tied directly to the specific gypsum board ingredients used in the panel's manufacturing. Standard drywall is not a monolithic slab of rock; it is a highly engineered composite of calcium sulfate dihydrate, organic starch binders, cellulose, foaming agents, and specialized additives. Understanding these ingredients is the prerequisite for accurate troubleshooting and executing repairs that will not fail a second time.
According to the Gypsum Association, modern gypsum panels contain up to 15 distinct chemical components, each serving a specific structural or manufacturing purpose. When environmental conditions change, these ingredients react differently. A repair strategy that ignores the underlying chemistry of the board will result in recurring cracks, adhesion failure, or compromised fire ratings.
Diagnostic Matrix: Matching Symptoms to Ingredient Breakdown
Use the following diagnostic table to identify the specific ingredient failure driving your drywall issue and select the appropriate chemical-compatible repair protocol.
| Failure Symptom | Primary Ingredient Culprit | Diagnostic Test | Chemical-Compatible Repair |
|---|---|---|---|
| Paper Delamination / Bubbling | Unmodified Starch Binders | Press on bubble; if paper feels spongy or separates with light scraping, starch has re-emulsified. | Cut out delaminated paper, seal with oil-based primer (e.g., Zinsser Cover Stain) before skimming. |
| Ceiling Sagging (1/2" Board) | Sodium Lauryl Sulfate (Foaming Agent) | Measure deflection. If board feels unusually light and spongy, excess air voids have compromised structural rigidity. | Replace with 5/8" sag-resistant board or reinforce with 1x3 furring strips at 12" O.C. |
| Fastener Pop-outs | Calcium Sulfate Dihydrate Core | Check if pops occur along the center of studs. Indicates core shrinkage or framing movement tearing the paper tension. | Drive new screw 2" away, dimple face paper without breaking it, fill with setting-type compound (Durabond 45). |
| Crumbling Edges at Joints | Potassium Sulfate (Accelerator) | Scratch the tapered edge. If it turns to powder easily, the crystalline lattice failed to set properly during manufacturing. | Pre-fill gaps with high-strength setting compound; do not rely on standard drying-type mud for edge bonding. |
Starch Binders and the Mechanics of Paper Delamination
The bond between the paper facing and the gypsum core is achieved using modified and unmodified starches, typically comprising 0.5% to 1.5% of the board's total weight. During manufacturing, the heat from the kiln gelatinizes the starch, creating a powerful adhesive bridge between the cellulose paper and the crystallizing gypsum.
Why Repairs Fail Over Water Damage
When a roof leak or plumbing failure introduces moisture to the wall, the starch binders can re-emulsify. Even after the wall dries out, the adhesive bond is permanently compromised. If a contractor attempts to repair a water-stained wall by simply scraping off the loose paint and applying a water-based joint compound, the water in the mud will reactivate the remaining degraded starch. This causes the paper to blister, and the joint compound will eventually peel off in sheets.
The Fix: You must chemically isolate the failed starch layer. Cut away any severely bubbled paper facing. Apply a heavy coat of an oil-based or shellac-based primer (such as BIN Advanced Synthetic Shellac) to penetrate and seal the exposed, degraded starch. Only after this chemical barrier is cured should you apply your finishing compounds.
Calcium Sulfate Dihydrate: Moisture, Sagging, and Crystalline Lattice
The core of standard drywall is calcium sulfate dihydrate (CaSO4·2H2O). The "dihydrate" portion means water molecules are chemically locked into the crystal structure. This is what gives gypsum its inherent fire-resistant properties; when exposed to high heat, the water is released as steam (calcination), delaying heat transfer.
However, this same chemical structure makes the core highly susceptible to liquid water and prolonged high humidity. When exposed to liquid water, the calcium sulfate crystals can partially dissolve and recrystallize irregularly, losing their interlocking tensile strength. This results in a chalky, weakened core that cannot hold fasteners or support the weight of the board itself.
Foaming Agents and the 1/2-Inch Ceiling Sag Epidemic
To reduce the weight of gypsum board and make it easier for contractors to carry, manufacturers introduce foaming agents—most commonly sodium lauryl sulfate—into the gypsum slurry. This creates microscopic air voids, reducing the board's weight by 10% to 20%. While excellent for ergonomics, these air voids reduce the density and structural rigidity of the calcium sulfate matrix.
Under the ASTM C1396 standard, 1/2-inch gypsum board is permitted for ceiling applications on 16-inch on-center framing. However, in environments with high attic humidity or slight framing irregularities, the air-void structure of standard 1/2-inch board can lead to visible sagging between joists. If you are troubleshooting a sagging ceiling that has no active water leaks, the culprit is the foaming agent's reduction of core density.
Repair Protocol: You cannot chemically reverse the foaming agent's effect. The only permanent repair is mechanical reinforcement or replacement. Install 1x3 wood furring strips perpendicular to the joists at 12-inch intervals and screw the sagging board into the new blocking. If the sag exceeds 1/4 inch, the crystalline lattice has permanently deformed; the board must be replaced with 5/8-inch panels or specialized sag-resistant 1/2-inch panels that utilize denser core formulations with reduced foaming agents.
Fiberglass Matrices in Type X Fire-Rated Board
Type X fire-rated gypsum board contains specialized ingredients, most notably chopped fiberglass strands mixed directly into the core, along with clay and vermiculite. As the calcium sulfate dihydrate calcines and loses its water during a fire, the core would normally shrink and crack, exposing the framing to flames. The fiberglass strands act as a physical rebar, holding the calcined core together to maintain the fire barrier.
Compromising the Fire Rating During Repairs
A common troubleshooting scenario in commercial renovations is finding that contractors have breached the fire rating by improperly patching holes in Type X partitions. If a plumber cuts an access hole in a 1-hour rated wall and patches it with standard 1/2-inch drywall and drying-type mud, the fire rating of that assembly is voided. The patch lacks the fiberglass matrix required to hold the core together under thermal stress.
The Fix: Patches in fire-rated assemblies must utilize the exact same thickness and type of board (e.g., 5/8" Type X). Furthermore, the joint compound used to seal the patch must be a setting-type compound or a specifically tested fire-code joint compound. According to USG technical documentation, the perimeter of the patch must be sealed with fire-rated acoustic sealant if the gap exceeds 1/8 inch, ensuring the intumescent and structural properties of the wall remain intact.
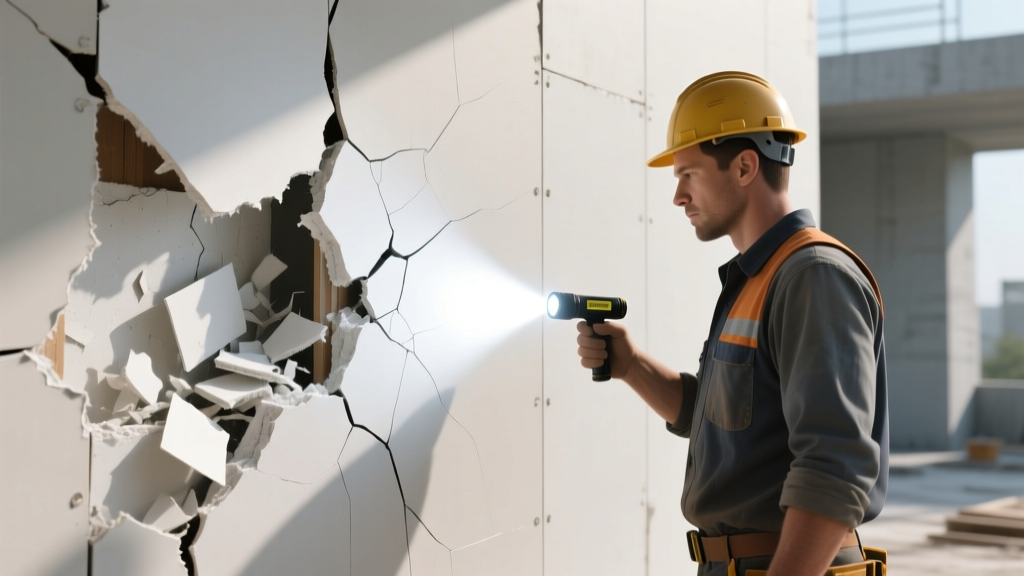
Step-by-Step Chemical-Compatible Repair Flow
When approaching any drywall repair, follow this sequence to ensure your materials interact correctly with the existing gypsum board ingredients:
- Assess Core Integrity: Press a screwdriver into the damaged area. If it sinks in with a chalky, powdery resistance, the calcium sulfate lattice is degraded. Excavate all soft material until you hit firm, crystalline core.
- Isolate Organic Binders: If the paper facing is torn, bubbled, or water-stained, score and remove the damaged paper. Seal the exposed brown paper and degraded starch with an oil-based or shellac primer to prevent moisture reactivation.
- Pre-Fill with Hemihydrate: For voids deeper than 1/4 inch, use a setting-type compound (calcium sulfate hemihydrate). This ensures the patch undergoes a chemical crystallization that matches the original board core, eliminating shrinkage.
- Skim and Finish: Once the setting compound is fully cured and sanded, apply a drying-type finishing compound (vinyl-based) for the final skim coats. The vinyl polymers provide a smoother, more sandable surface for paint adhesion.
- Prime the Entire Assembly: Because the patched area has a different chemical porosity than the original factory-applied paper facing, always apply a PVA (polyvinyl acetate) drywall primer over the entire repaired section to equalize the surface tension before painting.
Written by
Priya KapoorPriya Kapoor is a real estate market analyst and construction economics researcher with expertise in housing affordability, development feasibility, and infrastructure investment. She holds a Master of Regional Planning from Cornell University and previously worked as a senior analyst at CBRE's Investment Properties group, where she modeled returns for $4B in mixed-use development pipelines. Priya now runs an independent research practice advising developers, municipalities, and REITs on construction cost forecasting and market timing. She publishes the quarterly "BuildMat Market Pulse" report tracking material price indices across 12 commodity categories. Based in Austin, TX, Priya serves on the board of Habitat for Humanity Austin and is a marathon runner.
More from Priya Kapoor
View all
Construction Cost
Cost to Build a 1600 Sq Ft Home in 2026: Full Breakdown
Accurate 2026 cost to build a 1600 sq ft home—material, labor, and regional pricing breakdowns included. Plan your budget with real-time estimates.
Aug 11, 2026

Wood & Lumber
Name the Types of Wood for Pressure Treatment and Preservation
Learn how to name the types of wood best suited for pressure treatment. Compare species treatability, chemical retention levels, and 2026 preservation costs.
Aug 4, 2026

Stone & Masonry
Stone Veneer Suppliers Lindenhurst: 2026 Cost Analysis
Analyze 2026 stone veneer costs in Lindenhurst, NY. Compare local supplier pricing, delivery fees, and Suffolk County installation labor rates.
Aug 4, 2026