Gypsum Board vs Sheetrock: Troubleshooting Wall Repairs & Patches
Troubleshoot drywall repairs by understanding gypsum board vs Sheetrock differences. Fix mud blisters, edge taper mismatches, and screw pops.

When contractors and DIYers discuss wall repairs, the terms 'gypsum board' and 'Sheetrock' are often used interchangeably. However, in the context of troubleshooting and patching, conflating the generic material category with the specific United States Gypsum (USG) brand can lead to visible seams, mud blistering, and fastener pops. Gypsum board is the universal category governed by ASTM C1396, while Sheetrock is USG’s proprietary brand. When you patch a wall originally built with USG Sheetrock using a generic commodity gypsum board (such as Georgia-Pacific’s ToughRock or National Gypsum’s Gold Bond), you introduce variables in paper face absorption, edge taper depth, and core density that directly impact the repair's longevity and finish quality.
The Core Difference in Repair Contexts
In new construction, swapping brands is rarely an issue because the entire surface is taped, mudded, and primed uniformly. In repair scenarios, however, you are blending a new material into an existing, aged substrate. As of early 2026, standard 1/2-inch generic gypsum board averages $13.50 per 4x8 sheet, while USG Sheetrock UltraLight panels command a premium, retailing around $17.00. This price difference reflects proprietary manufacturing variations—specifically in the starch binders used in the paper face and the precise milling of the edge tapers. Understanding these micro-differences is the first step in troubleshooting failed drywall patches.
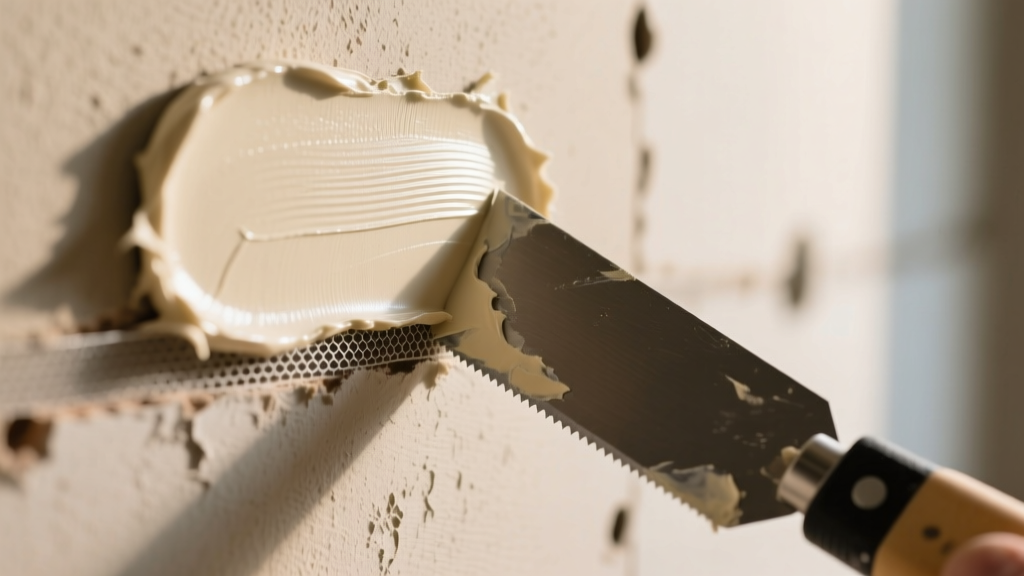
Diagnostic Matrix: Patching & Blending Failures
| Symptom | Root Cause (Brand Mismatch) | Technical Fix |
|---|---|---|
| Joint compound blistering over the patch perimeter | High-porosity generic board face drawing moisture too rapidly from drying-type mud applied over a sealed Sheetrock wall. | Prime the raw generic patch with a PVA sealer or USG Tuff-Hide primer before applying the first coat of mud. |
| Visible ridge or 'hump' at the patch seam | Mismatched edge tapers. Patching a USG MicroEdge wall with a standard generic taper board causes the generic edge to sit proud. | Widen the feather zone to 24–30 inches using a 12-inch trowel, or shim the back of the patch by 1/16 inch. |
| Screw pops radiating from the repaired section | Core density mismatch causing differential expansion/contraction between lightweight Sheetrock and heavy generic board. | Back-block the seam with Durabond 90 and add 1-5/8-inch drywall screws 1 inch away from the original pop. |
| Flashing (visible patch under paint) | Differing paper face textures reflecting light differently than the surrounding original Sheetrock. | Apply a full coat of USG Sheetrock Brand First Coat flat wall primer over the entire repaired wall plane. |
Paper Face Porosity: Solving Mud Blisters and Flashing
The paper face of drywall is not merely a wrapper; it is a highly engineered structural component that dictates moisture absorption. USG Sheetrock utilizes a specific proprietary starch binder and paper sizing that controls the rate at which moisture from joint compound is drawn into the board. Generic gypsum boards often use different sizing agents, resulting in either a more porous or more sealed surface.
The Starch Binder Variable
When you apply a wet, drying-type compound (like USG Sheetrock Brand All-Purpose) over a raw, generic gypsum board patch, the generic paper may wick moisture unevenly. This rapid moisture extraction causes the mud to skin over while trapping evaporating water underneath, resulting in micro-blisters. Conversely, if the generic board is too sealed, the mud will shrink excessively as it dries, pulling away from the seam and causing edge cracking.
Troubleshooting Protocol: Never apply wet joint compound directly to an unprimed generic patch when blending into an existing Sheetrock wall. Always apply a localized coat of PVA (Polyvinyl Acetate) drywall sealer to the raw paper face of the generic board. This equalizes the suction rate, ensuring the joint compound cures at the same speed across both the USG and non-USG substrates.
Edge Taper Incompatibilities: MicroEdge vs. Standard
One of the most frequent causes of visible seams in cross-brand repairs is edge taper mismatch. Standard generic gypsum board features a conventional tapered edge that is typically 1/16-inch deep over a 2-inch width. USG Sheetrock, however, frequently utilizes its proprietary MicroEdge taper, which is engineered to be slightly more pronounced at the center to hold a specific volume of compound while requiring less overall feathering.
If you are repairing a wall constructed with USG MicroEdge panels and you insert a patch cut from standard generic gypsum board, the generic board's edge will physically sit higher than the recessed MicroEdge. When you apply tape and mud, you are fighting a physical elevation difference. The resulting joint will crown, creating a visible hump under raking light.
Attempting to sand down a crowned seam caused by taper mismatch will quickly burn through the paper face of the drywall, ruining the patch. Instead, you must float the joint out laterally. Switch from a standard 6-inch taping knife to a 12-inch or 14-inch finishing trowel, extending the joint compound feather zone to a minimum of 28 inches to hide the 1/16-inch elevation delta.
Core Density Mismatches and Fastener Pops
Core density directly impacts how a drywall panel responds to structural framing movement, humidity fluctuations, and thermal expansion. USG’s Sheetrock UltraLight panels are engineered with a foamed gypsum core, reducing the weight of a 1/2-inch 4x8 sheet to approximately 41 pounds. Standard generic 1/2-inch boards often weigh closer to 54 pounds.
When troubleshooting screw pops in a repaired ceiling or wall, investigate the board weights. If a contractor patched a lightweight Sheetrock ceiling with a heavy, generic standard-density board, the weight differential places uneven shear stress on the fasteners at the patch seams. As the joists deflect under load, the heavier patch resists movement while the lighter surrounding Sheetrock flexes, ultimately pushing the drywall screws through the mud surface.
The Fix: For cross-density ceiling repairs, abandon standard screw-only fastening at the seams. Apply a continuous bead of setting-type compound (such as USG Durabond 90) to the back of the patch before securing it. The Durabond acts as a rigid structural adhesive, bridging the density gap and transferring shear loads across the entire patch surface rather than concentrating them on the fasteners.
Joint Compound Compatibility Matrix
Selecting the correct joint compound is critical when bridging USG Sheetrock and generic gypsum board. Setting-type compounds (chemical cure) behave differently than drying-type compounds (evaporation cure) across varying paper porosities.
| Repair Scenario | Recommended Compound (Bedding/Taping) | Recommended Compound (Topping/Finishing) |
|---|---|---|
| Generic patch into USG Sheetrock wall | USG Durabond 45 or 90 (Setting-type) | ProForm ProMix or USG All-Purpose (Drying-type) |
| USG Sheetrock patch into generic wall | USG Easy Sand 45 (Setting-type) | USG Lightweight All-Purpose (Drying-type) |
| Ceiling patch (Cross-brand density) | Durabond 90 with mesh tape (High strength) | USG Lightweight Topping (Low shrinkage) |
Step-by-Step Framework for Seamless Brand Transitions
To ensure an invisible repair when mixing gypsum board brands, follow this strict execution framework:
- Identify the Host Board: Check the back of the existing drywall (via attic, outlet cutout, or plumbing access) for the USG Sheetrock trademark or generic mill stamps (e.g., GP, Gold Bond). Note the thickness and weight.
- Match or Compensate for Taper: If you cannot source the exact matching brand for your patch, measure the host board's edge taper depth with a digital caliper. Shim the back of your replacement patch with 1/16-inch cardboard or specialized drywall shims to match the host taper plane.
- Equalize Suction: Paint the raw paper face and cut edges of the new patch with a dedicated PVA drywall primer. Allow it to dry completely (usually 30–45 minutes) before applying any tape or mud.
- Bed with Setting Compound: Use a setting-type compound like Durabond 45 for the bedding coat. Setting compounds are impervious to the differing suction rates of mixed paper faces and provide a rock-hard, non-shrinking base.
- Float Wide: Apply your finishing coats with a 12-inch trowel. Never rely on a 6-inch knife for cross-brand seams; the wider blade is mandatory to feather out the microscopic thickness variations between USG and non-USG boards.
- Prime the Entire Plane: Do not spot-prime the patch. Apply a high-solids flat primer (like USG Sheetrock First Coat) from corner to corner of the wall to unify the surface texture and prevent joint photographing under modern LED lighting.
By treating 'gypsum board' and 'Sheetrock' as distinct materials with unique physical properties rather than interchangeable synonyms, you eliminate the root causes of patch failure, ensuring repairs that remain invisible and structurally sound for decades.
Written by
David NakamuraDavid Nakamura is a licensed architect (AIA) and construction technology writer focused on sustainable building methods, mass timber engineering, and high-performance building envelopes. He holds a Master of Architecture from the University of Washington and is a certified Passive House Consultant (CPHC). David spent eight years at the Seattle firm Mithun, where he led the design of three LEED Platinum projects, before founding his own practice specializing in net-zero residential design. He serves on the editorial advisory board of GreenBuilder Magazine and has authored peer-reviewed papers on cross-laminated timber (CLT) connections for the Journal of Structural Engineering. In his spare time, David teaches woodworking at Pratt Fine Arts Center and kayaks the Puget Sound.
More from David Nakamura
View all
Construction Cost
Labor Cost to Build a Deck Per Sq Ft: 2026 Installation Guide
Discover the exact labor cost to build a deck per sq ft in 2026. This installation guide breaks down contractor rates, complexity factors, and hidden fees.
Aug 4, 2026

Construction Cost
How Much Does It Cost to Build a 3 Bedroom House? Financing Guide
Learn exactly how much it costs to build a 3 bedroom house and explore 2026 financing options, construction loan types, and budget frameworks for your build.
Aug 4, 2026

Construction Cost
Cost to Build a Tennis Court: 2026 Guide
How much does it cost to build a tennis court in 2026? Breakdowns for asphalt, concrete, and synthetic surfaces plus fencing and lighting.
Jul 30, 2026