The History of Gypsum Board: Evolution of Installation Techniques
Explore the history of gypsum board and how installation techniques evolved from wood battens and nails to modern Level 5 drywall finishing systems.

The Pre-Drywall Era: Lath, Plaster, and the Artisan Bottleneck
Before the widespread adoption of modern drywall, interior wall installation was a highly specialized, labor-intensive trade. The traditional lath-and-plaster method required carpenters to nail narrow strips of wood lath to wall studs, leaving a 3/8-inch gap between each strip. Plasterers then applied a three-coat system: the scratch coat (forced through the gaps to form 'keys'), the brown coat (for leveling), and the white finish coat. This installation technique demanded weeks of curing time between coats and relied heavily on the artisan skill of the plasterer. The primary failure mode of this era was structural settling, which inevitably snapped the plaster keys, leading to widespread ceiling and wall cracking.
The construction industry's desperate need for speed and fire resistance during the early 20th century set the stage for a radical shift in interior wall installation techniques—a shift that would eventually be defined by the Gypsum Association and its member companies as they standardized the material we now know as gypsum board.
1894–1920s: Sackett Board and the Birth of Mechanical Fastening
The true origin of the material traces back to 1894 when Augustine Sackett patented 'Sackett Board.' Unlike the single-layer paper-faced boards used today, Sackett Board consisted of ten alternating layers of felt paper and plaster, creating a rigid, 1/4-inch-thick panel.
Early Installation Techniques and Fastening
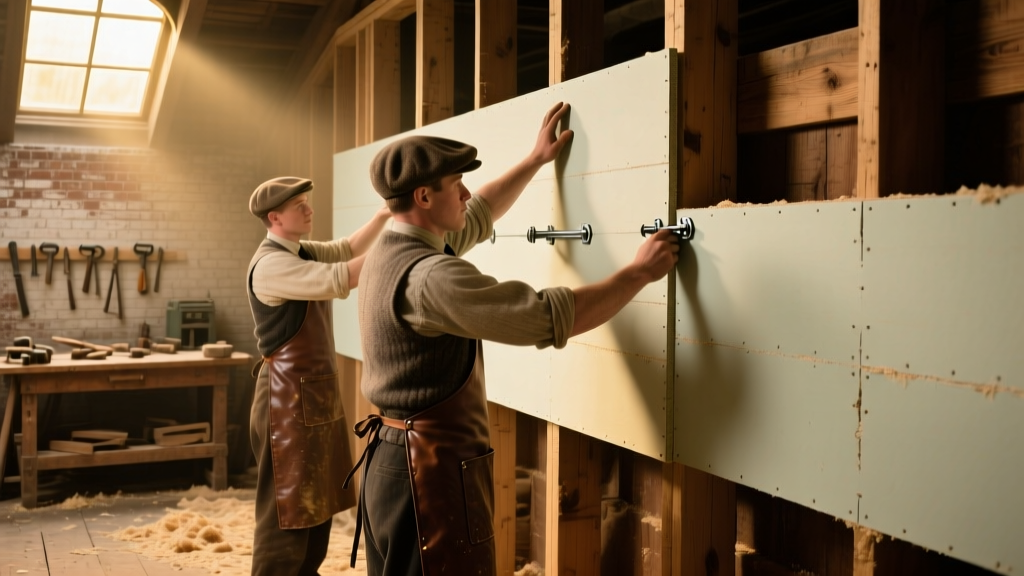
Installing Sackett Board fundamentally changed the framing-to-finish workflow. Instead of nailing hundreds of individual wood laths, carpenters nailed large 36-inch by 36-inch panels directly to the studs. However, the installation technique for handling the joints was rudimentary: installers covered the seams with wooden battens or trim molding. There was no concept of 'taping and mudding' to create a seamless monolithic surface.
Early installers used smooth-shank cut nails or early wire nails to secure the heavy, multi-layer boards. Because framing lumber in the early 1900s was often installed 'green' (unseasoned), the wood studs shrank and twisted as they dried. The smooth nails lost their friction grip, pushing outward and tearing the paper face of the board. This historical failure mode directly drove the mid-century innovation of the drywall screw and the modern practice of kiln-drying framing lumber.
1930s–1950s: Wrapped Edges, Sheetrock, and the First Joint Compounds
The modern installation workflow began to take shape in the 1910s and 1920s when Stephen Kelly patented a gypsum board with a single layer of paper on both sides. But the true installation revolution occurred when USG Corporation refined the product into 'Sheetrock' and introduced the wrapped, tapered edge.
The Invention of the Tapered Edge
The tapered edge was a masterstroke of installation engineering. By thinning the board's edges, installers could embed paper tape and apply early forms of joint compound (initially based on animal glues and later calcimine) without creating a visible bulge at the seams. This eliminated the need for wood battens and birthed the specialized trade of the 'drywall taper.'
Evolution of Fastening and Finishing Methods
| Era | Fastener Type | Joint Treatment | Primary Failure Mode |
|---|---|---|---|
| 1894–1920s | Smooth cut nails | Wood battens / Trim | Nail pops from lumber shrinkage |
| 1930s–1940s | Ring-shank nails | Paper tape + animal glue | Tape blistering / Glue degradation |
| 1950s–1980s | Early drywall screws | Paper tape + drying mud | Joint ridging / Screw over-driving |
| 1990s–Present | Phosphated bugle screws | Fiberglass mesh + setting mud | Mesh bubbling / Dust contamination |
The Modern Era: Screws, Setting Compounds, and Level 5 Finishes
By the late 20th century, the installation of gypsum board had been codified into strict standards, most notably governed by specifications like ASTM C1396 (Standard Specification for Gypsum Board). The modern installer relies on a highly engineered ecosystem of tools and materials that historical installers could scarcely imagine.
The Shift to Bugle-Head Screws
The transition from nails to drywall screws was the most critical installation technique upgrade in the material's history. Modern bugle-head screws are designed with a specific conical shape that dimples the paper face of the board without piercing it. Actionable Technique: When driving a #6 or #8 coarse-thread drywall screw into wood framing (or fine-thread into steel), the dimple must be exactly 1/32 to 1/16 of an inch deep. If the screw breaks the paper face, the fastener loses its holding power, requiring the installer to drive a second screw two inches away. This precision dimpling is impossible with traditional nails, which rely on friction and often tear the paper upon impact.
Setting-Type vs. Drying-Type Joint Compounds
Historically, joint compounds dried solely through evaporation, which led to massive shrinkage and required multiple days between coats. Modern installation techniques utilize setting-type compounds (often called 'hot mud'), which cure via a chemical reaction.
- Setting-Type (Chemical Cure): Available in 20, 45, 90, and 120-minute set times. Installers use these for the first coat (bedding the tape) and for filling deep gaps, as they exhibit virtually zero shrinkage and provide superior bond strength.
- Drying-Type (Evaporation Cure): Used for the final topping coats. These air-dry to a bright white, ultra-smooth finish that is easy to sand, but they shrink significantly and require 24 hours of low-humidity drying time between coats.
What Historical Failures Teach Modern Installers
Understanding the history of gypsum board is not merely an academic exercise; it provides a diagnostic framework for troubleshooting modern installation failures. When a modern wall fails, it is usually because an installer has unknowingly reverted to a historical bad practice or ignored the material's environmental limitations.
Early gypsum boards were essentially plaster sandwiched in cardboard; exposure to water during installation or a plumbing leak would dissolve the core and collapse the wall. Today, installers must select the correct board for the environment. Standard white board (ASTM C1396) is strictly for dry areas. For high-humidity areas (like behind tile in showers), installers must use glass-mat gypsum board or fiber-reinforced cement board, as traditional paper-faced 'green board' is no longer considered a sufficient waterproof tile backer by modern building codes.
Controlling the Environment During Taping
One of the most common modern installation errors is applying joint compound in unconditioned spaces. Historical installers in the 1950s often worked in unheated homes during winter, leading to 'cold joints' where the compound froze and lost its bond. Today, best practices dictate that the installation environment must be maintained at a minimum of 55°F (13°C) for 48 hours prior to taping, during application, and until the compound is completely dry. Failure to control the environment results in edge-cracking and tape delamination, echoing the failures of the early animal-glue era.
Frequently Asked Questions (FAQ)
When was gypsum board first used in residential construction?
While Sackett Board was invented in 1894, it was primarily used in commercial and industrial applications due to its weight and crude finish. It wasn't until the 1930s, with the introduction of USG's Sheetrock and the development of early joint compounds, that gypsum board became a viable, seamless alternative to lath and plaster in high-end residential construction. The post-WWII housing boom of the late 1940s and 1950s cemented it as the standard for all residential interiors.
Why did installers completely switch from nails to screws?
The switch was driven by the widespread adoption of truss roofs and engineered lumber, combined with the seasonal movement of wood framing. Nails rely on the compression of wood fibers for holding power. As wood dries and shrinks, the compression releases, and the nail works its way out, causing a 'nail pop.' Drywall screws, with their deep, aggressive threads, physically lock into the wood fibers, maintaining their grip even if the framing shrinks or shifts slightly over time.
How did the invention of the tapered edge change drywall finishing?
Before the tapered edge, gypsum boards had square, uniform edges. When two square edges met, applying tape and mud over the seam created a permanent, visible ridge that was impossible to hide without skimming the entire wall. The tapered edge created a deliberate 1/8-inch recess at the joint, allowing the tape and multiple layers of compound to build up to the exact plane of the board's surface, resulting in a perfectly flat, invisible seam (a Level 4 or Level 5 finish).
Written by
David NakamuraDavid Nakamura is a licensed architect (AIA) and construction technology writer focused on sustainable building methods, mass timber engineering, and high-performance building envelopes. He holds a Master of Architecture from the University of Washington and is a certified Passive House Consultant (CPHC). David spent eight years at the Seattle firm Mithun, where he led the design of three LEED Platinum projects, before founding his own practice specializing in net-zero residential design. He serves on the editorial advisory board of GreenBuilder Magazine and has authored peer-reviewed papers on cross-laminated timber (CLT) connections for the Journal of Structural Engineering. In his spare time, David teaches woodworking at Pratt Fine Arts Center and kayaks the Puget Sound.
More from David Nakamura
View all
Construction Cost
Labor Cost to Build a Deck Per Sq Ft: 2026 Installation Guide
Discover the exact labor cost to build a deck per sq ft in 2026. This installation guide breaks down contractor rates, complexity factors, and hidden fees.
Aug 4, 2026

Construction Cost
How Much Does It Cost to Build a 3 Bedroom House? Financing Guide
Learn exactly how much it costs to build a 3 bedroom house and explore 2026 financing options, construction loan types, and budget frameworks for your build.
Aug 4, 2026

Construction Cost
Cost to Build a Tennis Court: 2026 Guide
How much does it cost to build a tennis court in 2026? Breakdowns for asphalt, concrete, and synthetic surfaces plus fencing and lighting.
Jul 30, 2026