How Is Gypsum Board Made? Manufacturing Facts for Drywall Repair
Learn how gypsum board is made and use manufacturing insights to troubleshoot drywall failures, fix crumbling edges, and prevent moisture damage.

The Factory-to-Field Connection: Why Manufacturing Dictates Repair
Most contractors treat drywall as a monolithic, uniform material, but understanding how gypsum board is made reveals why specific failures occur in the field. The manufacturing process—specifically the calcination of raw gypsum, the gelatinization of starch binders, and the introduction of foaming agents—creates distinct chemical and structural vulnerabilities. When a board blisters, crumbles, or loses its fire rating, the root cause almost always traces back to how these raw materials were combined at the plant. By reverse-engineering the manufacturing process, repair professionals can diagnose the exact point of failure and apply chemically compatible fixes rather than relying on superficial skim coats that will inevitably fail again.
Core Chemistry: Calcination, Hydration, and Crumbling Failures
The Science of the Core
Raw gypsum is calcium sulfate dihydrate (CaSO4·2H2O). To create the drywall core, manufacturers crush the rock and heat it to roughly 350°F in a process called calcination. This drives off about 75% of the chemically combined water, converting it to calcium sulfate hemihydrate (stucco). On the continuous board machine (often called a Bates machine), water is added back to the hemihydrate slurry. As the slurry sets between the paper facers, it rehydrates and interlocks into a rigid crystalline matrix of dihydrate. According to the Gypsum Association, this precise hydration cycle is what gives the board its structural rigidity and inherent fire resistance.
Troubleshooting Powdery and Crumbling Cores
If you encounter a drywall core that is powdery, chalky, or easily crushed with a thumb, you are witnessing a hydration failure. This occurs either from incomplete rehydration at the factory (often due to rushing the set time with excessive accelerators) or from chronic, low-level moisture exposure that slowly degrades the crystal lattice over time.
- The Mistake: Skimming over a powdery core with standard air-drying joint compound. The compound will shrink, crack, and pull away from the weak substrate.
- The Fix: Excavate the compromised core until you reach dense, rigid crystals. For minor edge crumbling, apply a penetrating acrylic drywall consolidant or a high-strength setting-type compound (like a 90-minute setting mud) which chemically bridges the gap without relying on surface adhesion alone. For widespread core degradation, cut back to the nearest studs and install a new patch.
The Paper Facing: Starch Gelatinization and Delamination
Why Paper Peels and Blisters
The paper facing is not glued to the core with standard adhesives. Instead, manufacturers mix uncooked starch into the wet gypsum slurry. As the board passes through the multi-tiered gas-fired kiln, the heat (reaching 160°F to 180°F at the paper interface) causes the starch to gelatinize, bonding the paper to the crystallizing core.
When you see paper blisters or delamination in the field, it indicates that this starch bond was compromised. This typically happens when boards are stored in high-humidity environments before installation, causing the paper to absorb ambient moisture and swell, or when a water leak reactivates the starch. Once the starch bond breaks, the paper loses its structural tension.
Field Fixes for Facing Failures
Proper Repair Protocol:
- Use a sharp utility knife to cut an 'X' through the center of the blister.
- Peel back the paper flaps and scrape away any loose, degraded gypsum or crystallized starch residue.
- Apply a thin layer of setting-type joint compound (45-minute set) under the flaps.
- Press the flaps flat, wipe away the squeeze-out, and feather the edges with a 10-inch taping knife.
- Seal the repair with a PVA drywall sealer before painting to prevent the paper from absorbing paint moisture and re-blistering.
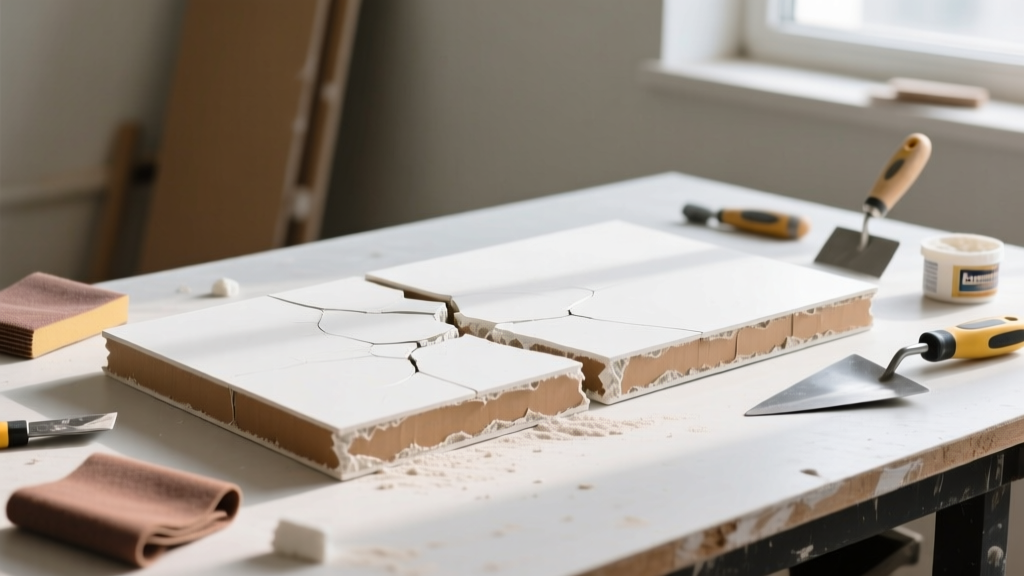
Manufacturing Variables and Field Defects Matrix
Understanding the exact factory variables helps pinpoint why a specific batch of drywall is failing. The USGS Mineral Commodity Summaries tracks the massive scale of gypsum production, but quality control at the plant level dictates field performance.
| Manufacturing Variable | Resulting Field Defect | Targeted Repair Strategy |
|---|---|---|
| Excessive foaming agent (soap) | Oversized air voids; weak core that crushes around screw heads. | Use wide-thread drywall screws; pre-fill voids with setting compound before taping. |
| Insufficient kiln temperature | Paper delamination; board feels damp or heavy. | Replace affected sheets; do not attempt to re-adhere structural facing. |
| Accelerator over-dosing | Brittle edges that snap during scoring; poor screw retention. | Install wood backing behind butt joints; use fiberglass mesh tape for reinforcement. |
| Uneven slurry distribution | Hard ridges or soft spots visible under raking light. | Sand hard ridges with 120-grit; fill soft spots with topping compound. |
Additives and Specialty Boards: Fire and Moisture Repairs
Type X Fire-Rated Board
To achieve a 1-hour or 2-hour fire rating per ASTM E119, manufacturers add up to 3% chopped fiberglass and vermiculite to the gypsum slurry. As the core heats up during a fire, the chemically bound water turns to steam. The fiberglass and vermiculite hold the calcined core together, preventing it from cracking and falling off the ceiling or wall.
Repair Insight: You cannot patch a hole in a Type X fire-rated assembly with standard drywall and expect to maintain the rating. The repair must utilize Type X board of the exact same thickness. Furthermore, the joint compound used must be a setting-type or specifically approved fire-code compound, and the fastener spacing must match the original UL design specifications (typically 8 inches on center for ceilings, 12 inches for walls).
Moisture-Resistant (MR) and Glass-Mat Boards
Green or purple MR boards contain wax or siloxane additives mixed directly into the core, and the paper facing is treated with water-repellent chemicals. Glass-mat gypsum boards (like DensGlass) replace the paper entirely with fiberglass mats embedded in a water-resistant silicone-treated core.
Repair Insight: Standard air-drying joint compounds will not adhere properly to the water-repellent facing of MR boards, and they will trap moisture if used in wet areas. Always use setting-type compounds (which cure via chemical reaction, not evaporation) for the base coats on MR board. For glass-mat boards, standard paper tape will fail; you must use alkali-resistant fiberglass mesh tape and a compatible setting mud to prevent the alkaline environment of the cementitious coatings from degrading the tape.
Diagnostic Decision Tree: Symptom to Solution
Use this rapid diagnostic framework to trace field failures back to their manufacturing or environmental root causes.
- Symptom: Screw heads are tearing through the paper facing.
- Cause: The board was over-dried in the kiln, making the paper brittle, or the core is overly aerated (too much foam).
- Fix: Drive a second screw 2 inches away. Do not remove the blown screw. Fill both depressions with 45-minute setting compound.
- Symptom: Joint compound is cracking exclusively down the center of the tape.
- Cause: The board edges were not tapered deeply enough at the factory, or the boards were forced together too tightly during installation, leaving no room for the compound to lock in.
- Fix: Scrape out the cracked mud. Route a V-groove into the joint with a rasp to create a mechanical key. Pre-fill with setting compound, then apply fiberglass mesh tape and finish.
- Symptom: A chalky white efflorescence is bleeding through the paint.
- Cause: Soluble salts from the raw gypsum mining process were not adequately washed out during manufacturing, and ambient moisture is drawing them to the surface.
- Fix: Wash the wall with a mild acid solution (like diluted white vinegar), rinse, dry completely, and seal with an oil-based or shellac-based stain-blocking primer (e.g., B-I-N) before repainting.
By treating drywall not just as a flat surface, but as a complex composite of rehydrated minerals, gelatinized starches, and chemical additives, repair professionals can move beyond temporary patch jobs. Understanding how gypsum board is made ensures that every repair addresses the underlying chemical and structural reality of the material, resulting in finishes that remain flawless for decades.
Written by
James ThorntonJames Thornton is a construction industry veteran with 25 years of hands-on experience in wood framing, lumber grading, and residential building codes. He started as a framing carpenter in rural Oregon, earned his ICC Residential Building Inspector certification, and eventually became a senior plan reviewer for the City of Portland Bureau of Development Services. James holds a B.S. in Wood Science & Technology from Oregon State University and is a certified lumber grader through the West Coast Lumber Inspection Bureau (WCLIB). He has inspected over 3,000 residential construction sites and authored the city's internal guide on advanced framing techniques (2x6 at 24" O.C.). James lives in Bend, OR, where he builds custom timber-frame cabins and competes in lumberjack sports.
More from James Thornton
View all
Insulation
Best Home Insulation Materials: Complete 2026 Guide
Compare top home insulation materials for 2026. Find R-values, installed costs per square foot, and best uses for fiberglass, spray foam, and mineral wool.
Aug 4, 2026

Sustainable Building
Certify Your Green Building Material for LEED and WELL
Step-by-step guide to certifying a green building material for LEED v5 and WELL v2. Master EPDs, HPDs, and VOC limits for 2026 project specifications.
Aug 4, 2026

Stone & Masonry
Veneer Stacked Stone Panels: Interior Design & Style Showcase
Discover how veneer stacked stone panels transform interiors. Explore modern design profiles, material pairings, and technical installation specs.
Aug 4, 2026