Gypsum Board Type X Repair: Troubleshooting Fire-Rated Drywall
Learn how to troubleshoot and repair gypsum board Type X without compromising fire ratings. Expert fixes for cracks, holes, and joint failures.

Gypsum board Type X is the backbone of passive fire protection in modern commercial and multi-family residential construction. Manufactured with a denser core and reinforced with glass fibers, this 5/8-inch thick panel is engineered to withstand extreme heat and maintain structural integrity during a fire, typically providing a 1-hour fire-resistance rating for single-layer wood or steel stud assemblies. However, when Type X drywall suffers mechanical damage, water intrusion, or improper installation, its fire-resistive properties can be severely compromised. Repairing these assemblies is not a standard cosmetic drywall patch job; it requires strict adherence to fire-testing protocols to ensure the continuous fire membrane remains intact.
The Core Physics of Type X Gypsum Board
Before troubleshooting defects, it is critical to understand why gypsum board Type X behaves differently than standard 1/2-inch drywall. The core of Type X contains chemically combined water (calcium sulfate dihydrate). When exposed to fire, this water calcines, turning to steam and absorbing massive amounts of heat energy, which delays the transfer of heat to the structural framing.
The addition of glass fibers and other core enhancements prevents the calcined core from shrinking, cracking, and falling away from the fasteners during a fire. If a repair introduces standard drywall, non-fire-rated joint compounds, or improper fastener spacing, the assembly will fail prematurely under thermal stress, allowing fire to bypass the wall cavity and spread to adjacent compartments.
Diagnosing Fire-Rated Drywall Failures
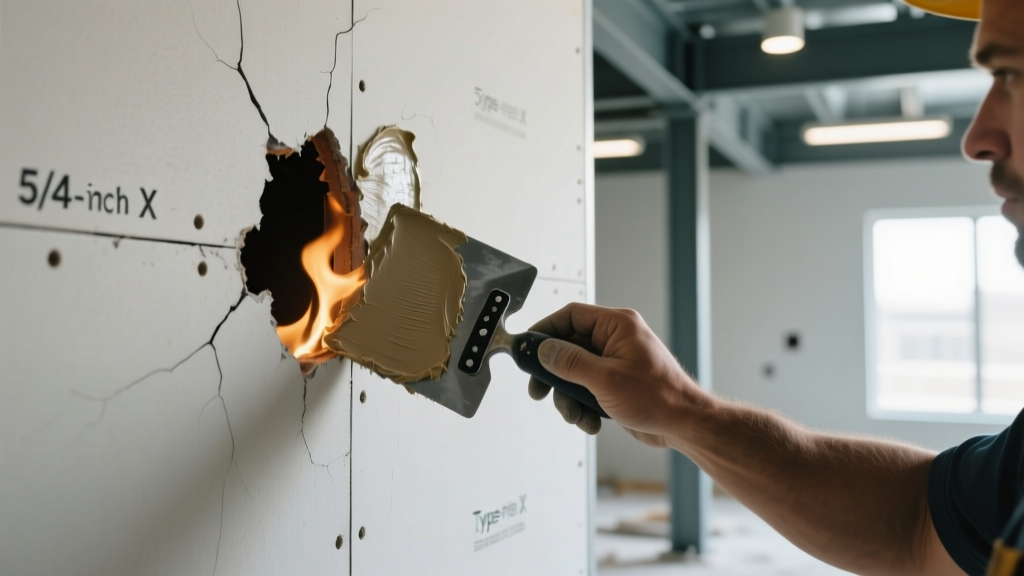
Not all drywall damage destroys the fire rating. Superficial scratches or minor dents in the paper facing do not affect the thermal barrier. However, breaches that penetrate the core or compromise the taped joints require immediate, code-compliant remediation. Use the following troubleshooting matrix to assess damage severity and determine the correct repair protocol.
| Symptom / Defect | Root Cause | Impact on Fire Rating | Required Repair Action |
|---|---|---|---|
| Hairline cracks at butt joints | Structural settling or framing lumber shrinkage | Low (if taped); High (if gap exceeds 1/8 inch) | Rake out crack, fill with setting compound, and retape with paper tape. |
| Puncture or hole larger than 4 inches | Mechanical impact from HVAC, plumbing, or tenant damage | Severe (breaks the continuous fire membrane) | Cut out damaged section to stud centers; install backing and patch with Type X. |
| Fastener pops (screws backing out) | Over-driving screws or moisture-induced wood framing movement | Moderate (reduces holding power during calcination) | Drive a new fire-rated screw 2 inches away; patch the popped screw. |
| Water staining and core softening | Roof leak, plumbing burst, or condensation in rated shafts | Critical (compromises core density and structural integrity) | Cut out and replace all panels where the core feels soft or crumbles. |
Step-by-Step Repair Protocols for Common Defects
Scenario A: Punctures and Penetrations
When an electrician or plumber cuts an unapproved hole in a rated partition, the fire membrane is breached. You cannot simply fill a large hole with expanding foam or joint compound.
- Square the Opening: Use a drywall saw to cut the damaged area into a clean rectangle, ensuring the vertical edges land exactly on the center of the wood or steel studs.
- Install Backing: If the horizontal edges do not land on framing, install wood or steel backing securely fastened to the adjacent studs.
- Cut the Patch: Cut a replacement piece from a verified 5/8-inch gypsum board Type X panel. The patch must fit with a maximum gap of 1/8 inch around the perimeter.
- Fasten the Patch: Secure the patch using 1-5/8 inch Type S coarse-thread drywall screws (for steel) or 1-1/4 inch Type W screws (for wood). Maintain a 7-inch on-center spacing along the edges, matching the original UL design specifications.
If the hole was created for plumbing or electrical penetrations, the gap between the pipe/conduit and the gypsum board must be sealed with a tested, intumescent firestop sealant (e.g., Hilti CP 606 or 3M Fire Barrier Sealant FD 150+). Standard acrylic caulk will melt and fail during a fire, allowing toxic smoke and flames to pass through the wall cavity.
Scenario B: Cracked Joints and Fastener Pops
Cracks in fire-rated assemblies usually occur at the joints. According to the Gypsum Association's GA-216 Application and Finishing Guide, joints in fire-rated systems must be tightly butted. If a gap wider than 1/8 inch exists, it must be pre-filled with a setting-type joint compound before taping. Never use pre-mixed, air-drying joint compound for the pre-fill or the first two coats in a fire-rated assembly, as it shrinks significantly and lacks the density required to maintain the thermal barrier.
Scenario C: Water-Damaged Fire Assemblies
Type X drywall is highly susceptible to moisture. If a rated shaft wall or corridor partition suffers water damage, the gypsum core can lose its structural cohesion. Press your thumb firmly against the board; if it yields, dents, or feels spongy, the calcination properties are compromised. The only code-compliant repair is to cut out the affected panels to the nearest framing members and install new, dry Type X board. Ensure the cavity insulation (if present) is also completely dry to prevent mold growth inside the fire-rated chase.
Fire-Rated Joint Treatment and Taping Rules
The finishing process for gypsum board Type X is heavily scrutinized by fire marshals and third-party inspectors. The tape and mud combination must match the specific Underwriters Laboratories (UL) design number specified in the architectural plans (e.g., UL Design U305 for wood studs or U419 for steel studs).
- Paper Tape is Mandatory: Most UL fire-resistance designs explicitly require paper joint tape embedded in setting-type compound. Fiberglass mesh tape is generally not permitted in fire-rated assemblies unless specifically tested and listed in the UL directory, as mesh can melt or degrade under high heat, allowing the joints to pull apart.
- Use Setting-Type Compounds: For the taping and filler coats, use a chemical-setting compound like USG Durabond 45 or 90. These compounds cure via a chemical reaction, resulting in a dense, rock-hard finish that resists shrinkage and provides superior fire resistance compared to air-drying vinyl compounds.
- Finishing Coat: A lightweight pre-mixed topping compound can be used for the final skim coat to achieve a Level 4 or Level 5 finish, provided the underlying base coats meet the fire-rating thickness requirements.
Code Compliance and Inspector Checklists
When repairing Type X drywall in commercial buildings, hospitals, or multi-family dwellings, the work must comply with the NFPA 101 Life Safety Code and local building codes. Inspectors will look for specific markers to verify the integrity of the repair.
Always leave a small, unobtrusive stamp or sticker on the repaired panel indicating the date of repair, the contractor's license number, and the specific Type X product used (e.g., 'USG Sheetrock Firecode Core 5/8'). This provides an immediate audit trail for facility managers and fire inspectors.
Before calling for a final inspection, run through this compliance checklist:
- Verify Board Thickness: Use a caliper or check the end-tape of the scrap material to confirm 5/8-inch Type X was used, not standard 1/2-inch board.
- Check Fastener Spacing: Measure the screw pattern on the patched area. It must match the original UL design (typically 7 inches on center for walls, 12 inches on center for ceilings).
- Inspect Penetration Seals: Ensure all pipes, conduits, and ducts passing through the repaired wall are sealed with the correct intumescent firestop material, and that the firestop collar or wrap strip is visible and properly installed.
- Review the UL Directory: Cross-reference the repair method with the UL Fire Resistance Directory to ensure no unauthorized modifications (like adding untested soundproofing layers or incompatible insulation) were made to the cavity.
Troubleshooting and repairing gypsum board Type X requires a shift in mindset from standard interior finishing to life-safety system maintenance. By strictly adhering to material specifications, fastener schedules, and tested joint treatments, contractors can restore the passive fire protection of a building and ensure it performs exactly as engineered during a catastrophic fire event.
Written by
Marcus ChenMarcus Chen is a licensed structural engineer (PE) and building materials analyst with over 12 years of experience across residential, commercial, and industrial construction. He holds a Master of Science in Civil Engineering from UC Berkeley and spent six years at Thornton Tomasetti before transitioning to independent consulting and technical writing. Marcus specializes in material selection for seismic-prone regions, concrete reinforcement strategies, and lifecycle cost analysis. His work has been cited by the American Concrete Institute (ACI) and the Structural Engineers Association of California (SEAOC). When he is not on a job site or at his desk, you will find him hiking the Sierra Nevada or restoring a 1920s craftsman bungalow in Oakland, CA.
More from Marcus Chen
View all
Construction Cost
How Much Did the Eiffel Tower Cost to Build?
How much did the Eiffel Tower cost to build in 1889? We adjust for inflation and compare its budget to modern skyscraper construction.
Aug 4, 2026

Fire Resistance
What Is a Fire Resistant Material? Testing & Certification Guide
Discover what is a fire resistant material through ASTM and UL testing. Learn how fire ratings, certifications, and assemblies work in construction.
Aug 4, 2026

Construction Cost
How Much Did the Burj Khalifa Cost to Build?
How much did the Burj Khalifa cost to build? We break down the $1.5B project and extract 5 money-saving strategies for your next build.
Jul 30, 2026