Troubleshooting Suspended Gypsum Board Ceiling Details: Repair Guide
Expert guide to troubleshooting suspended gypsum board ceiling details. Fix cracks, panel sag, and fastener pops with precise framing and taping methods.
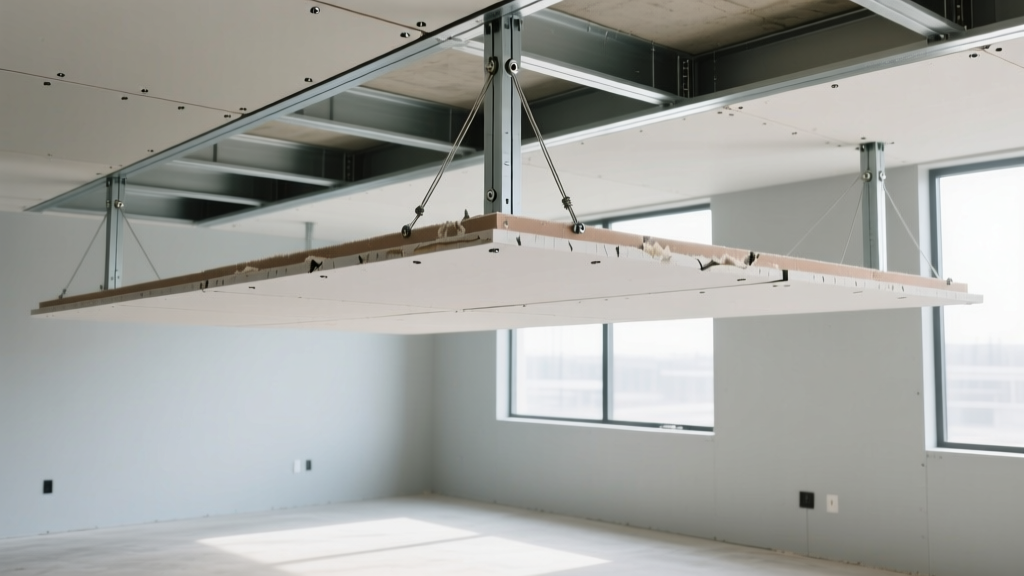
Diagnostic Matrix: Identifying Suspended Ceiling Failures
Suspended gypsum board ceilings—often referred to as drywall drop ceilings—present unique structural challenges compared to standard acoustic grid systems or direct-to-joist applications. Because the ceiling plane is isolated from the primary structural deck via hanger wires, main runners, and furring channels, dynamic loads from HVAC vibration, truss uplift, and building sway frequently manifest as visible drywall defects. Accurate repair requires diagnosing the specific failure mode within the suspension grid before addressing the gypsum surface.
| Symptom | Root Cause in Suspension Grid | Immediate Diagnostic Action |
|---|---|---|
| Diagonal cracking at board joints | Furring channel spacing exceeds 24 inches OC for 1/2-inch board, causing deflection. | Measure channel spacing; verify board thickness with a caliper at cut edges. |
| Perimeter shadow line separation | Lack of slip track or rigid perimeter molding restricting lateral movement. | Inspect the wall intersection for rigid taping vs. reveal trim (e.g., P419 molding). |
| Localized panel sagging | Missing or loose 12-gauge hanger wires; moisture absorption in standard boards. | Push up on the sagging panel to check wire tension; check for roof leaks above. |
| Fastener pops along seams | Board installed under tension or framing not aligned to a single plane (L/240 limit). | Shine a raking light across the seam; check for proud or recessed furring channels. |
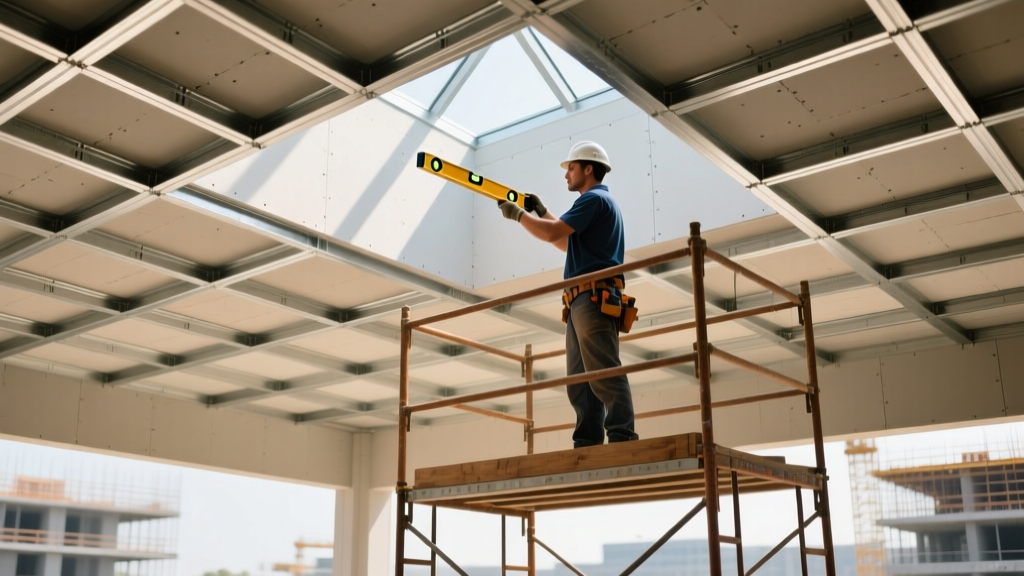
Resolving Joint Cracks and Perimeter Separation
The most frequent complaint in suspended gypsum systems is cracking at the perimeter where the ceiling meets the wall. This occurs because the suspended grid moves independently of the load-bearing or partition walls due to thermal expansion and structural deflection. If the original installer rigidly taped the ceiling board to the wallboard, cracking is inevitable.
Step-by-Step Perimeter Repair
- Remove the Rigid Tape: Use a utility knife to score and remove all existing joint tape and compound within 3 inches of the perimeter wall.
- Install a Reveal Trim: Instead of re-taping, install a specialized trim profile. The Trim-Tex Magic Corner or USG P419 Shadow Molding accommodates up to 1/2-inch of lateral movement. Attach the trim to the wall framing (not the ceiling grid) using 1-inch drywall screws.
- Apply Setting-Type Compound: Embed the trim's flange using a setting-type joint compound like ProForm Brand Quick Set 45. Setting compounds possess higher tensile strength and lower shrinkage than pre-mixed air-drying compounds, which is critical for suspended dynamic loads.
- Finish the Reveal: Apply a skim coat of USG Sheetrock Brand UltraLightweight All-Purpose Joint Compound over the flange, feathering it out 12 inches into the field. Sand to a Level 4 finish.
Correcting Panel Sag and Furring Channel Deflection
Panel sag in a suspended ceiling is rarely a failure of the gypsum board itself; it is almost always a failure of the metal framing grid to meet ASTM C635 and C636 standards for suspension systems. When 1/2-inch gypsum board is installed on furring channels spaced at 24 inches on-center (OC), the dead load combined with HVAC vibration can exceed the deflection limit of L/240.
Reinforcing the Furring Grid
If sagging is detected, the ceiling must be temporarily supported with T-braces or screw jacks before modifying the grid. Do not simply drive more screws into the sagging board, as this will not correct the underlying deflection and may cause the board to fracture.
- Add Intermediate Furring: Install additional ClarkDietrich 1-5/8-inch 25-gauge galvanized furring channels midway between the existing channels, reducing the spacing from 24 inches OC to 12 inches OC. Wire-tie the new channels to the main runners using 18-gauge tie wire.
- Upgrade Hanger Wires: Verify that primary hanger wires are 12-gauge galvanized steel, spaced no more than 4 feet OC along the main runners. If 16-gauge wires were used, they must be supplemented with 12-gauge wires at every other main runner node.
- Address Moisture Intrusion: If the sagging board feels soft or heavy, it has absorbed ambient moisture. Standard gypsum board loses structural integrity when exposed to high humidity. Cut out the compromised section and replace it with USG Sheetrock Brand UltraLight Panels Mold Tough, which features a moisture-resistant core and fiberglass facing.
Troubleshooting Fastener Pops and Vibration Rattle
Fastener pops in suspended ceilings appear as small circular bulges or fractures along the furring channels. In suspended systems, this is typically caused by 'truss uplift' or wind-load deflection that forces the gypsum board to pull away from the steel framing. Furthermore, recessed can lights and HVAC diffusers mounted directly to the gypsum board without independent suspension will transfer vibration directly to the fasteners.
The Double-Screw Repair Method
To repair a localized fastener pop without removing the ceiling panel:
- Drive a new 1-5/8-inch Type S-12 fine-thread drywall screw exactly 2 inches away from the popped fastener. Ensure the new screw penetrates the steel furring channel by at least 3/8-inch.
- As you drive the new screw, apply firm hand pressure to the gypsum board to pull it tight against the channel. The board should dimple slightly without breaking the paper face.
- Back out the original popped screw entirely, or drive it deep into the gypsum core so it no longer exerts outward pressure.
- Fill both the old and new screw divots with a high-build setting compound, followed by a finishing skim coat.
Advanced Detail: Integrating HVAC and Recessed Lighting Without Cracking
The intersection of rigid drywall and vibrating mechanical equipment is a primary failure point in suspended ceiling details. When HVAC ductwork runs directly above or adjacent to the suspended grid, acoustic vibration transfers through the metal framing, causing micro-fractures in the joint compound.
To isolate the suspended gypsum ceiling from mechanical vibration, framing details must incorporate acoustic decoupling:
- Resilient Channel Isolation: Where furring channels run parallel and adjacent to main HVAC trunks, install USG RC-1 Resilient Channels perpendicular to the furring. This breaks the direct mechanical path for vibration transfer.
- Duct Collar Clearances: Maintain a minimum 1/2-inch clearance between the gypsum board cutout and the metal HVAC supply collar. Fill this gap with a flexible, paintable acoustic sealant like OSI SC-175 Draft and Acoustical Sound Sealant. Do not use rigid joint compound to bridge the gap between the board and the duct collar.
- Backer Boxes for Recessed Lights: If recessed lights are installed in a suspended ceiling acting as a plenum return, they must be housed in fire-rated, acoustically lined backer boxes. The backer box should be suspended independently, and the drywall should be cut 1/8-inch oversized to allow for thermal expansion without binding.
2026 Material and Labor Cost Breakdown for Repairs
Budgeting for suspended ceiling repairs requires accounting for the specialized access equipment (scaffolding or scissor lifts) and the premium materials required for dynamic framing. Below is a localized cost matrix for standard commercial repair scenarios.
| Repair Scenario | Required Materials | Material Cost (per 100 sq ft) | Labor Cost (per 100 sq ft) |
|---|---|---|---|
| Perimeter Reveal Retrofit | Trim-Tex Magic Corner, Quick Set 45, UltraLight Compound | $85 - $110 | $250 - $320 |
| Sagging Panel Reinforcement | ClarkDietrich 25ga Furring, 12ga Hanger Wire, Tie Wire | $120 - $150 | $400 - $550 |
| Fastener Pop & Vibration Fix | Type S-12 Screws, SC-175 Sealant, ProForm All-Purpose | $30 - $45 | $180 - $220 |
| Water-Damaged Board Swap | Mold Tough 5/8-in Board, Galvanized Grid Components | $160 - $210 | $450 - $600 |
For comprehensive framing and installation specifications, contractors should regularly consult the USG Technical Resources library and local building codes regarding plenum fire-ratings and seismic bracing requirements for suspended grids.
Written by
Marcus ChenMarcus Chen is a licensed structural engineer (PE) and building materials analyst with over 12 years of experience across residential, commercial, and industrial construction. He holds a Master of Science in Civil Engineering from UC Berkeley and spent six years at Thornton Tomasetti before transitioning to independent consulting and technical writing. Marcus specializes in material selection for seismic-prone regions, concrete reinforcement strategies, and lifecycle cost analysis. His work has been cited by the American Concrete Institute (ACI) and the Structural Engineers Association of California (SEAOC). When he is not on a job site or at his desk, you will find him hiking the Sierra Nevada or restoring a 1920s craftsman bungalow in Oakland, CA.
More from Marcus Chen
View all
Construction Cost
How Much Did the Eiffel Tower Cost to Build?
How much did the Eiffel Tower cost to build in 1889? We adjust for inflation and compare its budget to modern skyscraper construction.
Aug 4, 2026
Fire Resistance
What Is a Fire Resistant Material? Testing & Certification Guide
Discover what is a fire resistant material through ASTM and UL testing. Learn how fire ratings, certifications, and assemblies work in construction.
Aug 4, 2026

Construction Cost
How Much Did the Burj Khalifa Cost to Build?
How much did the Burj Khalifa cost to build? We break down the $1.5B project and extract 5 money-saving strategies for your next build.
Jul 30, 2026