Installing Different Types of Wood Fence: Pro Best Practices
Master the installation of different types of wood fence. Learn species-specific fastener selection, post-setting depths, and moisture management.

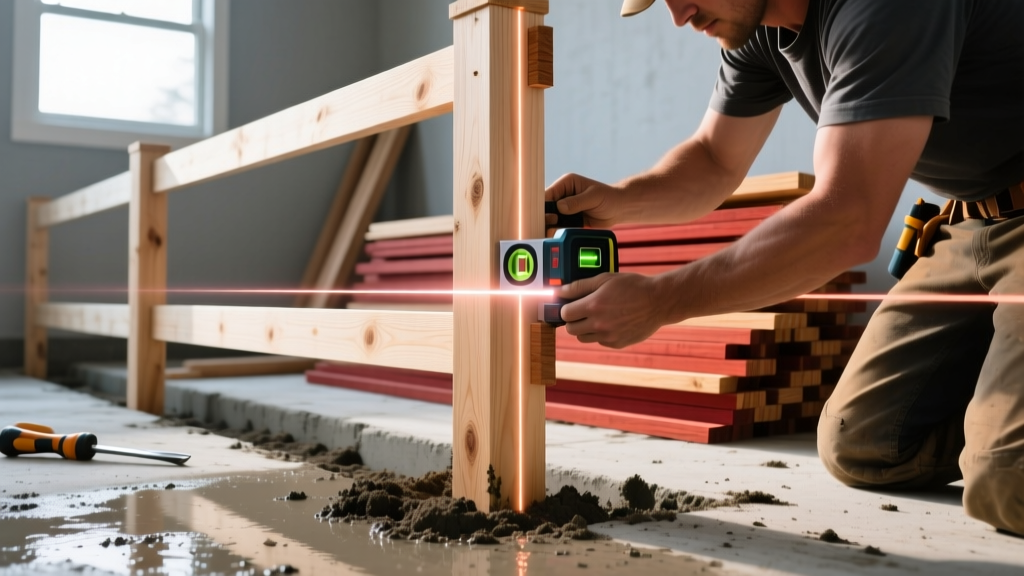
The Foundation: Post-Setting Protocols for All Wood Species
The primary point of failure in any wood fence is not the picket or the rail; it is the post base. When installing different types of wood fence, structural longevity hinges entirely on how the posts interact with the soil and concrete. A standard 4x4 post is sufficient for runs up to 6 feet high, but any gate post or fence exceeding 7 feet requires a 6x6 post to resist lateral wind loads and gate sag.
Posts must be set below the local frost line to prevent frost heave, which can push posts upward and rack the entire fence line. In northern climates, this often means digging 36 to 48 inches deep. The hole should be bell-shaped at the bottom, not cylindrical, to create a concrete anchor that resists upward extraction.
Do not place 6 inches of gravel at the bottom of a post hole and set the wood directly on it. This creates a water reservoir that accelerates rot. Instead, pour 4 to 6 inches of 4000 PSI concrete into the hole first, embed the post into the wet concrete, and ensure the post is elevated slightly so it is fully encapsulated, or rest it directly on the cured concrete base before pouring the collar.
The concrete collar must be sloped away from the post at a minimum 5-degree angle to shed surface water. Using a high-density polyethylene (HDPE) post sleeve or wrapping the below-grade portion of the wood in a bituminous mastic membrane adds a secondary moisture barrier, extending the life of pressure-treated pine and cedar posts by up to 40%.
Species-Specific Installation Matrix
Material selection dictates your fastener strategy and ground-clearance requirements. The USDA Forest Products Laboratory Wood Handbook outlines how varying densities and extractive chemicals in wood react to environmental stressors and metal fasteners.
| Wood Species | Janka Hardness | Ground Contact Suitability | Required Fastener Type | Shrinkage Factor |
|---|---|---|---|---|
| Western Red Cedar | 350 lbf | Poor (Keep 2' above grade) | 304 or 316 Stainless Steel | Low (Dimensionally stable) |
| Coastal Redwood | 420 lbf | Poor (Heartwood only for ground) | 304 or 316 Stainless Steel | Low |
| Pressure-Treated Pine | 690 lbf | Excellent (UC4A or UC4B rated) | G185 Hot-Dipped Galvanized | High (Requires drying gaps) |
| Ipe (Brazilian Walnut) | 3,680 lbf | Excellent (Naturally rot-proof) | Stainless Steel Hidden Clips | Very Low |
Handling & Fastening: Species Nuances
When installing different types of wood fence, treating all lumber identically guarantees premature failure. Each species possesses unique chemical and physical properties that demand specific installation techniques.
Western Red Cedar & Coastal Redwood
Cedar and redwood are prized for their natural decay-resistant extractives (thujaplicins). However, these same water-soluble tannins will aggressively corrode standard zinc-plated or electro-galvanized fasteners, resulting in unsightly black streaks down the face of the pickets. You must use Type 304 stainless steel fasteners for standard runs, and Type 316 stainless steel for coastal environments within 5 miles of saltwater.
According to the Western Red Cedar Lumber Association, cedar should never be installed in direct ground contact unless it is specifically graded and treated for such use. Maintain a strict 2-inch clearance between the bottom of cedar pickets and the soil or mulch line to prevent capillary moisture wicking.
Pressure-Treated Southern Yellow Pine
Modern pressure-treated pine utilizes micronized copper azole (MCA) or alkaline copper quaternary (ACQ) preservatives. These copper-based chemicals are highly corrosive to aluminum and standard steel. The American Wood Protection Association (AWPA) mandates that fasteners used with ACQ/MCA treated wood must meet a minimum G185 hot-dipped galvanized coating standard, or be polymer-coated structural screws.
Pressure-treated pine is often installed while still saturated with preservative chemicals (moisture content above 30%). If you butt the pickets tightly together during installation, they will shrink by up to 1/4 inch in width as they dry over the first summer, leaving massive gaps. Install wet PT pine pickets with zero gap (edge-to-edge); as they dry, they will naturally separate to the ideal 1/8-inch spacing.
Tropical Hardwoods (Ipe, Cumaru, Garapa)
Tropical hardwoods offer extreme density and Class A fire ratings, but their Janka hardness makes installation labor-intensive. You cannot face-nail Ipe without pre-drilling every single hole with a carbide-tipped bit, and countersinking requires specialized stop-collars to prevent burning the dense fibers. For fences, utilizing a hidden fastener system (like stainless steel Ipe clips screwed into the rail) is vastly superior, allowing for thermal expansion while hiding the hardware.
Crucially, all cut ends of tropical hardwoods must be immediately sealed with a commercial end-grain sealer (such as Anchorseal). Failure to seal the end grain of Ipe will result in severe checking (splitting) at the rail intersections within the first 60 days of UV exposure.
Picket Spacing and Wood Movement
Wood is hygroscopic; it expands across the grain when it absorbs ambient humidity and shrinks when it dries. Proper spacing prevents buckling in high humidity and excessive gapping in dry winters.
- Kiln-Dried (KD) Cedar/Redwood: Install with a 1/8-inch gap (the thickness of a standard framing nail) between pickets. This allows room for seasonal expansion during wet spring months without causing the boards to cup or push each other off the rails.
- Green/Wet Pressure-Treated Pine: Install tight, edge-to-edge. Shrinkage will create the necessary gaps.
- Board-on-Board (Shadowbox) Style: Overlap boards by 1 to 1.5 inches. This accounts for shrinkage while maintaining privacy. If using 1x6 pickets, a 1-inch overlap ensures that even if the wood shrinks 10%, no sightlines will open up.
Troubleshooting Common Installation Failures
Even experienced crews make systemic errors when rushing through fence installations. Recognizing these failure modes before they happen is the hallmark of professional craftsmanship.
Failure: Twisted Pickets
Cause: Fastening only the top and bottom of a 6-foot picket, or using screws with insufficient thread grip in the mid-section.
Fix: Always use three 2x4 horizontal rails for fences 6 feet or taller. Fasten the picket to the top, middle, and bottom rail using two fasteners per intersection (6 fasteners total per picket) to lock the board flat against the framing.
Failure: Gate Sag & Post Lean
Cause: Hinge posts bear the entire dynamic load of the gate. Standard concrete collars often pull inward over time.
Fix: Install gate hinge posts 1/4 inch out of plumb, leaning slightly away from the gate swing. When the heavy gate is hung, its weight will pull the post perfectly into plumb. Use a threaded steel tension rod from the top hinge corner to the bottom latch corner of the gate frame to transfer the load directly to the bottom hinge.
Mastering the installation of different types of wood fence requires respecting the material science behind the lumber. By matching the correct fastener metallurgy to the wood's chemical preservatives, engineering the concrete foundation to defeat frost heave, and anticipating dimensional shrinkage, you ensure a fence system that remains structurally sound and visually pristine for decades.
Written by
Priya KapoorPriya Kapoor is a real estate market analyst and construction economics researcher with expertise in housing affordability, development feasibility, and infrastructure investment. She holds a Master of Regional Planning from Cornell University and previously worked as a senior analyst at CBRE's Investment Properties group, where she modeled returns for $4B in mixed-use development pipelines. Priya now runs an independent research practice advising developers, municipalities, and REITs on construction cost forecasting and market timing. She publishes the quarterly "BuildMat Market Pulse" report tracking material price indices across 12 commodity categories. Based in Austin, TX, Priya serves on the board of Habitat for Humanity Austin and is a marathon runner.
More from Priya Kapoor
View all
Construction Cost
Cost to Build a 1600 Sq Ft Home in 2026: Full Breakdown
Accurate 2026 cost to build a 1600 sq ft home—material, labor, and regional pricing breakdowns included. Plan your budget with real-time estimates.
Aug 11, 2026

Wood & Lumber
Name the Types of Wood for Pressure Treatment and Preservation
Learn how to name the types of wood best suited for pressure treatment. Compare species treatability, chemical retention levels, and 2026 preservation costs.
Aug 4, 2026

Stone & Masonry
Stone Veneer Suppliers Lindenhurst: 2026 Cost Analysis
Analyze 2026 stone veneer costs in Lindenhurst, NY. Compare local supplier pricing, delivery fees, and Suffolk County installation labor rates.
Aug 4, 2026