Choosing the Right Type of Wooden Joints for Timber Framing
Master timber framing installation with our guide on selecting the right type of wooden joints for structural load transfer and longevity.

The structural integrity of a timber frame relies entirely on the mechanical interlock of its joinery. Unlike light-frame construction that depends on nailed metal connectors and plywood shear panels, heavy timber framing transfers immense compressive, tensile, and shear loads directly through wood-to-wood contact. Selecting the correct type of wooden joints for specific structural nodes is not merely an aesthetic choice; it is a fundamental engineering decision that dictates the lifespan and safety of the building.
The Mechanics of Load Transfer in Timber Joinery
Before cutting a single mortise, framers must map the load paths through the structure. Wood is highly anisotropic, meaning its strength varies drastically depending on the direction of the grain relative to the applied force. According to the USDA Forest Products Laboratory Wood Handbook, wood is strongest in compression parallel to the grain, but significantly weaker in compression perpendicular to the grain.
Shear vs. Tensile Stress in Joint Selection
When evaluating which type of wooden joints to deploy, identify the primary stress at the connection point. A post-to-beam connection primarily handles vertical compression and lateral shear. A rafter-to-plate connection must resist both downward compression and outward tensile thrust. Relying solely on wooden pegs (treenails) to resist tensile withdrawal is a critical error; pegs are designed to hold joints in alignment while the timber shoulders bear the actual structural loads.
Core Structural Joints: Installation Best Practices
Mortise and Tenon (Through and Blind)
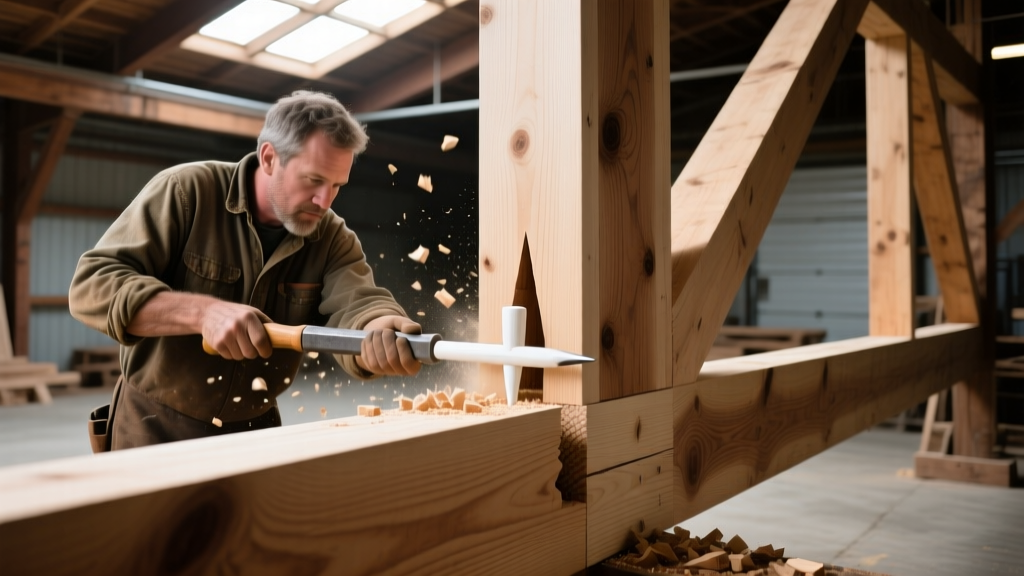
The mortise and tenon is the undisputed workhorse of timber framing. For structural applications, the tenon should be cut to exactly one-third the thickness of the timber to maintain equal shear strength in both the tenon and the mortise cheeks.
The Drawbore Technique: To pull a mortise and tenon joint tight without relying on clamps or modern adhesives, framers use drawboring. This involves offsetting the peg hole in the tenon slightly closer to the shoulder than the holes in the mortise cheeks.
- Drill the Mortise: Bore the holes through the empty mortise cheeks first.
- Mark the Tenon: Insert the tenon into the mortise and pass the drill bit through to mark the tenon.
- Offset the Tenon Hole: Remove the tenon and shift your drilling mark 1/8 inch to 3/16 inch toward the tenon shoulder. Drill the tenon hole at this new mark.
- Drive the Peg: As the tapered hardwood peg is driven through the offset holes, it mechanically forces the tenon shoulder tight against the mortise cheek.
Scarf Joints for Lengthening
When timber lengths exceed available stock, scarf joints splice two members together. The installation best practice for a structural scarf joint in a bending member (like a purlin or plate) requires a minimum slope ratio of 1:4 or 1:5. A 1:4 ratio on an 8x8 timber requires a 32-inch splice length.
To prevent the joint from sliding under longitudinal tension, installers must incorporate a "nib" (a small square block of wood left protruding at the end of the scarf face) or use a folded wooden wedge driven into a kerf cut across the splice line. Modern framers sometimes supplement these with concealed steel shear plates or threaded epoxy rods, but the primary load must still transfer through the wood bearing surfaces.
Decision Matrix: Matching Joint Type to Load Condition
Selecting the appropriate joint requires matching the geometry to the specific structural demands. The following matrix outlines standard applications based on the American Wood Council National Design Specification (NDS) principles for timber connections.
| Joint Type | Primary Load Handled | Best Application | Installation Tolerance |
|---|---|---|---|
| Bridle Joint | Compression & Lateral Shear | Post-to-plate connections; top of king posts | +/- 1/16 inch |
| Dovetail Joint | Tensile Withdrawal | Tying beams to plates; resisting roof thrust | Snug fit, no gap |
| Scarf Joint (Keyed) | Bending & Longitudinal Tension | Splicing continuous plates or purlins | 1:4 minimum slope ratio |
| Shouldered Mortise | Heavy Vertical Compression | Main beam-to-post connections | Shoulder must bear 100% |
Moisture Content and Dimensional Tolerances
The most common cause of joint failure in timber framing is ignoring wood movement. Wood shrinks and swells primarily in the tangential and radial directions; longitudinal shrinkage (along the grain) is negligible. If you are installing joints in "green" timber (moisture content above 30%), the wood will shrink significantly as it dries to its Equilibrium Moisture Content (EMC), typically 8-12% for interior spaces.
The Shrinkage Gap Rule: When cutting a mortise and tenon joint in green timber, the tenon length must be slightly shorter than the depth of the mortise. Leave a 1/4-inch to 1/2-inch gap at the top of the tenon inside the mortise. As the horizontal beam shrinks radially, its overall depth decreases. If the tenon is cut perfectly flush to the bottom of the mortise in green wood, the subsequent radial shrinkage will force the tenon to act as a wedge, splitting the vertical post's mortise cheek from the inside out.
Modern Fastening and the Adhesive Trap
A frequent mistake among novice framers transitioning from fine woodworking is the application of structural adhesives (like polyurethane or resorcinol formaldehyde) to heavy timber joints. While the Timber Framers Guild acknowledges the use of epoxy in specific repair scenarios, traditional joinery relies on mechanical interlock.
Heavy timbers experience significant seasonal movement and internal checking (cracking) as they dry. Rigid adhesive bonds will inevitably fracture under these cyclic stresses, creating a false sense of security during installation. Furthermore, gluing a joint prevents future disassembly for repairs or building relocation. Rely strictly on precise bearing surfaces, proper drawboring, and hardwood pegs for primary structural connections.
Troubleshooting Common Installation Failures
Cause: The drawbore offset is too aggressive, or the peg is not tapered properly.
Fix: Limit the offset to a maximum of 3/16 inch for hardwoods. Ensure pegs are tapered to a blunt point (not a sharp pencil point) so they compress the wood fibers rather than acting as a wedge to split them.
Cause: The mortise cheek is not perfectly square to the timber face, or debris is trapped in the mortise bottom.
Fix: Use a router with a jig to ensure the mortise cheeks are perfectly planar. Undercut the tenon shoulder slightly (by 1 degree) at the inner edge to guarantee the outer edge bears tightly against the mating timber, hiding any minor imperfections.
Mastering the installation of these joints requires a synthesis of traditional geometry and modern material science. By respecting the anisotropic nature of wood, accommodating moisture-driven dimensional changes, and executing precise mechanical interlocks, framers ensure that the structural skeleton will outlast the centuries.
Written by
James ThorntonJames Thornton is a construction industry veteran with 25 years of hands-on experience in wood framing, lumber grading, and residential building codes. He started as a framing carpenter in rural Oregon, earned his ICC Residential Building Inspector certification, and eventually became a senior plan reviewer for the City of Portland Bureau of Development Services. James holds a B.S. in Wood Science & Technology from Oregon State University and is a certified lumber grader through the West Coast Lumber Inspection Bureau (WCLIB). He has inspected over 3,000 residential construction sites and authored the city's internal guide on advanced framing techniques (2x6 at 24" O.C.). James lives in Bend, OR, where he builds custom timber-frame cabins and competes in lumberjack sports.
More from James Thornton
View all
Insulation
Best Home Insulation Materials: Complete 2026 Guide
Compare top home insulation materials for 2026. Find R-values, installed costs per square foot, and best uses for fiberglass, spray foam, and mineral wool.
Aug 4, 2026

Sustainable Building
Certify Your Green Building Material for LEED and WELL
Step-by-step guide to certifying a green building material for LEED v5 and WELL v2. Master EPDs, HPDs, and VOC limits for 2026 project specifications.
Aug 4, 2026

Stone & Masonry
Veneer Stacked Stone Panels: Interior Design & Style Showcase
Discover how veneer stacked stone panels transform interiors. Explore modern design profiles, material pairings, and technical installation specs.
Aug 4, 2026