Clay vs Concrete Brick Installation Guide: Mortar, Cuts & Joints
Master the clay vs concrete brick installation process. Compare mortar types, joint spacing, cutting tools, and cleaning protocols for flawless masonry.

The Core Installation Differences at a Glance
The fundamental error masons make when transitioning between clay and concrete brick is treating them as interchangeable units. While they share similar dimensions and modular coordination, their material science dictates entirely different installation protocols. Clay brick is a fired ceramic that undergoes irreversible moisture expansion over its lifespan. Concrete brick is a cured cementitious product that experiences drying shrinkage. This single physical divergence alters everything from the compressive strength of the mortar you select to the placement of movement joints.
Below is a critical comparison matrix for field supervisors and masons to reference before laying the first course.
| Installation Parameter | Clay Brick (Fired) | Concrete Brick (Cured) |
|---|---|---|
| Average Compressive Strength | 3,000 – 5,000 psi | 4,500 – 8,000+ psi |
| Required Mortar Type (ASTM C270) | Type N (750 psi) or Type S (1,800 psi) | Type S (1,800 psi) or Type M (2,500 psi) |
| Movement Joint Type | Expansion Joints (Compressible) | Control Joints (Elastomeric Sealant) |
| Joint Spacing Rule of Thumb | Every 20 to 25 linear feet | Every 15 to 20 linear feet (or 1.5x wall height) |
| Cutting Method | Wet saw with continuous rim diamond blade | Segmented diamond blade (dry or wet) |
| Post-Lay Cleaning Agent | Diluted Muriatic Acid (1:10 ratio) | Non-acidic, specialized masonry wash |
Mortar Selection and Mixing Protocols
The golden rule of masonry installation is that the mortar must always be weaker (lower compressive strength) than the masonry unit. If the mortar is too hard, it will not accommodate minor thermal or structural movements, forcing the brick itself to crack. According to the Brick Industry Association (BIA) Technical Notes, matching the mortar to the unit's absorption and strength characteristics is non-negotiable.
Mixing Ratios by Volume
For site-mixed mortar adhering to ASTM C270, utilize the following exact volumetric ratios:
- Type N (Best for most Clay Brick): 1 part Portland cement, 1 part hydrated lime, 6 parts damp loose masonry sand. Yields ~750 psi.
- Type S (Best for Concrete Brick & Structural Clay): 1 part Portland cement, 0.5 part hydrated lime, 4.5 parts sand. Yields ~1,800 psi.
- Type M (High-Load Concrete Brick): 1 part Portland cement, 0.25 part lime, 3.75 parts sand. Yields ~2,500 psi.
While clay brick often requires pre-wetting if its Initial Rate of Absorption (IRA) exceeds 30 g/30 sq in/min, soaking concrete brick is a major liability. Excess water trapped in concrete masonry triggers severe efflorescence and delays the curing of the mortar joint. Instead, use a water-retentive mortar admixture (like a cellulose-based plasticizer) to prevent the concrete brick from rapidly sucking moisture out of the mortar bed.
Managing Expansion and Control Joints
Failure to install the correct movement joints is the leading cause of stepped cracking and bowed wythes in veneer walls. The Masonry Society (TMS) 402 Building Code mandates specific joint detailing based on material movement.
Clay Brick: Expansion Joints
Clay brick permanently expands as it absorbs atmospheric moisture over decades. You must install expansion joints to prevent compressive buckling.
- Material: Use a closed-cell polyethylene or neoprene foam backer rod, sized 25% wider than the joint space to ensure a tight friction fit.
- Placement: Install vertically every 20 to 25 feet on long, uninterrupted wall runs.
- Critical Locations: Always place expansion joints at wall offsets, near corners, at changes in wall height, and directly beneath shelf angles or lintels.
Concrete Brick: Control Joints
Concrete brick shrinks as it cures and dries out. You must install control joints to force shrinkage cracking into a straight, sealed line rather than random stepped cracks.
- Material: Rake out the mortar joint to a depth of 3/4 inch, insert a bond-breaker tape, and fill with a high-modulus polyurethane elastomeric sealant.
- Placement Formula: Space control joints every 15 to 20 feet. A highly reliable field formula is to space joints (in feet) at a distance equal to 1.5 times the wall height in inches (e.g., an 8-inch high wall requires joints every 12 feet).
- Critical Locations: Place joints at wall height changes, near window and door openings, and where the wall ties into rigid structural columns.
Cutting and Shaping: Tooling and Techniques
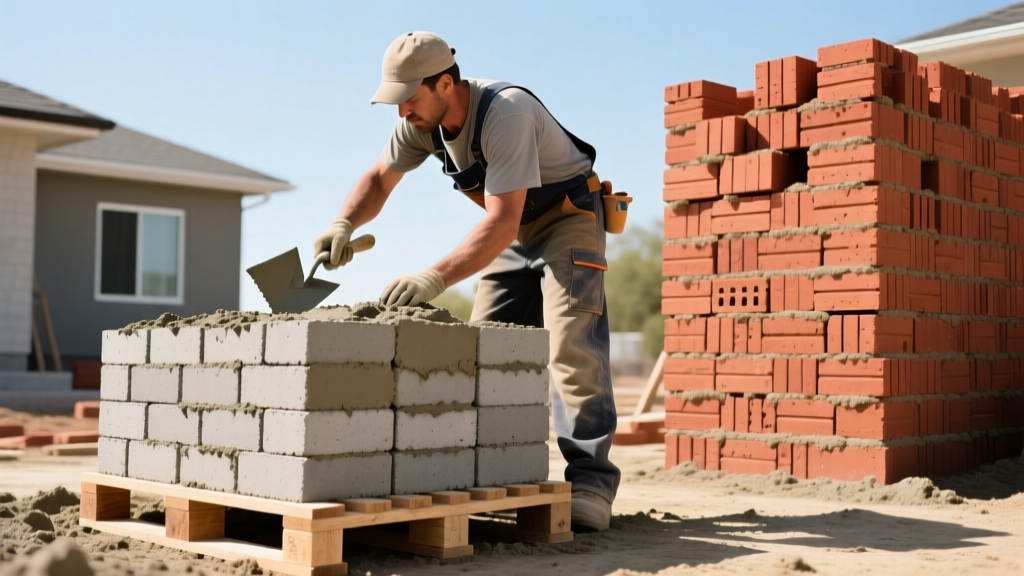
The aggregate composition of 2026's modern concrete bricks makes them exceptionally abrasive, while the brittle, vitrified nature of clay brick makes it prone to micro-chipping. Using the wrong blade will ruin the unit and destroy your tooling budget.
"Never use a standard silicon carbide abrasive masonry blade on modern concrete brick. The hard fly-ash and manufactured sand aggregates will glaze the blade in under three cuts, generating enough heat to warp the arbor." — Field Guidelines from the Portland Cement Association
- For Clay Brick: Use a 10-inch wet masonry saw equipped with a continuous rim diamond blade. The water cools the brittle clay, and the continuous rim prevents the terracotta face from spalling or chipping at the cut line.
- For Concrete Brick: Use a high-quality segmented diamond blade designed specifically for cured masonry and hard aggregate. The segments allow for air cooling and dust ejection. If cutting dry, score the face of the concrete brick first with a masonry hammer and chisel to establish a clean break line before making the full-depth cut.
Curing, Cleaning, and Final Sealing
The post-installation cleaning phase is where contractors frequently cause irreversible aesthetic damage. The chemical reaction between cleaning agents and the masonry matrix differs wildly between the two materials.
Acid Washing Clay Brick
Clay brick can tolerate mild acid solutions to remove Portland cement haze and mortar smears. Mix a solution of 1 part muriatic acid to 10 parts water (always add acid to water, never water to acid). Pre-wet the wall with clean water to prevent the acid from being absorbed deep into the brick pores, apply the solution with a stiff-bristle brush (never wire), and rinse thoroughly within 5 minutes.
Non-Acidic Cleaning for Concrete Brick
Never use muriatic or hydrochloric acid on concrete brick. Acid etches the cementitious binder, exposing the aggregate and creating a permanent rough texture. Furthermore, if the concrete brick contains manganese dioxide (used for black or dark brown integral pigments), acid will trigger a severe chemical reaction resulting in permanent, dark brown staining that cannot be removed. Use a specialized, non-acidic alkaline masonry cleaner formulated for colored concrete masonry. Apply according to the manufacturer's dwell time, agitate with a synthetic brush, and pressure wash at a maximum of 800 PSI to avoid eroding the fresh mortar joints.
Frequently Asked Installation Questions
Can I mix clay and concrete brick in the same structural wythe?
No. Because clay expands and concrete shrinks, binding them together in a single load-bearing or structural veneer wythe will generate immense internal shear stress, leading to rapid joint failure and diagonal cracking. If both aesthetics are desired, they must be separated by a properly detailed movement joint that allows independent movement.
Do I need to seal the bricks after installation?
For exterior walls, breathable silane/siloxane penetrating sealers are recommended for concrete brick to reduce water absorption and limit freeze-thaw spalling. Clay brick generally does not require sealing; in fact, applying a film-forming acrylic sealer to clay brick traps moisture inside the wall assembly, accelerating efflorescence and causing the brick face to spall in freezing climates.
Written by
Marcus ChenMarcus Chen is a licensed structural engineer (PE) and building materials analyst with over 12 years of experience across residential, commercial, and industrial construction. He holds a Master of Science in Civil Engineering from UC Berkeley and spent six years at Thornton Tomasetti before transitioning to independent consulting and technical writing. Marcus specializes in material selection for seismic-prone regions, concrete reinforcement strategies, and lifecycle cost analysis. His work has been cited by the American Concrete Institute (ACI) and the Structural Engineers Association of California (SEAOC). When he is not on a job site or at his desk, you will find him hiking the Sierra Nevada or restoring a 1920s craftsman bungalow in Oakland, CA.
More from Marcus Chen
View all
Construction Cost
How Much Did the Eiffel Tower Cost to Build?
How much did the Eiffel Tower cost to build in 1889? We adjust for inflation and compare its budget to modern skyscraper construction.
Aug 4, 2026

Fire Resistance
What Is a Fire Resistant Material? Testing & Certification Guide
Discover what is a fire resistant material through ASTM and UL testing. Learn how fire ratings, certifications, and assemblies work in construction.
Aug 4, 2026

Construction Cost
How Much Did the Burj Khalifa Cost to Build?
How much did the Burj Khalifa cost to build? We break down the $1.5B project and extract 5 money-saving strategies for your next build.
Jul 30, 2026