Mortar vs Concrete Mix: The Ultimate Installation Guide
Master the mortar vs concrete mix debate with our installation guide. Learn exact PSI ratings, mix ratios, and application methods for masonry and slabs.

The Fundamental Chemistry: Why You Cannot Swap Them
The distinction between mortar and concrete dictates the structural integrity of your installation. While both share a base of Portland cement and sand, their aggregate profiles and chemical additives serve entirely different mechanical purposes. According to the National Ready Mixed Concrete Association, concrete is designed for structural load-bearing capacity, relying on coarse gravel aggregate (up to 3/4-inch in diameter) to provide immense compressive strength. Mortar, conversely, is an adhesive designed for bonding masonry units; it contains zero coarse aggregate and relies on hydrated lime or masonry cement to maximize water retention and workability.
Attempting to use concrete mix to lay bricks will result in catastrophic installation failure. The 3/4-inch gravel in concrete physically prevents masonry units from seating into a standard 3/8-inch joint, leading to uneven courses, zero lateral adhesion, and eventual structural collapse. Similarly, using mortar to pour a footing or set a heavy structural post will result in severe shrinkage, cracking, and a compressive strength deficit that cannot support dynamic loads.
Mortar Installation Guide: Selecting the Right Type
Mortar is categorized by the ASTM C270 standard into four primary types based on compressive strength and flexibility. Selecting the correct type is critical; using a mortar that is harder than the masonry unit it binds will cause the bricks or stones to spall and crack during thermal expansion, as the Brick Industry Association Technical Notes explicitly warn. The mortar must always be the sacrificial, softer element in the wall system.
| Mortar Type | Compressive Strength | Volume Ratio (Cement:Lime:Sand) | Primary Installation Use Case |
|---|---|---|---|
| Type M | 2,500 PSI | 1 : 1/4 : 3.75 | Below-grade foundations, retaining walls, heavy stone masonry. |
| Type S | 1,800 PSI | 1/2 : 1/4 : 4.5 | General exterior above-grade walls, brick veneers, CMU block. |
| Type N | 750 PSI | 1 : 1 : 6 | Interior non-load-bearing walls, soft historic brick, chimneys. |
| Type O | 350 PSI | 1 : 2 : 9 | Tuckpointing historic masonry, interior non-load-bearing repairs. |
Concrete Mix Selection: Matching PSI to the Project
Concrete mix design is driven by the required Pounds per Square Inch (PSI) at 28 days of curing. Bagged concrete mixes available at retail typically range from 2,500 PSI to 5,000 PSI. Pricing for standard 80lb bags currently ranges from $6.50 to $7.50, while high-early-strength 5,000 PSI blends cost between $9.00 and $11.00 per bag.
Standard 4,000 PSI Mix (Standard Slabs and Footings)
Use standard 4,000 PSI concrete for pouring driveways, patio slabs, sidewalk aprons, and structural footings. This mix contains a balanced ratio of coarse aggregate that provides excellent long-term durability against freeze-thaw cycles when properly air-entrained.
High-Early 5,000 PSI Mix (Post Setting and Cold Weather)
High-early-strength mixes are formulated to reach 3,000 PSI in just 24 hours. This is the mandatory choice for setting structural posts (like pergolas or heavy fencing) where lateral bracing must be removed quickly, or for installations in marginal cold-weather conditions where the concrete must achieve critical strength before freezing temperatures penetrate the matrix.
Step-by-Step Installation: Post Setting vs. Brick Laying
Scenario A: Setting a 4x4 Structural Wood Post (Concrete)
- Excavation: Dig a hole three times the width of the post and 6 inches below the local frost line. Never use mortar here; it lacks the lateral shear strength to hold a post against wind loads.
- Base Preparation: Add 4 inches of 3/4-inch crushed gravel to the bottom of the hole and tamp it solid. This prevents hydrostatic pressure from wicking moisture into the end-grain of the wood.
- Placement and Bracing: Set the pressure-treated post in the center of the hole and brace it perfectly plumb on two adjacent sides using 2x4s.
- Pouring and Sloping: Pour dry or slightly dampened 5,000 PSI concrete mix directly into the hole up to 2 inches above grade. Trowel the top surface into a 45-degree sloping crown away from the wood to shed water. Do not over-water the mix in the hole; the ambient soil moisture is often sufficient for bagged post-setting mixes.
Scenario B: Laying a CMU Block Retaining Wall (Mortar)
- Foundation: Ensure a level, cured concrete footing is in place. Mortar cannot be applied directly to raw dirt or gravel.
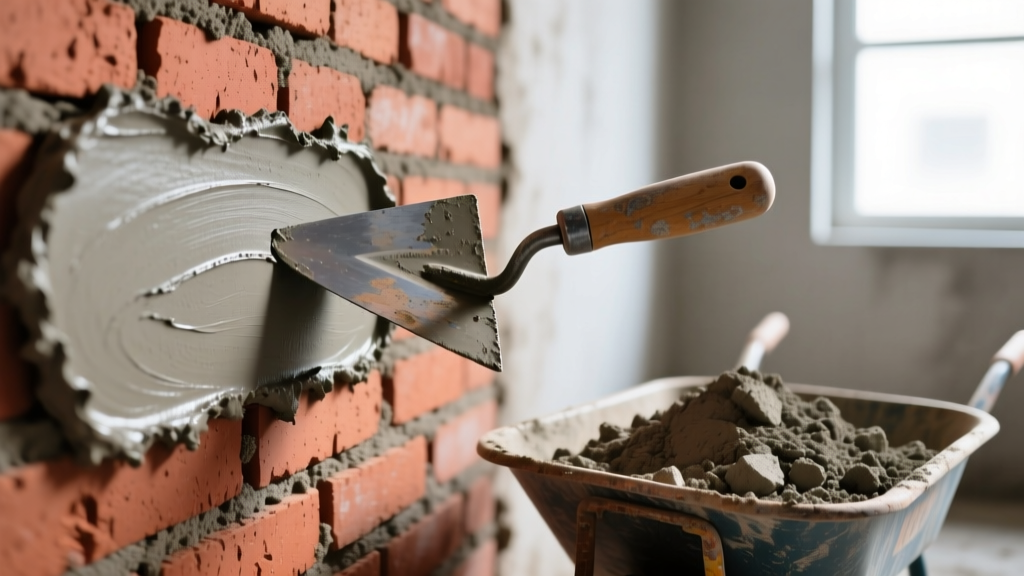
- Bed Joint Application: Using a square mason's trowel, lay a 1-inch thick bed of Type S mortar, then furrow a V-groove down the center to ensure even distribution when the block is pressed down.
- Buttering the Flanges: Apply mortar to the vertical flanges of the adjacent block (the 'buttering' process). Stand the block upright and push it firmly into the bed joint until the mortar squeezes out, achieving exactly a 3/8-inch joint thickness.
- Striking the Joint: Once the mortar has 'thumbprint' stiffness (usually 20-40 minutes depending on humidity), use a concave jointing tool to compress and seal the mortar joint. This compression is what makes the joint waterproof.
Mixing Protocols and Slump Targets
The water-to-cement ratio is the single most critical variable in both materials. Adding extra water to make the mix 'easier to work with' exponentially destroys compressive strength.
- Concrete Slump Target: For standard slab pours, aim for a 4-inch to 5-inch slump (the distance the concrete collapses when a slump cone is removed). If using bagged mix, start with 3 quarts of clean water per 80lb bag, mixing for a full 3 minutes before adding any more water in 1-cup increments.
- Mortar Consistency Target: Mortar does not use a slump test. The target consistency is 'stiff but sticky.' When you hold a trowel of mixed mortar vertically at a 90-degree angle, it should cling to the steel without sliding off, yet yield smoothly when pressed against a brick.
Common Installation Failures and How to Avoid Them
| Symptom | Material Used | Root Cause | Corrective Protocol |
|---|---|---|---|
| White powdery residue (Efflorescence) | Mortar | Excess water in the mix driving soluble salts to the surface during evaporation. | Reduce water volume during mixing; apply a siloxane-based penetrating sealer after 28 days of curing. |
| Horizontal cracking along mortar joints | Mortar | Using Type M mortar on soft clay brick; the rigid mortar transfers stress to the weaker brick. | Repoint the joints using a softer Type N or Type O lime-rich mortar to absorb thermal movement. |
| Spalling and surface flaking on a slab | Concrete | Over-troweling the surface while bleed water is still present, trapping water under a dense crust. | Wait until all bleed water evaporates before finishing; use a bull float initially, saving steel troweling for the final pass. |
| Post leaning after concrete cures | Concrete | Pouring concrete on a muddy, un-tamped base causing the footer to sink under lateral load. | Always excavate to stable soil and use a 4-inch compacted gravel base before pouring. |
Curing Timelines and Environmental Controls
Both materials require strict moisture management during the curing process, but their mechanisms differ. Concrete cures via hydration, requiring continuous moisture to form calcium silicate hydrate crystals. Mortar, particularly types containing high volumes of hydrated lime (like Type N and O), cures partially through carbonation, absorbing carbon dioxide from the air to revert the lime back to limestone.
For concrete slabs, apply a liquid membrane-forming curing compound or cover with 6-mil polyethylene sheeting immediately after final finishing. Keep the concrete continuously damp for a minimum of 7 days to achieve 70% of its design strength. For masonry walls, mist the joints lightly with a garden hose twice daily for the first 3 days if ambient temperatures exceed 80°F, preventing rapid moisture loss that leads to micro-cracking in the bed joints. In temperatures below 40°F, both installations require insulating blankets to prevent the freezing of the mixing water, which will permanently halt the chemical cure and ruin the installation.
Written by
Elena RodriguezElena Rodriguez is a civil engineer and technical writer specializing in concrete technology, masonry systems, and ASTM/ACI compliance. She earned her B.S. in Civil Engineering from Texas A&M University and spent a decade at a materials testing laboratory, performing over 2,000 concrete compressive strength tests and masonry prism evaluations. Elena is an ACI-certified Field Testing Technician (Grade I) and a member of ASTM Committee C12 on Natural Building Stone. She currently consults on forensic engineering cases involving concrete failures and moisture intrusion. Based in San Antonio, TX, Elena is a proud member of the Society of Women Engineers (SWE) and coaches her daughter's FIRST Robotics team.
More from Elena Rodriguez
View all
Walls & Panels
Cost Analysis: Light Gauge Steel Framing Advantages and Disadvantages
Evaluate light gauge steel framing advantages and disadvantages through a strict cost analysis lens, comparing material, labor, and lifecycle expenses.
Aug 4, 2026

Walls & Panels
Gypsum Board Types: Exact Specifications, Thickness & Dimensions
Compare standard, Type X, and moisture-resistant gypsum board types. Get exact specifications, thicknesses, dimensions, and ASTM standards for your project.
Aug 4, 2026

Fire Resistance
Best Fire-Resistant Outdoor Decking Materials: 2026 Buyer Guide
Discover the best fire-resistant outdoor decking materials for 2026. Compare Class A PVC, aluminum, and hardwood options for WUI compliance and safety.
Aug 4, 2026