Designing with Deck Composite Materials: Layouts & 2026 Trends
Master outdoor design with deck composite materials. Explore 2026 layout trends, structural framing specs, thermal management, and premium product matrices.

Strategic Planning for Modern Composite Decks
Transitioning from traditional pressure-treated lumber to deck composite materials requires a fundamental shift in structural planning and visual design. Unlike dimensional wood, which shrinks and warps as it cures, composite and advanced PVC boards possess unique thermal expansion coefficients, weight loads, and flexural properties. Designing a high-performance outdoor living space in 2026 means moving beyond basic board layouts and engineering the substructure to accommodate the specific physical demands of polymer-capped materials. According to the North American Deck and Railing Association (NADRA), improper substructure framing and inadequate expansion gapping remain the leading causes of composite deck failure, far exceeding material defects.
Material Selection Matrix: Capped Composite vs. Advanced PVC
Not all deck composite materials are engineered equally. The market is currently divided into wood-plastic composites (WPC) and advanced cellular PVC. Selecting the right profile dictates your joist spacing, fastener choice, and heat mitigation strategy.
| Product Line (2026) | Core Material | Cap Technology | Material Cost (per sq. ft.) | Best Design Application |
|---|---|---|---|---|
| Trex Transcend Lineage | Wood-Plastic Composite | Heat-mitigating polymer cap | $10.50 - $12.00 | High-sun exposure, barefoot traffic zones |
| TimberTech Landmark | Advanced Cellular PVC | Capped polymer (no wood filler) | $13.00 - $15.50 | Moisture-heavy climates, ground-level decks |
| Fiberon Concordia | Wood-Plastic Composite | PermaTech multi-chromatic cap | $9.00 - $11.00 | Budget-conscious multi-level designs |
| Deckorators Voyage | Mineral-Based Composite | Co-extruded polymer shell | $11.50 - $13.50 | Areas requiring extreme dimensional stability |
Structural Framing: Joist Spacing and Load Dynamics
Composite boards have a lower modulus of elasticity than dense hardwoods or pressure-treated southern yellow pine. This means they are inherently more flexible and prone to sagging under sustained loads if not properly supported.
Blocking and Lateral Stability
Composite decking does not provide the same lateral bracing to the joist system as traditional wood. You must install solid wood blocking between joists every 4 to 6 feet. This prevents joist rotation and provides a secure nailing surface for perimeter fascia boards and stair stringers. Use pressure-treated 2x8 or 2x10 blocking, fastened with structural screws rather than nails, to prevent shrinkage gaps from compromising the deck's rigidity.
Thermal Expansion and Gapping Protocols
Unlike wood, which expands primarily across its width due to moisture absorption, deck composite materials expand and contract almost exclusively along their length due to temperature fluctuations. Advanced PVC expands at a rate of approximately 1/8 inch per 10 feet for every 40°F temperature change.
- Butt Joints: If installing boards at 50°F in a climate where summer highs reach 90°F (a 40°F delta), leave a 1/8-inch gap at all end-to-end butt joints.
- Wall Clearances: Maintain a minimum 1/4-inch gap where decking meets the house ledger board or masonry walls to allow for longitudinal growth.
- Fastener Placement: Never drive fasteners through the face of a board within 12 inches of an un-gapped butt joint, as this will restrict movement and cause the board to buckle or tear around the screw head.
Advanced Layout Patterns and Visual Flow
The extrusion process used to manufacture composite boards allows for consistent dimensions, making complex layout patterns achievable without the waste associated with natural wood defects.
Picture Framing and Fascia Integration
Picture framing involves running a perimeter border perpendicular to the field boards, concealing the end grains and creating a finished, furniture-like appearance. Because composite materials do not route cleanly with standard wood bits—you will experience melting and tear-out—you must use specialized carbide-tipped router bits designed specifically for polymers. Alternatively, utilize pre-finished composite fascia boards (typically 1/2-inch thick) as riser boards to cover the perimeter rim joists, eliminating the need to route the decking itself.
Diagonal and Herringbone Decking
Diagonal layouts draw the eye outward, making narrow decks appear wider. However, cutting composite boards at 45-degree angles exposes the wood-plastic core at the ends. To maintain the warranty and prevent moisture intrusion into the core, you must seal all exposed diagonal cuts with a manufacturer-approved end-seal wax or clear polyurethane, even on capped composites. Herringbone patterns require a continuous structural beam or heavy blocking directly beneath the intersecting centerline to support the concentrated point loads of the board ends.
Thermal Management and Color Selection
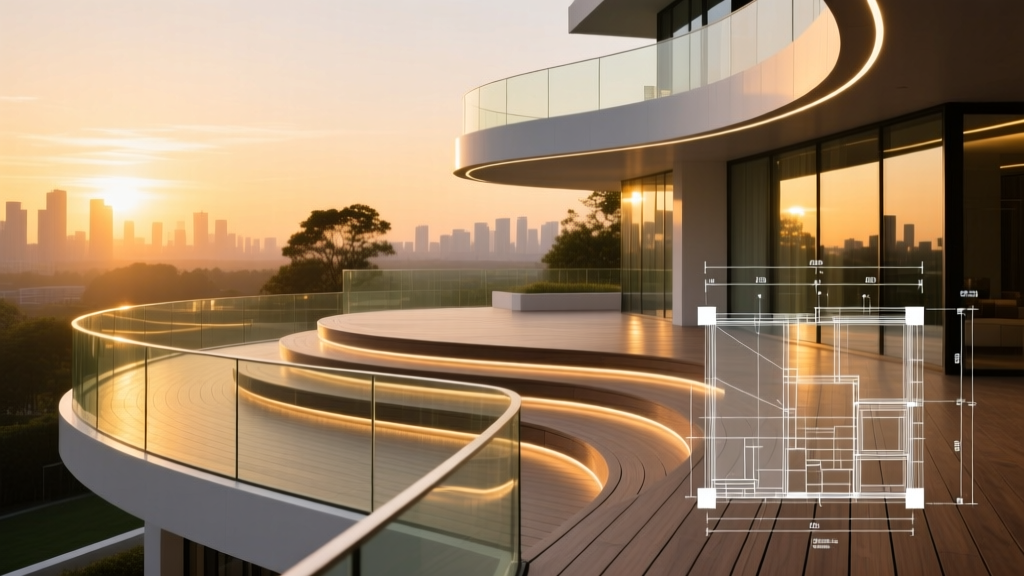
Heat retention is a critical design factor for south-facing or unshaded decks. Early generation composites were notorious for absorbing infrared (IR) radiation, making them unwalkable barefoot in mid-summer. The 2026 generation of premium deck composite materials integrates IR-reflective pigments directly into the polymer cap.
Hidden Fastener Systems and Hardware
Visible screw heads disrupt the visual continuity of composite layouts and create micro-depressions where water and organic debris can accumulate, leading to surface staining. Hidden fastener systems are mandatory for high-end composite designs.
- Side-Mounted Polymer Clips: Systems like the Trex Hideaway or TimberTech CONCEALoc fasten into the side grooves of the board. They automatically space the boards at exactly 3/16-inch and allow for slight lateral movement. Use stainless steel clips (Grade 304 for inland, Grade 316 for coastal environments within 1 mile of saltwater) to prevent rust streaking.
- Top-Down Hidden Fasteners: Tools like the CAMO Marksman drive specialized, reverse-threaded screws at a 28-degree angle through the face of the board, just below the surface. This method provides superior pull-down force against the joist, eliminating the "clicking" sound that can occur with side-clips when boards experience thermal expansion and contract away from the clip tension.
Transition and Breaker Boards
For decks exceeding 20 feet in length, standard board lengths (usually 16 or 20 feet) will require butt joints. Instead of random staggered joints, which look chaotic, design a deliberate "breaker board" running perpendicular to the field boards at the midpoint. This not only eliminates long, continuous seam lines but also provides a clean transition point for managing thermal expansion in opposite directions from the center outward.
Written by
Sarah WhitfieldSarah Whitfield is a chartered quantity surveyor (MRICS) and construction cost analyst with 15 years of experience in material pricing, procurement strategy, and project budgeting. She earned her degree in Construction Management from the University of Reading (UK) and has worked on projects ranging from $2M custom homes to $180M mixed-use developments across North America and Europe. Sarah currently leads cost estimating for BuildMat Insight, maintaining a proprietary database of 4,000+ material price points updated quarterly. She is a frequent contributor to RSMeans cost data panels and has presented at the International Cost Engineering Council (ICEC) congress. Based in Denver, CO, Sarah is an avid trail runner and volunteer mentor for Women in Construction.
More from Sarah Whitfield
View all
Wood & Lumber
What Are the Different Types of Wood? A Builder's Guide
Compare structural softwoods, finish hardwoods, and engineered lumber. Analyze Janka ratings, MOE values, and 2026 pricing for construction.
Aug 4, 2026

Walls & Panels
Steel Framing vs Wood Framing: Corrosion and Moisture Defense
Compare steel framing vs wood framing for moisture resistance. Learn about galvanized coatings, condensation risks, and corrosion protection strategies.
Jul 21, 2026

Stone & Masonry
How to Cut Stone Veneer: Wet Saw vs Grinder Comparison
Compare the best tools for cutting stone veneer. We review wet saws, angle grinders, and chop saws to help you achieve clean, chip-free cuts.
Jul 21, 2026