Choosing the Right Flooring Option for Every Room
Discover the best flooring option for every room. Compare hardwood, tile, vinyl, and carpet costs, durability, and moisture resistance for your home.

Selecting the correct flooring option for each room requires balancing moisture exposure, foot traffic, subfloor conditions, and budget. A material that performs flawlessly in a dry living room will rapidly delaminate or harbor mold in a below-grade basement. This guide breaks down the exact specifications, material grades, and installation requirements needed to match the right floor to the right environment.
Quick-Reference Room Matrix
Use this baseline matrix to narrow down your material choices before diving into specific product specifications.
| Room Type | Primary Flooring Option | Runner-Up | Strictly Avoid | Avg Installed Cost (per sq ft) |
|---|---|---|---|---|
| Kitchen | Porcelain Tile (PEI IV) | Rigid Core LVP | Solid Hardwood, Laminate | $8.50 - $14.00 |
| Bathroom | Porcelain Tile | Sheet Vinyl | Engineered Wood, Carpet | $9.00 - $15.00 |
| Living Room | Engineered Hardwood | Wide-Plank LVP | Ceramic (slip hazard) | $10.00 - $18.00 |
| Basement | Rigid Core LVP | Polished Concrete | Solid Hardwood, Carpet | $6.00 - $11.00 |
Kitchen: High Traffic and Spill Zones
The kitchen demands a flooring option that resists standing water, dropped utensils, and heavy appliance loads. While solid hardwood is aesthetically pleasing, its dimensional instability makes it a liability near dishwashers and sinks.
Top Pick: Porcelain Tile
Specify through-body porcelain tile with a PEI (Porcelain Enamel Institute) rating of IV or V. Unlike ceramic tile, which has a glazed surface that reveals the clay body beneath when chipped, through-body porcelain maintains consistent color throughout its thickness. For safety, require a Dynamic Coefficient of Friction (DCOF) of at least 0.42 to prevent slipping when wet.
The Alternative: Rigid Core Luxury Vinyl Plank (LVP)
If tile is too hard underfoot, opt for Stone Plastic Composite (SPC) rigid core LVP. You must specify a minimum 20-mil wear layer for residential kitchens to prevent scratching from dragged chairs and pet claws. Ensure the planks feature an attached IXPE or cork underlayment to dampen sound and provide slight forgiveness for dropped glassware.
Bathroom: Total Moisture Immersion
Bathrooms experience high ambient humidity and direct surface water. The EPA's guidelines on indoor moisture emphasize that prolonged dampness on organic materials guarantees mold proliferation. Therefore, the flooring option here must be entirely inorganic or fully waterproof.
- Small Bathrooms (Under 50 sq ft): Use commercial-grade sheet vinyl. Because it is installed in a single continuous sheet (or heat-welded at the seams), there are zero grout lines for water to penetrate. Flash-cove the edges up the wall by 3 inches to create a seamless, waterproof pan effect beneath the baseboards.
- Large Primary Baths: Porcelain tile remains the gold standard. Use epoxy grout instead of standard cementitious grout. Epoxy grout is non-porous, stain-proof, and does not require annual sealing, effectively eliminating the primary failure point in tiled showers and bathroom floors.
Living Areas: Balancing Comfort and Resale Value
In main living spaces, the flooring option heavily influences both acoustic comfort and property valuation. Hardwood consistently yields the highest return on investment, but solid hardwood is prone to cupping in environments with fluctuating HVAC performance.
Engineered Hardwood Specifications
Engineered hardwood offers the genuine wood veneer buyers want, built on a cross-plywood core that resists lateral expansion. When selecting engineered wood, evaluate two critical metrics:
- Veneer Thickness: Demand a minimum 3mm top wear layer. This allows the floor to be sanded and refinished at least twice over its lifespan. Many budget options feature a 0.6mm micro-veneer that cannot be refinished and must be replaced when scratched.
- Janka Hardness Rating: This measures the wood species' resistance to denting. For high-traffic living rooms with dogs or children, avoid American Walnut (Janka rating: 1010). Instead, specify National Wood Flooring Association recommended species like Hickory (1820) or Hard Maple (1450). Red Oak (1290) is the baseline standard for acceptable residential durability.
Acclimation is non-negotiable. Engineered hardwood must remain in the installation environment for a minimum of 72 hours with the HVAC system running at normal living temperatures (60-80°F) before installation begins. Skipping this step voids nearly all manufacturer warranties.
Basements: Below-Grade Moisture Management
Basements present a unique hydrostatic challenge. Concrete slabs below grade constantly wick moisture from the surrounding soil. Installing a moisture-impermeable flooring option directly over an untreated slab will trap vapor, leading to adhesive failure and subfloor rot.
Pre-Installation Moisture Testing
Before selecting a basement flooring option, conduct an ASTM F2170 Relative Humidity Test. This involves drilling holes into the concrete slab to 40% of its depth and inserting in-situ probes. If the relative humidity reading exceeds 75%, you must apply a penetrating silicate concrete sealer or an epoxy moisture mitigation system before laying any floor.
The Best Below-Grade Option: Floating SPC LVP
Stone Plastic Composite (SPC) vinyl is completely impervious to water and will not swell if a basement sump pump fails. Install it as a floating floor over a 6-mil polyethylene vapor barrier. Leave a strict 1/4-inch expansion gap around the entire perimeter, covered by baseboards, to allow the floor to shift slightly with seasonal temperature changes without buckling in the center of the room.
Executing Flawless Room Transitions
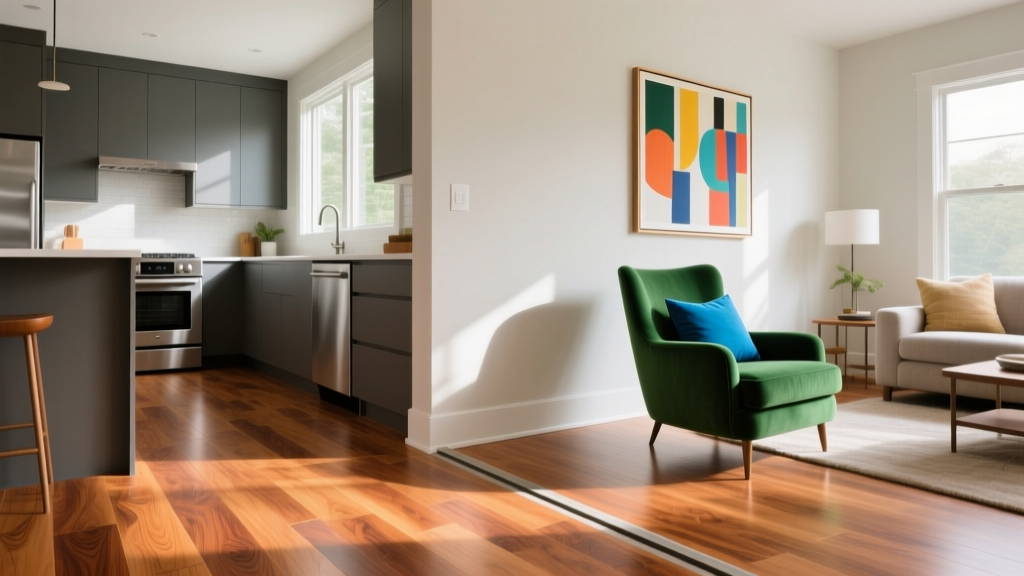
When the flooring option changes between rooms (e.g., kitchen tile to living room hardwood), the transition point is a common tripping hazard and aesthetic failure point.
By matching the specific mechanical and environmental demands of each room to the exact material specifications outlined above, you eliminate premature wear, moisture damage, and costly replacement cycles.
Written by
Elena RodriguezElena Rodriguez is a civil engineer and technical writer specializing in concrete technology, masonry systems, and ASTM/ACI compliance. She earned her B.S. in Civil Engineering from Texas A&M University and spent a decade at a materials testing laboratory, performing over 2,000 concrete compressive strength tests and masonry prism evaluations. Elena is an ACI-certified Field Testing Technician (Grade I) and a member of ASTM Committee C12 on Natural Building Stone. She currently consults on forensic engineering cases involving concrete failures and moisture intrusion. Based in San Antonio, TX, Elena is a proud member of the Society of Women Engineers (SWE) and coaches her daughter's FIRST Robotics team.
More from Elena Rodriguez
View all
Walls & Panels
Cost Analysis: Light Gauge Steel Framing Advantages and Disadvantages
Evaluate light gauge steel framing advantages and disadvantages through a strict cost analysis lens, comparing material, labor, and lifecycle expenses.
Aug 4, 2026

Walls & Panels
Gypsum Board Types: Exact Specifications, Thickness & Dimensions
Compare standard, Type X, and moisture-resistant gypsum board types. Get exact specifications, thicknesses, dimensions, and ASTM standards for your project.
Aug 4, 2026

Fire Resistance
Best Fire-Resistant Outdoor Decking Materials: 2026 Buyer Guide
Discover the best fire-resistant outdoor decking materials for 2026. Compare Class A PVC, aluminum, and hardwood options for WUI compliance and safety.
Aug 4, 2026