Pro Installation Techniques for Outdoor Patio Flooring Options
Master the installation of top outdoor patio flooring options. Learn sub-base prep, drainage slopes, and setting methods for pavers, stone, and porcelain.

Selecting the right material is only the first step in building a durable exterior surface. The longevity of any outdoor patio flooring options you choose—whether concrete pavers, natural flagstone, exterior porcelain, or composite tiles—depends entirely on the precision of the sub-base engineering and the setting technique. A failure in the foundation or moisture management layer will destroy even the most expensive surface materials within a single freeze-thaw cycle.
Sub-Base Engineering: The True Determinant of Patio Longevity
According to the Interlocking Concrete Pavement Institute (ICPI), the vast majority of flexible pavement failures originate in the subgrade or base layer. For pedestrian patios, you must excavate to a depth of 9 to 11 inches below the finished grade. The excavation bottom must be compacted using a vibratory plate compactor delivering a minimum of 5,000 pounds of centrifugal force.
Following subgrade compaction, lay a non-woven geotextile fabric (minimum 4 oz/sq yd) to prevent the migration of fine soil particles into the aggregate base. The base material itself should consist of 6 to 8 inches of 3/4-inch minus crushed angular gravel. This must be installed and compacted in 2-inch lifts. Never use rounded pea gravel or river rock for the base layer, as the smooth edges fail to lock together under load, leading to lateral shifting and surface settling.
Installation Matrix: Base and Setting Requirements by Material
Different outdoor patio flooring options require distinct structural profiles. The matrix below outlines the exact specifications for the four most common exterior flooring systems.
| Material Type | Total Excavation Depth | Base Material | Bedding / Setting Layer | Jointing Material |
|---|---|---|---|---|
| Concrete Pavers | 9 - 11 inches | 3/4" minus crushed gravel | 1" ASTM C33 concrete sand | Polymeric sand |
| Natural Flagstone | 8 - 10 inches | 3/4" minus gravel | 1" coarse sand OR Type S mortar | Decomposed granite or mortar |
| Porcelain Tile (Mud-Set) | N/A (Over slab) | Existing concrete slab | Uncoupling membrane + ANSI A118.15 thin-set | Exterior-rated epoxy or cement grout |
| Composite Deck Tiles | N/A (Over slab) | Existing concrete or sleeper system | Interlocking plastic grid base | Open air gaps (no joint filler) |
Concrete Pavers: The Sand-Set Protocol
Sand-set installation is the industry standard for concrete pavers, allowing the surface to flex slightly without cracking. The critical error most DIYers make is using mason sand for the bedding layer. Mason sand is too fine and retains moisture, which leads to frost heave. You must use ASTM C33 washed concrete sand.
Step-by-Step Screeding and Compaction
- Set Screed Rails: Place 1-inch outer-diameter aluminum pipes on the compacted base, spaced 4 feet apart. Use a laser level to ensure the pipes follow the mandatory 2% drainage slope (1/4 inch per foot) away from the structure.
- Screed the Sand: Dump the ASTM C33 sand between the pipes and drag a straight magnesium screed board across the rails. Do not step on or disturb the screeded sand.
- Lay the Pavers: Place the pavers tightly together, dropping them straight down to avoid pushing sand out of the joints. Maintain a 1/8-inch gap from any rigid structures to allow for thermal expansion.
- Initial Compaction: Run a vibratory plate compactor over the surface. Crucial: You must attach a urethane pad to the bottom of the compactor. Running bare steel over concrete pavers will spall the edges and ruin the surface finish.
- Joint Sand Application: Sweep polymeric sand into the joints, compact again to vibrate the sand to the bottom of the joints, sweep a second layer, and mist with water to activate the polymer binders.
Exterior Porcelain Tile: Managing Thermal Expansion and Moisture
Installing porcelain tile outdoors requires overcoming two massive environmental hurdles: freeze-thaw cycling and thermal expansion. Standard interior thin-set mortars will fail because they cannot accommodate the differential expansion rates between the concrete substrate and the porcelain tile when exposed to direct sunlight and freezing temperatures.
Direct bonding (mud-setting without a membrane) on exterior slabs has a failure rate exceeding 60% in climates with freezing winters. Moisture trapped between the slab and the tile expands when frozen, shearing the bond.
The National Tile Contractors Association (NTCA) mandates the use of an uncoupling membrane for exterior tile installations. Products like Schluter-DITRA or equivalent fleece-backed polyethylene membranes absorb the lateral shear stresses caused by temperature fluctuations.
For the setting material, you must use a polymer-modified thin-set mortar that specifically meets American National Standards Institute (ANSI) specification A118.15 (Improved Modified Dry-Set Cement Mortar). This specification ensures the mortar has the elongation properties required for exterior applications. Furthermore, expansion joints must be installed every 8 to 12 feet in both directions, and at all perimeters. These joints must be filled with an ASTM C920 silicone or polyurethane sealant, never with rigid grout.
Natural Stone: Dry-Laid vs. Mud-Set Flagstone
Natural flagstone offers two distinct installation paths, each with specific structural requirements and maintenance profiles.
The Dry-Laid Method
Dry-laid flagstone is set over a compacted gravel and sand base, identical to the paver sub-base. The stones are fitted together like a puzzle, and the joints are filled with decomposed granite (DG) or polymeric sand. Pros: Highly permeable, easily repaired if settling occurs, and allows for natural drainage. Cons: Susceptible to weed growth and ant infiltration if standard sand is used. Polymeric sand mitigates this but requires precise moisture control during activation to prevent hazing on the stone surface.
The Mud-Set Method
Mud-setting requires pouring a 4-inch thick, steel-reinforced concrete slab as the foundation. The flagstone is then adhered to the slab using a Type S mortar mix (1 part Portland cement, 0.5 part hydrated lime, 4.5 parts masonry sand). Pros: Creates a permanent, rigid surface that prevents weed growth and shifting. Cons: Highly prone to cracking if the underlying soil is expansive clay or if the concrete slab lacks adequate control joints. Surface water must be managed entirely by the patio slope, as the system is impermeable.
Composite Decking Tiles: The Sleeper System
Interlocking composite tiles (often made from recycled wood-plastic composites) are popular for quick patio upgrades. If installing over an existing concrete slab, the plastic grid base allows water to flow underneath. However, if installing over dirt or grass, you cannot simply lay them on the ground. You must construct a sleeper system using pressure-treated 2x4 lumber or composite joists, leveled and spaced 12 inches on center, resting on concrete deck blocks buried below the frost line. This ensures the composite tiles remain perfectly flat and do not sag under point loads, such as the legs of heavy patio furniture.
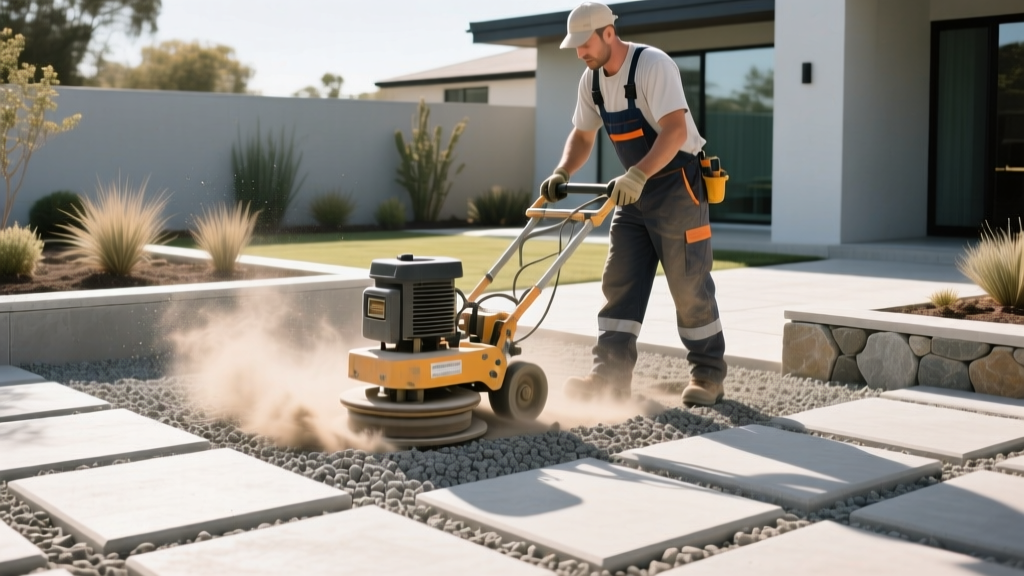
Troubleshooting Edge Cases: Frost Heave and Efflorescence
Defeating Frost Heave
Frost heave occurs when water saturates the subgrade soil and freezes, expanding upward and pushing the patio floor out of level. In regions with deep frost lines, the standard 8-inch gravel base may not be sufficient for heavy retaining structures, but for standard patios, the key is drainage. By using an open-graded base (3/4-inch crushed stone with no fine dust) and ensuring the surrounding yard is graded away from the patio, water passes through the base rather than pooling in it. If the base holds no water, frost heave cannot occur, regardless of the temperature.
Managing Efflorescence
Efflorescence is the white, powdery salt residue that migrates to the surface of concrete pavers and natural stone. It is a natural byproduct of the curing process and moisture movement. The Fix: Do not attempt to seal the patio immediately after installation. Allow 30 to 60 days for the efflorescence to fully migrate to the surface and wash away naturally with rain. If heavy deposits persist, use a specialized, non-acidic efflorescence cleaner. Acid-based cleaners (like muriatic acid) will etch the surface of concrete pavers and destroy the polymer binders in polymeric joint sand.
Precision Slope and Drainage Verification
Every outdoor patio flooring option requires a minimum slope of 2% (1/4 inch of drop per linear foot) to prevent water from pooling or migrating back toward the building foundation. For patios longer than 10 feet, a standard 4-foot bubble level is entirely inadequate for verifying this slope. You must use a rotary laser level and a grade rod. Set the laser at the highest point of the patio (adjacent to the house) and calculate the exact drop required at the outer edge. For a 15-foot deep patio, the outer edge must be exactly 3.75 inches lower than the house threshold. Mark this elevation on your screed rails or forming lumber before a single shovel of base material is laid.
Written by
Elena RodriguezElena Rodriguez is a civil engineer and technical writer specializing in concrete technology, masonry systems, and ASTM/ACI compliance. She earned her B.S. in Civil Engineering from Texas A&M University and spent a decade at a materials testing laboratory, performing over 2,000 concrete compressive strength tests and masonry prism evaluations. Elena is an ACI-certified Field Testing Technician (Grade I) and a member of ASTM Committee C12 on Natural Building Stone. She currently consults on forensic engineering cases involving concrete failures and moisture intrusion. Based in San Antonio, TX, Elena is a proud member of the Society of Women Engineers (SWE) and coaches her daughter's FIRST Robotics team.
More from Elena Rodriguez
View all
Walls & Panels
Cost Analysis: Light Gauge Steel Framing Advantages and Disadvantages
Evaluate light gauge steel framing advantages and disadvantages through a strict cost analysis lens, comparing material, labor, and lifecycle expenses.
Aug 4, 2026

Walls & Panels
Gypsum Board Types: Exact Specifications, Thickness & Dimensions
Compare standard, Type X, and moisture-resistant gypsum board types. Get exact specifications, thicknesses, dimensions, and ASTM standards for your project.
Aug 4, 2026

Fire Resistance
Best Fire-Resistant Outdoor Decking Materials: 2026 Buyer Guide
Discover the best fire-resistant outdoor decking materials for 2026. Compare Class A PVC, aluminum, and hardwood options for WUI compliance and safety.
Aug 4, 2026