Shower Floor Options No Grout: A Complete Maintenance Guide
Master the upkeep of seamless bathrooms. This guide details cleaning, repair, and care for shower floor options no grout, from solid surface to acrylic.

The Material Matrix: What You Are Actually Maintaining
Grout is the primary failure point in traditional shower enclosures, harboring Cladosporium and Stachybotrys molds while requiring constant chemical scrubbing. Transitioning to shower floor options no grout eliminates this biological vector entirely. However, seamless floors—whether solid surface, stone resin, or advanced acrylic composites—introduce distinct chemical and physical vulnerabilities that require a fundamentally different maintenance approach.
Before applying any cleaner, identify your specific substrate. Using an alkaline degreaser on stone resin will permanently etch the surface, while using an abrasive pad on acrylic will create micro-scratches that trap soap scum.
| Material Type | Common Brands (2026) | Mohs Hardness | Primary Vulnerability | Maintenance Focus |
|---|---|---|---|---|
| Solid Surface | Corian, Swanstone | 2.0 - 2.5 | Thermal shock, deep scratches | Wet sanding, buffing |
| Stone Resin / Cultured Marble | Onyx Collection, Swanstone | 3.0 | Acid etching, gel-coat delamination | pH-neutral cleaning, waxing |
| Acrylic / Fiberglass Composite | Kohler Choreograph, Sterling | 1.5 - 2.0 | Solvent melting, UV yellowing | Non-abrasive wiping, UV protection |
| PVC / WPC Interlocking | Trugrit, Aqua-Step | 2.5 | Joint separation, chemical warping | Seam inspection, mild detergents |
Daily and Weekly Maintenance Protocols
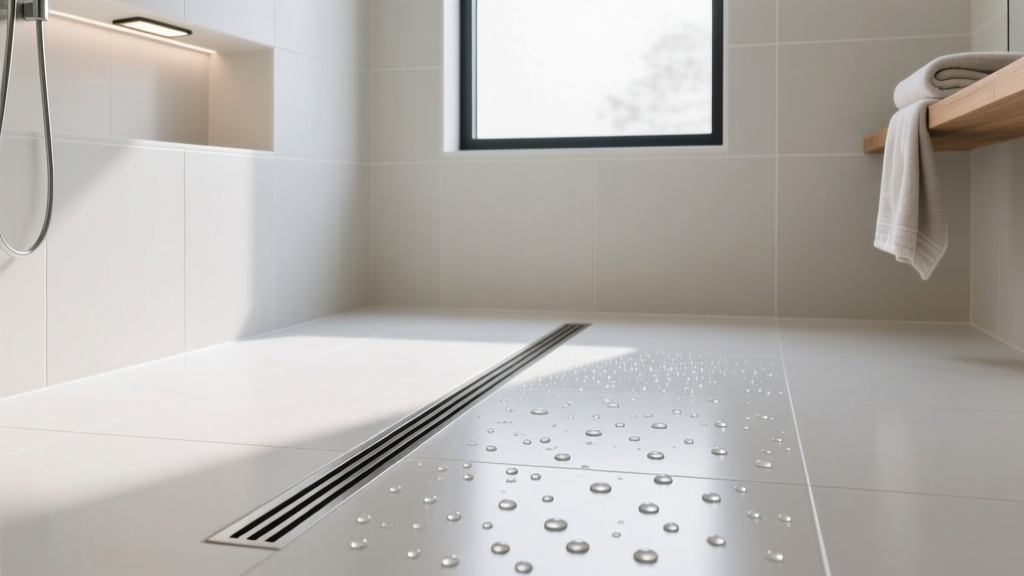
The absence of grout lines means water sheets across the floor rather than pooling in recesses. To maintain this hydrodynamic advantage, daily water displacement is mandatory.
For weekly cleaning, abandon commercial bathroom tile cleaners. These often contain hydrochloric acid or sodium hypochlorite (bleach), which degrade the molecular bonds of groutless materials. Instead, use a pH-neutral cleaner. A solution of 1 part Dawn dish soap to 10 parts warm water, applied with a microfiber mop, safely lifts body oils and sebum without compromising the surface tension of the floor.
Never use 'Magic Erasers' or generic melamine foam pads on acrylic or solid surface shower floors. Melamine foam operates at a 3000-grit equivalent. While it effectively removes stains, it microscopically sands the surface, creating a dull, porous finish that will aggressively trap dirt and soap scum within weeks.
Deep Cleaning and Stain Removal by Material
When preventative maintenance fails and stains set in, the remediation strategy must match the material's chemical tolerance.
Solid Surface (Corian, Swanstone)
Solid surface materials are homogeneous, meaning the color and pattern go all the way through. This makes them highly forgiving for stain removal.
- Hard Water Scale: Apply a liquid soft cleanser containing oxalic acid (such as Bar Keepers Friend Soft Cleanser). Let it dwell for exactly 3 to 5 minutes—no longer, or it may dull the finish. Agitate with a white Scotch-Brite pad (Grade 7448) in circular motions, then rinse thoroughly.
- Rust Stains: Use a specialized rust remover formulated without hydrochloric acid. Whink Rust Stain Remover is effective, but must be neutralized with a baking soda paste immediately after the stain lifts to prevent surface etching.
Stone Resin and Cultured Marble
These materials feature a polyester or polyurethane gel coat over a calcium carbonate core. If the gel coat is breached, the core will dissolve upon contact with acidic cleaners.
- Soap Scum: Use a dedicated stone-resin cleaner or a 50/50 mix of isopropyl alcohol and water. Avoid vinegar entirely; the acetic acid will permanently etch the gel coat, leaving cloudy, irreversible white spots.
- Restoring the Shine: Every 6 to 12 months, apply a marine-grade paste wax (like Collinite 885) to the floor. This rebuilds the sacrificial hydrophobic layer, causing water to bead and roll toward the drain.
Acrylic Composites
Acrylic is highly susceptible to solvent damage and static buildup, which attracts dust and hair.
- General Grime: Clean with a dedicated acrylic cleaner (e.g., Novus #1 Plastic Clean & Shine). These formulations contain anti-static agents that repel hair and dust, keeping the floor cleaner for longer periods between washes.
- Adhesive Residue: Never use acetone, Goo Gone, or paint thinner to remove sticker residue or caulk smears. These will melt the acrylic. Use mineral spirits sparingly on a soft cloth, testing in an inconspicuous corner first.
Preventing Physical Damage: Scratches and Impact
Dropping a heavy shampoo bottle or shaving cream can on a groutless floor can cause gouges or impact fractures. According to Corian's official care and maintenance protocols, solid surface scratches can be fully repaired by the homeowner, while acrylic and stone resin require professional refinishing if deeply gouged.
Solid Surface Scratch Repair Sequence:
- Clean the area with isopropyl alcohol.
- Wet-sand the scratch using 120-grit silicon carbide paper, feathering out 2 inches beyond the damage.
- Progress to 220-grit, then 400-grit, always wet-sanding and changing the direction of your strokes with each grit level.
- Buff the area with an automotive rubbing compound (like Meguiar's Ultimate Compound) using a clean microfiber cloth until the sheen matches the surrounding floor.
Cost Note: A complete wet-sanding repair kit costs between $35 and $65. Professional acrylic refinishing for deep gouges typically ranges from $300 to $500, making careful handling of heavy objects a high-ROI habit.
Drain and Perimeter Seal Maintenance
While the floor itself lacks grout, the perimeter joint where the floor meets the wall remains a critical failure point. If this seal fails, water migrates beneath the shower pan, leading to subfloor rot and structural delamination—a hidden danger emphasized in the EPA's guidelines on indoor mold and moisture control.
Inspect the perimeter silicone bead bi-annually. The sealant should be a continuous, unbroken 3/16-inch bead of 100% silicone (never acrylic latex caulk, which shrinks and breeds mold). If you detect peeling, cut out the old silicone with a hook blade, clean the channel with denatured alcohol, and re-apply a high-modulus sanitary silicone like GE Advanced Silicone 2. Tool the joint with a silicone smoothing tool and allow a full 24-hour cure before exposing it to water.
Expert Troubleshooting Flowchart
When your groutless shower floor exhibits unexpected behavior, use this diagnostic framework to identify and resolve the issue without causing collateral damage.
- Symptom: Floor feels tacky or sticky even after cleaning.
Cause: Residual surfactant buildup from using too much cleaner, or reaction between body oils and alkaline soaps.
Fix: Mop with a 1:10 white vinegar and water solution (only on solid surface/acrylic, NOT stone resin) to cut the surfactant, followed by a pure water rinse. - Symptom: Localized yellowing near the drain.
Cause: UV degradation from bathroom lighting, or chemical burn from prolonged exposure to bleach-based drain cleaners.
Fix: For solid surface, wet-sand and buff as outlined above. For acrylic, the yellowing is often permanent and requires a professional epoxy recoat. - Symptom: Water pooling in a specific corner.
Cause: Subfloor deflection or settling of the shower pan mortar bed, altering the 1/4-inch-per-foot slope.
Fix: This is a structural failure, not a maintenance issue. The pan must be removed and the mortar bed re-leveled by a licensed contractor.
Written by
Elena RodriguezElena Rodriguez is a civil engineer and technical writer specializing in concrete technology, masonry systems, and ASTM/ACI compliance. She earned her B.S. in Civil Engineering from Texas A&M University and spent a decade at a materials testing laboratory, performing over 2,000 concrete compressive strength tests and masonry prism evaluations. Elena is an ACI-certified Field Testing Technician (Grade I) and a member of ASTM Committee C12 on Natural Building Stone. She currently consults on forensic engineering cases involving concrete failures and moisture intrusion. Based in San Antonio, TX, Elena is a proud member of the Society of Women Engineers (SWE) and coaches her daughter's FIRST Robotics team.
More from Elena Rodriguez
View all
Walls & Panels
Cost Analysis: Light Gauge Steel Framing Advantages and Disadvantages
Evaluate light gauge steel framing advantages and disadvantages through a strict cost analysis lens, comparing material, labor, and lifecycle expenses.
Aug 4, 2026

Walls & Panels
Gypsum Board Types: Exact Specifications, Thickness & Dimensions
Compare standard, Type X, and moisture-resistant gypsum board types. Get exact specifications, thicknesses, dimensions, and ASTM standards for your project.
Aug 4, 2026

Fire Resistance
Best Fire-Resistant Outdoor Decking Materials: 2026 Buyer Guide
Discover the best fire-resistant outdoor decking materials for 2026. Compare Class A PVC, aluminum, and hardwood options for WUI compliance and safety.
Aug 4, 2026