How to Install Duct Insulation Material for Maximum Efficiency
Learn professional techniques for installing duct insulation material. Master measuring, cutting, and sealing to prevent HVAC energy loss and condensation.

The Physics of Duct Heat Transfer and Condensation
Uninsulated or poorly insulated HVAC ductwork in unconditioned spaces (attics, crawlspaces, garages) loses up to 30% of its thermal energy before reaching living areas. However, thermal resistance (R-value) is only half the battle. The primary failure mode in duct insulation is not inadequate thickness, but improper installation that compromises the vapor retarder, leading to condensation, mold growth, and structural degradation.
When cold supply air (typically 55°F) travels through a duct in a hot, humid attic (often exceeding 120°F with high dew points), moisture will rapidly condense on any uninsulated metal surface. Selecting and installing the correct duct insulation material requires understanding both the thermal gradient and the vapor drive specific to your climate zone. The International Energy Conservation Code (IECC) mandates a minimum of R-8 for ducts in unconditioned spaces, but installation technique dictates whether that material actually performs to its rated specification.
Selecting the Right Duct Insulation Material by Application
Not all insulation behaves identically under mechanical stress or moisture exposure. Below is a technical breakdown of the three primary materials used in modern HVAC systems, including 2026 market pricing and optimal use cases.
| Material Type | Common Brands / Models | R-Value per Inch | Vapor Retarder | Best Application | Approx. Material Cost (2026) |
|---|---|---|---|---|---|
| Foil-Faced Fiberglass Wrap | Johns Manville Microlite, Owens Corning Softr | R-4.0 to R-4.3 | FSK (Foil-Scrim-Kraft) facing | Standard residential supply/return in mixed climates | $0.80 - $1.20 / sq. ft. |
| Closed-Cell Elastomeric Rubber | Armacell ArmaFlex, K-Flex Insul-Tube | R-4.2 to R-4.5 | Integral (closed-cell structure) | Cooling-only ducts, high-humidity climates, exposed commercial | $2.50 - $3.80 / sq. ft. |
| Rigid Polyisocyanurate Board | Johns Manville CI Max, Hunter Panels | R-6.0 to R-6.5 | Foil facing (requires taped seams) | Large rectangular commercial trunks, exterior rooftop units | $1.10 - $1.60 / sq. ft. |
Pre-Installation: Air Sealing and Surface Preparation
Never apply duct insulation material over unsealed joints. Insulation traps air, but it does not stop air leakage. If a duct joint leaks, the escaping conditioned air will bypass the insulation, rendering the thermal envelope useless and potentially causing localized condensation inside the insulation batting.
Do not rely on standard cloth-backed "duct tape" or basic acrylic tapes for primary air sealing. According to the EPA Energy Star program, standard cloth duct tape degrades and loses adhesion within 12 to 18 months due to thermal cycling. You must use UL 181A-P listed foil-backed tape (e.g., Nashua 322) or, preferably, a water-based or solvent-based duct mastic (e.g., Hardcast 1402) applied at a thickness of 1/16 to 1/8 inch over all transverse joints, longitudinal seams, and takeoff collars. Allow mastic to cure for 24 hours before wrapping.
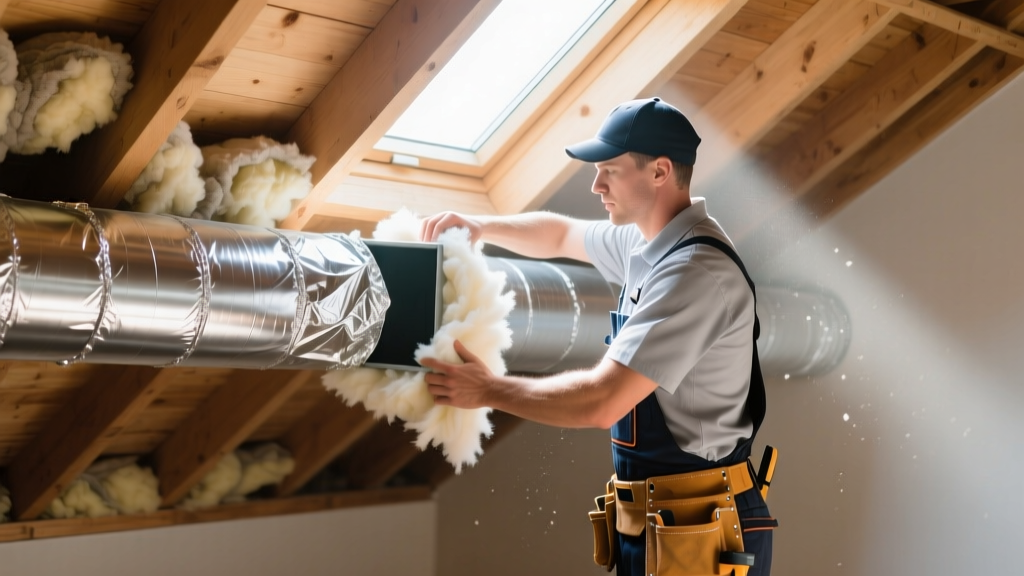
Step-by-Step Installation: Flexible Fiberglass Duct Wrap
Fiberglass wrap is the most common residential material, but it is highly susceptible to compression penalties. If R-8 fiberglass is compressed by 50%, its effective R-value drops to roughly R-4. Follow these steps to maintain the material's loft and thermal performance.
- Measure and Cut with Overlap: Measure the perimeter of the duct. Cut the insulation material to allow for a minimum 2-inch overlap at the longitudinal seam. For a 20x10 inch duct (60-inch perimeter), cut the wrap to 62 inches wide. Use a specialized insulation knife or a straight edge with a utility blade on a sacrificial board to ensure clean, uncompressed cuts.
- Positioning and Tensioning: Drape the wrap over the duct with the FSK (foil) facing outward. The "stretch and release" technique is critical. Pull the material snug enough to eliminate large air gaps between the metal and the fiberglass, but never pull it so tight that the fiberglass compresses flat against the duct.
- Seaming the Longitudinal Joint: Fold the 2-inch overlap over the mating edge. Secure the seam using 2.5-inch wide UL 181A-P foil tape. Before applying the tape, wipe the foil facing with a clean, dry cloth to remove dust and factory release agents, which can cause tape delamination. Use a hard plastic squeegee to burnish the tape, activating the pressure-sensitive adhesive.
- Securing with Bands (The Right Way): If mechanical bands are required by local code to support the wrap, use 1-inch wide nylon or galvanized steel bands spaced no more than 4 feet apart. Do not use thin wire, which will slice through the insulation and compress it to zero thickness.
The Hanger Compression Problem
The most common installation defect occurs at duct hangers. Traditional 1-inch thin metal strap hangers compress the bottom of the insulation, creating a thermal bridge and a condensation drip point. To resolve this, install 1.5-inch to 2-inch wide galvanized steel "saddle" hangers before insulating. The saddle distributes the weight of the duct across a wider surface area, preserving the loft of the duct insulation material at the bottom of the run.
Installing Rigid Foam Board on Rectangular Ducts
For large commercial trunks or high-R-value requirements (R-12+), rigid polyisocyanurate board is the superior choice. Because it does not compress, its R-value remains stable regardless of mechanical fastening.
The "Picture Frame" Cutting Method
Instead of cutting four separate pieces for each side of a rectangular duct, use the continuous wrap technique to minimize seams. Score the foil and foam on one side of the board, leaving the opposite foil facing intact. This allows the board to fold cleanly around the duct corners, creating a continuous thermal envelope with only one longitudinal seam per duct section.
Adhesive and Mechanical Fastening
- Adhesive: Apply a compatible foam board adhesive (such as Foamack or a low-VOC polyurethane foam adhesive) in 3-inch ribbons along the duct surface. Press the board firmly into place.
- Fastening: Supplement the adhesive with mechanical weld pins and speed clip washers. Space pins 12 inches apart on the bottom and sides of the duct, and 18 inches apart on the top. Impale the board onto the pins and secure the speed clips, then cover the exposed pin tips with 2-inch foil tape patches to maintain the vapor barrier.
Critical Edge Cases: Plenums, Fittings, and Vibration Collars
Standard straight runs are straightforward; the failures happen at the transitions. When insulating complex fittings (tees, wyes, offsets), do not attempt to wrap the fitting in one piece. Instead, "pigtail" or miter-cut the insulation material to follow the geometry of the metal. Seal every miter cut with mastic and foil tape.
At the connection between the air handler and the main trunk, a flexible canvas vibration collar is typically installed to prevent noise transmission. Never insulate over the vibration collar. Insulating the collar restricts its movement, transferring mechanical vibration directly into the insulated ductwork and causing the foil facing to tear over time. Stop the insulation 1 inch short of the collar and seal the edge with a termination band and mastic.
Post-Installation Testing and Quality Assurance
After the duct insulation material is fully installed, conduct a visual and physical quality assurance check. As outlined by the U.S. Department of Energy, proper duct sealing and insulation are critical for overall home performance. Walk the entire run and check for the following:
- Loft Verification: Squeeze the fiberglass at random intervals. It should spring back immediately. If it feels flat or hard, the material was over-compressed during wrapping or by hangers.
- Vapor Barrier Continuity: Inspect all longitudinal seams, transverse butt joints, and fitting miters. There must be zero exposed fiberglass. Any tear in the FSK facing must be patched with foil tape immediately.
- Sagging Check: Look for drooping insulation on the bottom of horizontal runs. If the insulation is pulling away from the bottom of the duct, additional mechanical bands or saddle hangers are required to support the weight of the material.
Proper installation of duct insulation material is a precise discipline that bridges thermodynamics and mechanical craftsmanship. By prioritizing comprehensive air sealing prior to wrapping, eliminating compression points at hangers, and maintaining an unbroken vapor retarder, you ensure the HVAC system operates at peak efficiency, eliminating condensation risks and drastically reducing utility loads for the lifespan of the building. For further technical standards regarding duct construction and insulation, professionals should consult the Penn State Extension guidelines on HVAC efficiency and local mechanical code amendments.
Written by
Elena RodriguezElena Rodriguez is a civil engineer and technical writer specializing in concrete technology, masonry systems, and ASTM/ACI compliance. She earned her B.S. in Civil Engineering from Texas A&M University and spent a decade at a materials testing laboratory, performing over 2,000 concrete compressive strength tests and masonry prism evaluations. Elena is an ACI-certified Field Testing Technician (Grade I) and a member of ASTM Committee C12 on Natural Building Stone. She currently consults on forensic engineering cases involving concrete failures and moisture intrusion. Based in San Antonio, TX, Elena is a proud member of the Society of Women Engineers (SWE) and coaches her daughter's FIRST Robotics team.
More from Elena Rodriguez
View all
Walls & Panels
Cost Analysis: Light Gauge Steel Framing Advantages and Disadvantages
Evaluate light gauge steel framing advantages and disadvantages through a strict cost analysis lens, comparing material, labor, and lifecycle expenses.
Aug 4, 2026

Walls & Panels
Gypsum Board Types: Exact Specifications, Thickness & Dimensions
Compare standard, Type X, and moisture-resistant gypsum board types. Get exact specifications, thicknesses, dimensions, and ASTM standards for your project.
Aug 4, 2026

Fire Resistance
Best Fire-Resistant Outdoor Decking Materials: 2026 Buyer Guide
Discover the best fire-resistant outdoor decking materials for 2026. Compare Class A PVC, aluminum, and hardwood options for WUI compliance and safety.
Aug 4, 2026