Maintaining Sandstone Building Material: Cleaning and Sealing
Learn how to properly clean, seal, and maintain sandstone building material to prevent spalling, efflorescence, and water damage in exterior applications.

Understanding Sandstone Porosity and Vulnerabilities
Sandstone is a clastic sedimentary rock composed primarily of sand-sized minerals, predominantly quartz and feldspar, bound together by natural cements like silica, calcite, or iron oxide. Because of its granular nature, sandstone building material exhibits a porosity range of 5% to 25%. This high capillary action makes it exceptionally vulnerable to water ingress, freeze-thaw cycling, and salt crystallization if left unprotected or improperly maintained.
According to ASTM C616, the standard specification for sandstone dimension stone, absorption rates dictate the stone's durability class. Class I sandstones (absorption under 3%) are highly durable, while Class III stones (absorption over 12%) require rigorous moisture management. Applying the wrong maintenance techniques to high-absorption sandstone can accelerate degradation, turning a百年-lasting facade into a crumbling liability within a decade.
Never use muriatic acid, hydrochloric acid, or unbuffered phosphoric acid on sandstone. Many sandstones contain calcite (calcium carbonate) as a binding cement. Acidic cleaners will dissolve this cement, leading to rapid granular disintegration, surface pitting, and irreversible structural weakening. Always use neutral or specially formulated alkaline cleaners.
The 2026 Maintenance Schedule for Exterior Sandstone
Proactive maintenance is significantly cheaper than reactive restoration. Implement this schedule to maximize the lifespan of your sandstone building material.
| Interval | Maintenance Task | Action Required |
|---|---|---|
| Bi-Annual | Visual & Drainage Inspection | Clear weep holes, check flashing, inspect mortar joints for cracking. |
| Annual | Gentle Surface Washing | Rinse with garden hose pressure; apply biocide for early algae growth. |
| 3-5 Years | Sealer Reapplication | Perform water drop test. If stone darkens quickly, reapply siloxane sealer. |
| 15-20 Years | Mortar Repointing | Rake out failed joints and repoint with Type N or Type O lime-based mortar. |
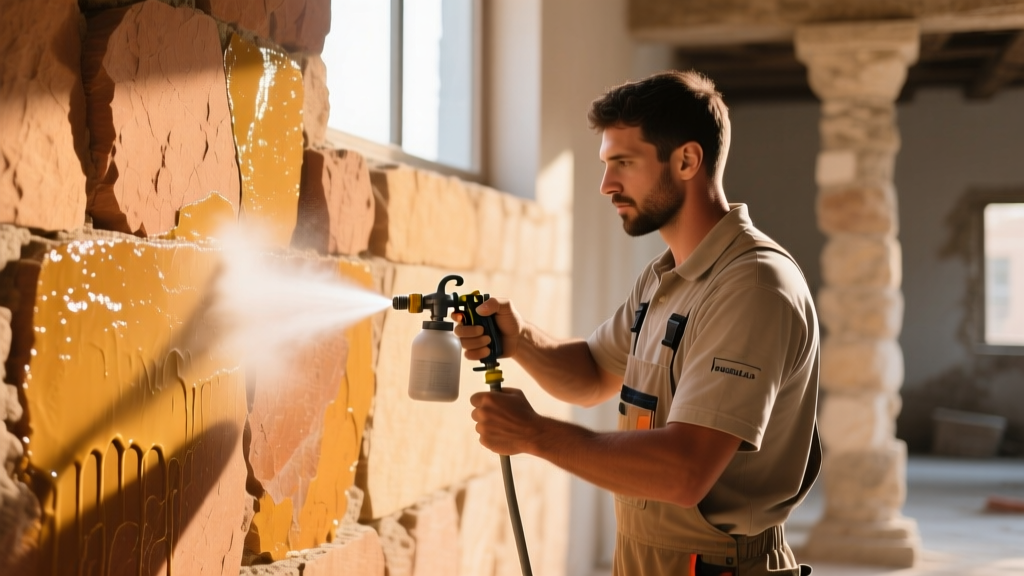
Step-by-Step Cleaning Protocol for Sandstone Building Material
When annual rinsing is insufficient to remove atmospheric soiling, carbon deposits, or biological staining, a chemical and mechanical cleaning protocol is required. The National Park Service Preservation Brief 1 emphasizes that the gentlest method possible should always be employed first.
Step 1: Pre-Wetting the Substrate
Sandstone acts like a rigid sponge. If you apply a cleaning solution to dry sandstone, the stone will rapidly absorb the chemicals, pulling them deep into the pore structure where they cannot be rinsed out. This leads to internal salt crystallization and efflorescence. Thoroughly soak the wall with clean water using a garden hose for 15 to 30 minutes before applying any cleaning agents. The stone should be damp, but not actively dripping.
Step 2: Selecting and Applying the Cleaner
For general atmospheric dirt, use a neutral pH (7.0) non-ionic detergent. For heavier carbon staining, use a specialized masonry cleaner like Prosoco SureKlean® Limestone & Masonry Afterwash. Apply the solution from the bottom of the wall upward to prevent streaking. Allow a dwell time of 3 to 5 minutes, keeping the surface wet with a misting bottle. Do not let the chemical dry on the stone.
Step 3: Low-Pressure Rinsing
High-pressure washing is a primary cause of sandstone erosion. The kinetic energy strips away the protective silica crust, exposing the softer, unweathered stone beneath. Restrict your pressure washer to a maximum of 400 PSI. Use a 40-degree fan tip and maintain a strict 12 to 18-inch distance from the surface. Rinse from the top down, flushing all chemical residues out of the pores.
Sealing Strategies: Penetrating vs. Film-Forming
Not all sealers are appropriate for sandstone building material. Choosing the wrong chemistry will trap moisture inside the wall, guaranteeing catastrophic spalling during the first freeze-thaw cycle.
- Film-Forming Sealers (Acrylics, Urethanes, Epoxies): AVOID. These create a non-breathable plastic barrier on the surface. While they repel liquid water from the outside, they also trap water vapor migrating from the interior of the building. When the trapped vapor condenses and freezes, the surface layer of the sandstone will shear off (spall).
- Penetrating Sealers (Silane/Siloxane): RECOMMENDED. These chemicals penetrate up to 1/4 inch into the pore structure and react with the silica to form a hydrophobic resin. They repel liquid water but remain 100% vapor-permeable, allowing the stone to 'breathe'. Look for 100% siloxane formulations, such as Prosoco Siloxane PD, which offer superior UV resistance and longevity compared to silane-only blends.
Troubleshooting Common Sandstone Failures
Efflorescence (White Salt Deposits)
Cause: Water moving through the masonry dissolves soluble salts from the mortar or the stone itself, depositing them on the surface as it evaporates.
Fix: Do not use water to clean efflorescence; it will simply drive the salts back into the stone. Wait for the wall to dry completely, then remove the deposits using a stiff, natural-bristle brush. Address the underlying moisture intrusion (e.g., leaking gutters, failed coping) to stop the cycle.
Biological Growth (Algae, Lichen, Moss)
Cause: Persistent shade and moisture retention on north-facing elevations.
Fix: Avoid bleach (sodium hypochlorite), which introduces harmful salts into the stone matrix. Instead, apply a quaternary ammonium compound like D/2 Biological Solution, widely endorsed by the National Center for Preservation Technology and Training. Spray the solution, allow it to dwell for 15 minutes, and rinse gently. The biological staining will continue to fade over the next 3 to 4 weeks as the dead organisms weather away.
Contour Scaling and Spalling
Cause: Freeze-thaw action exacerbated by the use of hard, Portland-cement-heavy mortars (Type M or S) or non-breathable surface sealers.
Fix: If caused by a film-forming sealer, strip the coating using an alkaline masonry stripper. Allow the wall to dry for a minimum of 30 days. If the mortar is too hard, it must be carefully raked out by hand (never use power grinders, which will slice into the soft sandstone) and repointed with a softer, lime-rich Type N or Type O mortar that acts as a sacrificial expansion joint.
Expert Maintenance FAQ
Can I use a wire brush to clean sandstone?
No. Metal bristles, especially steel, will scratch the stone and leave behind microscopic iron particles. These particles will oxidize when exposed to moisture, creating permanent, rust-colored halos on the sandstone surface. Always use natural Tampico fiber brushes or stiff nylon bristles.
How do I know when it is time to reseal my sandstone?
Perform a simple water drop test. Splash a handful of clean water onto the stone surface. If the water beads up and rolls off, the siloxane sealer is still active. If the stone immediately absorbs the water and turns dark, the hydrophobic barrier has degraded, and a fresh coat of penetrating sealer is required.
Should I seal interior sandstone fireplaces? Generally, interior sandstone does not require sealing unless it is in a high-splash zone. Sealing an interior fireplace surround with a siloxane sealer can sometimes alter the stone's natural matte finish, giving it a slight sheen. Always test the sealer on an inconspicuous offcut or bottom corner before treating the entire interior installation.
Written by
Sarah WhitfieldSarah Whitfield is a chartered quantity surveyor (MRICS) and construction cost analyst with 15 years of experience in material pricing, procurement strategy, and project budgeting. She earned her degree in Construction Management from the University of Reading (UK) and has worked on projects ranging from $2M custom homes to $180M mixed-use developments across North America and Europe. Sarah currently leads cost estimating for BuildMat Insight, maintaining a proprietary database of 4,000+ material price points updated quarterly. She is a frequent contributor to RSMeans cost data panels and has presented at the International Cost Engineering Council (ICEC) congress. Based in Denver, CO, Sarah is an avid trail runner and volunteer mentor for Women in Construction.
More from Sarah Whitfield
View all
Wood & Lumber
What Are the Different Types of Wood? A Builder's Guide
Compare structural softwoods, finish hardwoods, and engineered lumber. Analyze Janka ratings, MOE values, and 2026 pricing for construction.
Aug 4, 2026

Walls & Panels
Steel Framing vs Wood Framing: Corrosion and Moisture Defense
Compare steel framing vs wood framing for moisture resistance. Learn about galvanized coatings, condensation risks, and corrosion protection strategies.
Jul 21, 2026

Stone & Masonry
How to Cut Stone Veneer: Wet Saw vs Grinder Comparison
Compare the best tools for cutting stone veneer. We review wet saws, angle grinders, and chop saws to help you achieve clean, chip-free cuts.
Jul 21, 2026