2026 Gypsum Board Cost Per Square Foot: Repair vs Replace Guide
Analyze the 2026 gypsum board cost per square foot to decide between patching and full replacement. Includes material, labor, and Type X pricing.

The Economics of Drywall Damage: When to Patch and When to Replace
When confronting damaged drywall, contractors and homeowners face a critical financial threshold: at what point does the labor of patching exceed the cost of tearing out and replacing the entire sheet? Understanding the current gypsum board cost per square foot is the foundational metric for this decision. In 2026, material prices have stabilized, but skilled finishing labor continues to command a premium. A poorly executed patch on a large defect often requires multiple skim coats, extensive sanding, and prime-sealing, ultimately costing more in labor hours than simply hanging, taping, and finishing a fresh 4x8 panel.
This guide breaks down the exact material and labor costs, provides a diagnostic framework for specific failure modes, and offers a decision matrix to help you choose the most cost-effective repair strategy.
2026 Gypsum Board Cost Per Square Foot Breakdown
Before calculating repair viability, you must establish your baseline material costs. The Gypsum Association categorizes boards by performance traits, which directly dictate price. Below is the 2026 pricing matrix for standard 4x8 and 4x12 panels.
| Board Type | Thickness | Material Cost (Per Sq Ft) | Primary Application |
|---|---|---|---|
| Standard Regular | 1/2" | $0.45 - $0.60 | Standard interior walls & ceilings |
| Lightweight Standard | 1/2" | $0.55 - $0.70 | Ceilings, DIY repairs (easier handling) |
| Type X (Fire-Rated) | 5/8" | $0.65 - $0.85 | Garages, furnace rooms, multi-family |
| Moisture/Mold Resistant | 1/2" | $0.75 - $1.05 | Bathrooms, kitchens, basements |
| Glass Mat (e.g., DensArmor) | 1/2" | $1.25 - $1.65 | High-moisture, tile backer, exteriors |
Note: Material costs represent the panel only. Fasteners, joint compound, and tape add approximately $0.10 to $0.15 per square foot.
Labor vs. Material: The Hidden Multiplier
According to industry data tracked by Angi's drywall cost guides, professional drywall installation and finishing labor ranges from $1.50 to $3.50 per square foot. However, repair labor is rarely calculated by the square foot. Small patches are billed at a minimum service call fee (typically $150–$250) or an hourly rate of $65–$95. Therefore, if a repair requires more than two hours of skilled mudding and sanding to hide a seam, replacing a larger section of the board becomes the mathematically superior choice.
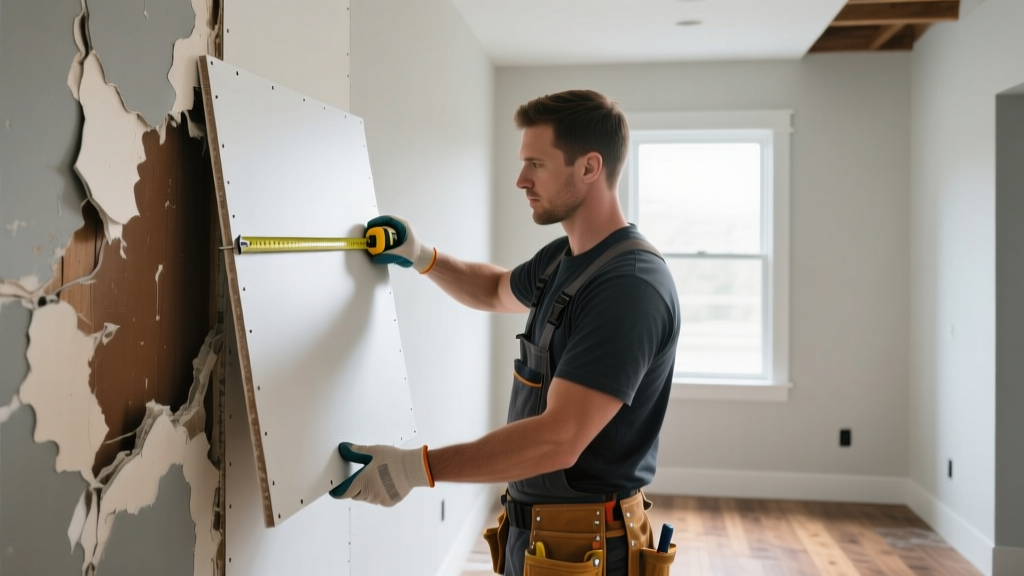
Decision Matrix: Repair vs. Full Sheet Replacement
Use this diagnostic framework to determine your approach based on the physical dimensions and nature of the damage.
The 12-Inch Rule for Impact Damage
If an impact hole or crack is smaller than 6 inches, use a patch. If the crack extends more than 12 inches radially from the impact point, the structural integrity of the gypsum core is compromised. The cost of floating a massive, uneven crack with setting-type compound will exceed the gypsum board cost per square foot for a full sheet replacement. Cut out the damaged section to the center of the nearest studs and install a new piece.
- Defect Size < 4 inches (e.g., doorknob holes): Use a stick-on aluminum mesh patch or a "California patch" (using the paper face of a scrap piece of drywall). Material cost is negligible; labor is 45 minutes.
- Defect Size 4 to 14 inches: Cut a clean rectangle, install wood backing strips, and screw in a new drywall insert. Tape and mud the perimeter. Labor is 2-3 hours across two days (for drying).
- Defect Size > 14 inches or spanning multiple studs: Do not patch. Measure the stud bays, cut out the entire damaged bay from stud center to stud center, and hang a fresh piece. The material cost for a 4x8 sheet of standard board is under $20, while the labor to seamlessly blend a 14-inch patch often exceeds $150.
Troubleshooting Specific Failure Modes and Cost Implications
Different types of drywall damage require distinct troubleshooting approaches. Misdiagnosing the failure mode leads to recurring repairs and wasted capital.
Water Damage and Mold (Moisture-Resistant Board)
Water is the ultimate enemy of standard gypsum. If a roof leak or plumbing failure saturates your drywall, do not attempt to dry and patch it if the moisture content remains above 15% (verify with a pin-type moisture meter). Wet gypsum loses its structural cohesion and harbors mold inside the paper facing.
The Fix: Cut out the affected area at least 12 inches beyond the visible water stain. Replace with Moisture-Resistant (purple/green) board or a fiberglass-faced product like USG's Securock or DensArmor lines. While the gypsum board cost per square foot for glass-mat boards is nearly triple that of standard board, it prevents catastrophic mold remediation costs down the line. Use alkaline-resistant mesh tape and setting-type joint compound (e.g., Durabond 90) to prevent moisture from degrading the seams.
Sagging Ceilings (Lightweight vs. Standard)
Ceiling sag occurs when 1/2" standard drywall is installed on joists spaced 24 inches on-center, especially in humid environments or when insulation is laid directly on top of the panels before the finish coat cures.
The Fix: You cannot push a sagging ceiling back up and screw it tight; the gypsum core has permanently deformed. You must replace the sagging panels. To prevent recurrence without adding expensive framing, upgrade to 1/2" Lightweight ceiling board (rated for 24" O.C. spacing) or use 5/8" standard board. The slight increase in the gypsum board cost per square foot for lightweight ceiling panels pays for itself by eliminating the need for additional furring strips or joist reinforcement.
Truss Uplift and Corner Cracks
If you see recurring diagonal cracks at the intersection of the ceiling and wall during winter months, you are likely experiencing truss uplift. Patching these cracks with standard joint compound is a temporary band-aid; they will reopen the next heating season.
The Fix: Do not replace the drywall. Instead, troubleshoot the fastening. Remove the drywall screws within 16 inches of the wall-ceiling joint on the ceiling side. Install a specialized truss clip that allows the ceiling drywall to float over the top plate of the wall, moving independently of the roof trusses. Finish the joint with a flexible elastomeric caulk or specialized tear-away bead rather than standard tape and mud.
Repair Method Cost Comparison
When a full sheet replacement isn't necessary, choosing the right patching technique dictates your final labor bill. Below is a comparison of common repair methods for holes ranging from 3 to 12 inches.
| Repair Method | Best For | Material Cost | Labor Time | Finish Quality |
|---|---|---|---|---|
| Adhesive Mesh Patch | 2" - 4" holes | < $2.00 | 45 mins | Good (prone to flashing under gloss paint) |
| California Patch | 3" - 6" holes | < $1.00 (scrap) | 60 mins | Excellent (paper face blends seamlessly) |
| Backer Board Insert | 6" - 14" holes | $5.00 - $8.00 | 90 mins | Excellent (structurally sound) |
| Stud-to-Stud Cutout | > 14" or structural damage | $15.00 - $25.00 | 120 mins | Perfect (factory edges for taping) |
Warning: The "Flash" Factor in Drywall Repairs
When patching standard drywall, the repaired area will have a different porosity than the surrounding factory-painted wall. If you spot-prime only the patch, the repair will "flash" (appear dull or shiny) under directional light. Always prime the patched area with a high-build PVA drywall primer, and ideally, roll a coat of primer over the entire wall from corner to corner to ensure uniform paint absorption.
Pro Tips for Minimizing Your Cost Per Square Foot
Whether you are a contractor bidding a renovation or a homeowner managing a repair budget, these strategies optimize your material spend:
- Buy 4x12 Panels for Large Rooms: While 4x8 panels are easier to transport, 4x12 panels reduce the number of horizontal butt seams by 33%. Taping and mudding butt seams is the most labor-intensive part of finishing. The slightly higher gypsum board cost per square foot for 12-footers is easily offset by the labor savings in finishing.
- Use Setting-Type Compound for Base Coats: Stop using pre-mixed all-purpose mud for the first two coats over patches or new seams. Use a setting-type powder (like USG Easy Sand 45 or 90). It cures chemically in 45-90 minutes, shrinks less, and is significantly harder, reducing the number of coats needed to achieve a Level 4 finish.
- Repurpose Scrap for Backing: Never buy furring strips or 1x3 pine for drywall backing inserts. Cut 4-inch wide strips from scrap pieces of 5/8" plywood or OSB left over from subflooring. It is more rigid, holds screws better than soft pine, and costs nothing.
Frequently Asked Questions
Does the gypsum board cost per square foot include taping and mudding?
No. Material cost per square foot strictly refers to the physical panel and fasteners. Taping, mudding, and sanding (finishing labor) are calculated separately and typically add $1.50 to $3.50 per square foot depending on the desired finish level (Level 4 vs. Level 5).
Is it cheaper to repair a textured ceiling or replace it?
Textured ceilings (popcorn, knockdown, orange peel) heavily favor full-sheet replacement or large stud-to-stud cutouts. Blending a drywall patch into an existing texture requires specialized hopper guns and immense skill. The labor cost to hand-blend a texture patch often exceeds the cost of replacing the entire ceiling plane and re-texturing it uniformly.
Why is Type X board required in my garage, and does it cost more?
Building codes (IBC/IRC) mandate 5/8" Type X fire-rated gypsum board on walls and ceilings separating an attached garage from the living space to provide a 1-hour fire-resistance rating. Type X contains glass fibers in the core to prevent the board from crumbling under extreme heat. It costs approximately 30-40% more per square foot than standard 1/2" board, but it is a non-negotiable code requirement.
Written by
Elena RodriguezElena Rodriguez is a civil engineer and technical writer specializing in concrete technology, masonry systems, and ASTM/ACI compliance. She earned her B.S. in Civil Engineering from Texas A&M University and spent a decade at a materials testing laboratory, performing over 2,000 concrete compressive strength tests and masonry prism evaluations. Elena is an ACI-certified Field Testing Technician (Grade I) and a member of ASTM Committee C12 on Natural Building Stone. She currently consults on forensic engineering cases involving concrete failures and moisture intrusion. Based in San Antonio, TX, Elena is a proud member of the Society of Women Engineers (SWE) and coaches her daughter's FIRST Robotics team.
More from Elena Rodriguez
View all
Walls & Panels
Cost Analysis: Light Gauge Steel Framing Advantages and Disadvantages
Evaluate light gauge steel framing advantages and disadvantages through a strict cost analysis lens, comparing material, labor, and lifecycle expenses.
Aug 4, 2026

Walls & Panels
Gypsum Board Types: Exact Specifications, Thickness & Dimensions
Compare standard, Type X, and moisture-resistant gypsum board types. Get exact specifications, thicknesses, dimensions, and ASTM standards for your project.
Aug 4, 2026

Fire Resistance
Best Fire-Resistant Outdoor Decking Materials: 2026 Buyer Guide
Discover the best fire-resistant outdoor decking materials for 2026. Compare Class A PVC, aluminum, and hardwood options for WUI compliance and safety.
Aug 4, 2026