Pro Techniques for Installing 5/16-Inch Gypsum Board
Learn expert installation techniques for 5/16-inch gypsum board. Master framing spacing, fastener selection, and curved wall applications.

The Architectural Niche of 5/16-Inch Gypsum Board
While 1/2-inch and 5/8-inch panels dominate standard residential and commercial framing, 5/16-inch gypsum board occupies a highly specialized tier in modern construction. Often categorized as an overlay or flexible panel, this thinner profile is engineered for specific remediation and architectural scenarios. Its primary applications include covering existing damaged plaster, creating double-layer fire-rated or acoustic assemblies, and executing curved wall radii that would snap standard drywall.
Installing 5/16-inch gypsum board requires a fundamental shift in technique. The reduced core thickness—approximately 0.28 inches of actual gypsum—means the panel lacks the structural rigidity of standard boards. Consequently, framing tolerances, fastener drive depths, and joint finishing methods must be precisely calibrated to prevent sagging, blowouts, and seam ridging.
- Nominal Thickness: 5/16" (7.9 mm)
- Average Weight: 1.2 lbs per sq. ft. (approx. 38 lbs per sheet)
- Thermal Resistance (R-Value): 0.28
- Standard Edge Profiles: Tapered long edges, square short edges
Framing and Substrate Requirements
The most common failure in 5/16-inch drywall installation is substrate deflection. Because the panel cannot bridge gaps or resist torsion like thicker boards, the underlying framing must be exceptionally true. According to the Gypsum Association Application and Finishing Standards, framing spacing must be strictly adhered to in order to prevent gravity-induced sagging, particularly in ceiling applications or high-humidity environments.
| Application | Framing Direction | Maximum Spacing (o.c.) | Critical Notes |
|---|---|---|---|
| Walls (Single Layer) | Perpendicular or Parallel | 16 inches | Studs must be aligned within 1/8" to prevent edge bowing. |
| Ceilings (Single Layer) | Perpendicular to Joists | 16 inches | Do not use on 24" o.c. trusses without furring channels. |
| Ceilings (Single Layer) | Parallel to Joists | 12 inches | Requires additional blocking to support all square edges. |
| Overlay / Lamination | Existing Solid Substrate | N/A | Existing plaster/drywall must be securely fastened to framing. |
Fastener Selection and Drive Depth Precision
When driving screws into 5/16-inch gypsum board, the margin for error is virtually zero. A standard drywall bugle head is roughly 0.35 inches in diameter, which is actually wider than the entire thickness of the 5/16-inch gypsum core. If a screw is overdriven even slightly, the head will completely crush the core and break the face paper, resulting in a 'crater' that offers zero holding power and requires extensive patching.
Fastener Specifications
- Wood Framing: 1-1/4" Type S (coarse thread) bugle head screws.
- Steel Framing (up to 20 ga): 1" or 1-1/4" Type W (fine thread) bugle head screws.
- Wall Spacing: Maximum 16 inches on center along studs; 8 inches on center at edges.
- Ceiling Spacing: Maximum 12 inches on center along joists; 8 inches on center at edges.
Pro Tip: Use a screw gun with a precisely calibrated depth-sensitive clutch. Test the drive depth on a scrap piece of 5/16-inch board mounted to your specific framing lumber. The ideal dimple depth is exactly 1/32" below the face paper, leaving the paper intact around the perimeter of the screw head.
Executing Curved Wall Installations
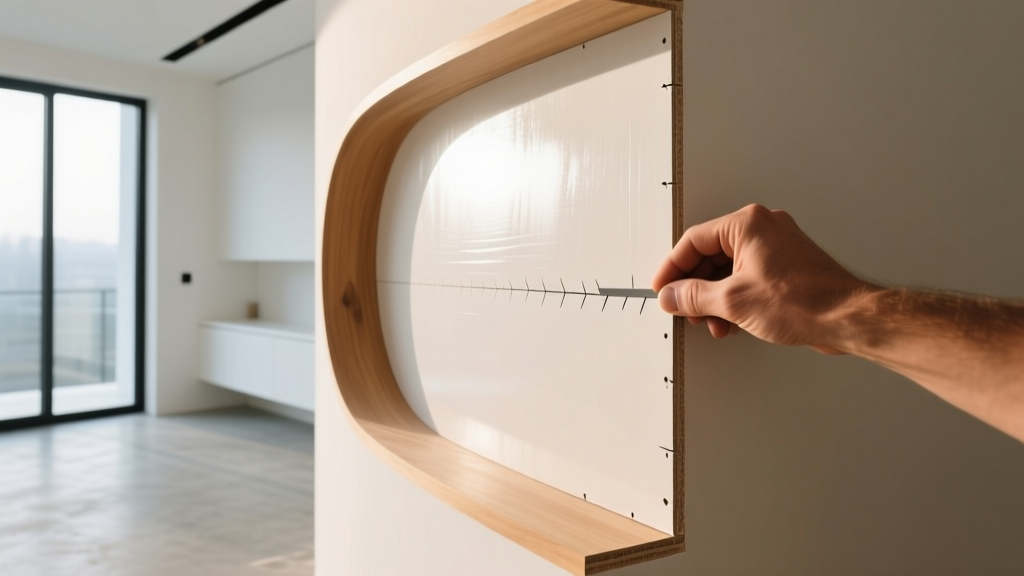
The most celebrated feature of 5/16-inch gypsum board is its flexibility. While standard 1/2-inch board can only achieve a gentle dry curve (minimum 20-foot radius), 5/16-inch panels can be manipulated to fit much tighter architectural radii, making them indispensable for modern organic interior designs.
- Calculate the Radius: For dry bending, the minimum radius is generally 10 feet. For tighter curves (down to 5 feet or less), the panel must be wetted or scored.
- Prepare the Panel (Wet Method): Using a clean sponge, apply water evenly to the back paper of the panel. Allow the moisture to penetrate the core for 15 to 20 minutes. Do not soak the face paper, as this will compromise the finished surface.
- Prepare the Panel (Scoring Method): For very tight radii, score the back paper and a portion of the gypsum core every 2 to 3 inches along the length of the panel. Do not cut through the face paper.
- Secure the Panel: Start fastening at one end of the curve. Apply steady, even pressure to bend the board against the curved studs or furring strips. Fasten screws every 6 inches on center along the curved framing to lock the tension in place.
- Double-Layering for Rigidity: A single layer of curved 5/16-inch board will remain somewhat spongy. For a rigid, code-compliant wall, apply a second layer of 5/16-inch board over the first, staggering the vertical seams by at least 8 inches and laminating with joint compound or specialized drywall adhesive.
Overlay and Lamination Techniques
In renovation projects, tearing out cracked, multi-coat plaster or water-damaged 1/2-inch drywall is often cost-prohibitive and creates massive dust contamination. Installing 5/16-inch gypsum board directly over the existing substrate is a highly effective 2026 remediation strategy that preserves room dimensions while providing a pristine nailing base.
Critical Adhesion Rule: Never rely on mechanical fasteners alone when overlaying existing plaster. The plaster may detach from the lath behind it. You must apply a continuous bead of laminating compound or specialized drywall adhesive to the back of the 5/16-inch panel, then secure it with 1-5/8" screws that penetrate through the old substrate and bite at least 5/8" into the underlying wood or steel framing.
Taping and Finishing Thin-Edge Vulnerabilities
The tapered edges on 5/16-inch gypsum board are significantly shallower than those on 1/2-inch panels. This shallow taper makes the joints highly susceptible to 'ridging'—a phenomenon where the seam becomes visibly raised due to compound shrinkage and structural micro-movements.
To mitigate this, abandon standard all-purpose pre-mixed joint compound for the taping coat. Instead, use a setting-type compound (such as a 45-minute or 90-minute chemical-setting mud) for embedding the paper tape. Setting compounds undergo virtually zero shrinkage as they cure, locking the tape tightly into the shallow taper. Follow with two thin coats of lightweight topping compound, feathering the edges out to a minimum of 14 inches to create a gradual optical illusion that hides the shallow transition.
Troubleshooting Common 5/16-Inch Failures
Even experienced crews encounter issues when transitioning from standard drywall to thinner profiles. Use this diagnostic matrix to identify and correct field failures.
- Symptom: Visible Panel Sagging on Ceilings
- Cause: Framing spaced at 24" o.c. or panels installed parallel to joists without adequate blocking.
Fix: Remove the sagging panels. Install 1x3 furring strips perpendicular to the joists at 12" o.c. intervals, or upgrade to 1/2" ceiling board. Reinstall 5/16" only if framing meets the 16" o.c. maximum requirement. - Symptom: 'Cratering' or Blowouts Around Screw Heads
- Cause: Screw gun clutch set too deep, crushing the thin gypsum core and breaking the face paper.
Fix: Abandon the blown-out screw hole. Drive a new screw 2 inches away along the same stud. Fill the crater with a high-build setting compound, as standard lightweight mud will shrink and crack inside the deep void. - Symptom: Seam Ridging and Shadowing
- Cause: Using pre-mixed taping mud in the shallow 5/16" tapered edges, leading to shrinkage and joint protrusion.
Fix: Sand the ridge down to the tape level. Re-tape using a chemical-setting compound and feather the topping coats out an additional 4 inches on both sides of the seam.
Mastering 5/16-inch gypsum board requires respecting its physical limitations and leveraging its unique flexibility. By strictly adhering to framing matrices, calibrating fastener depths, and utilizing setting-type compounds for shallow tapers, contractors can achieve flawless, high-end finishes in complex architectural spaces. For comprehensive industry standards, always refer to the latest USG Drywall Systems Guidelines and manufacturer submittals before executing specialized overlay or curved assemblies.
Written by
Sarah WhitfieldSarah Whitfield is a chartered quantity surveyor (MRICS) and construction cost analyst with 15 years of experience in material pricing, procurement strategy, and project budgeting. She earned her degree in Construction Management from the University of Reading (UK) and has worked on projects ranging from $2M custom homes to $180M mixed-use developments across North America and Europe. Sarah currently leads cost estimating for BuildMat Insight, maintaining a proprietary database of 4,000+ material price points updated quarterly. She is a frequent contributor to RSMeans cost data panels and has presented at the International Cost Engineering Council (ICEC) congress. Based in Denver, CO, Sarah is an avid trail runner and volunteer mentor for Women in Construction.
More from Sarah Whitfield
View all
Wood & Lumber
What Are the Different Types of Wood? A Builder's Guide
Compare structural softwoods, finish hardwoods, and engineered lumber. Analyze Janka ratings, MOE values, and 2026 pricing for construction.
Aug 4, 2026

Walls & Panels
Steel Framing vs Wood Framing: Corrosion and Moisture Defense
Compare steel framing vs wood framing for moisture resistance. Learn about galvanized coatings, condensation risks, and corrosion protection strategies.
Jul 21, 2026

Stone & Masonry
How to Cut Stone Veneer: Wet Saw vs Grinder Comparison
Compare the best tools for cutting stone veneer. We review wet saws, angle grinders, and chop saws to help you achieve clean, chip-free cuts.
Jul 21, 2026