Purple XP Gypsum Board Installation: Best Practices Guide
Master Purple XP gypsum board installation with expert techniques for framing, cutting, fastening, and moisture-resistant finishing in wet areas.

Material Profile: Understanding Gold Bond PURPLE XP
Gold Bond PURPLE XP gypsum board is engineered specifically for high-moisture, high-humidity environments where standard drywall will rapidly degrade. Unlike traditional green board (which only offers basic moisture resistance), PURPLE XP incorporates a treated, mold- and mildew-resistant gypsum core wrapped in heavy-duty, moisture-resistant purple face paper and back paper. Furthermore, the 'XP' designation indicates enhanced impact and abrasion resistance, making it suitable for high-traffic wet areas like commercial restrooms, residential bathrooms, and mudrooms.
Proper installation is critical. If the board's protective face paper is compromised during cutting or fastening, or if the gypsum core is exposed to standing water without proper edge treatment, the system's moisture resistance fails. This guide details the exact framing, hanging, and finishing protocols required to maintain the integrity of PURPLE XP in wet environments, compliant with Gypsum Association GA-216 standards.
Pre-Installation Environmental Controls
Moisture-resistant gypsum board is highly susceptible to warping if installed in unconditioned spaces. Before hanging PURPLE XP, you must stabilize the environment:
- Temperature: Maintain a minimum interior temperature of 40°F (4°C) for at least 48 hours prior to installation, during the hanging process, and until joint compound is fully cured.
- Humidity: Avoid hanging board during extreme humidity spikes. If the building is not yet climate-controlled, use temporary heating and dehumidification to keep relative humidity below 80%.
- Acclimation: Store panels flat in the room where they will be installed for 24 to 48 hours before hanging to allow the core to acclimate to the ambient moisture levels.
Framing and Fastener Specifications
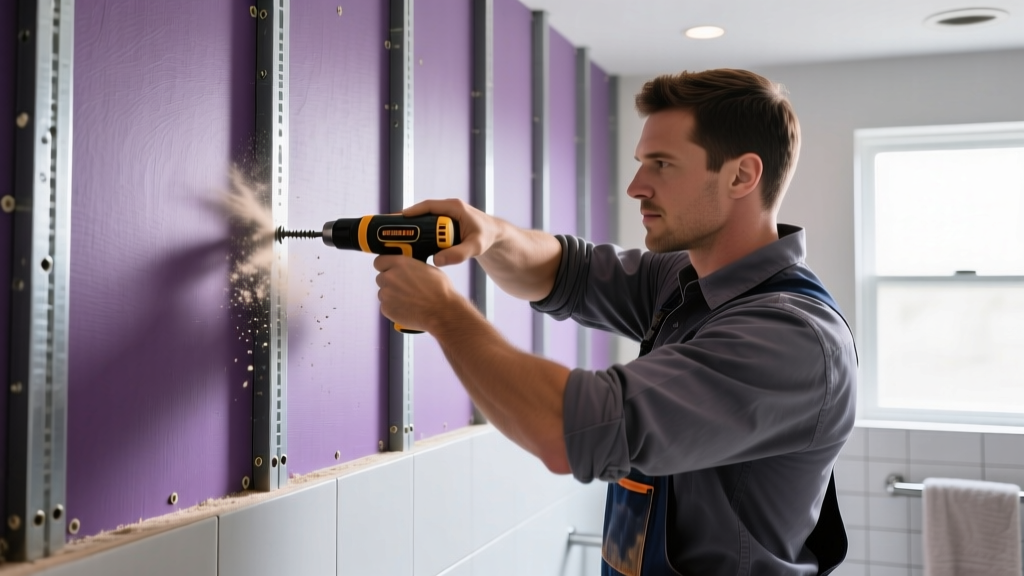
The structural backing for PURPLE XP must be rigid to prevent panel deflection, which can crack the joint compound and compromise the water-resistant seal. Below are the exact framing and fastening requirements for 1/2-inch and 5/8-inch PURPLE XP panels.
| Application | Panel Thickness | Max Stud Joist Spacing | Fastener Type & Length | Field Spacing | Edge Spacing |
|---|---|---|---|---|---|
| Walls (Wood Framing) | 1/2 in. | 16 in. o.c. | 1-1/4 in. Type W (coated) | 12 in. | 8 in. |
| Walls (Steel Framing) | 1/2 in. | 16 in. o.c. | 1 in. Type S (corrosion-resistant) | 12 in. | 8 in. |
| Ceilings (Wood) | 1/2 in. | 12 in. o.c. | 1-1/4 in. Type W (coated) | 8 in. | 8 in. |
| Ceilings (Wood) | 5/8 in. | 16 in. o.c. | 1-3/8 in. Type W (coated) | 12 in. | 8 in. |
Step-by-Step Hanging Techniques
1. Scoring and Snapping
Always cut PURPLE XP from the face side. Use a sharp utility knife to score through the purple face paper and slightly into the gypsum core. Snap the panel backward (away from the face) along a straight edge, then cut the back paper. Never use a saw for straight cuts, as it creates excessive gypsum dust that can embed in the face paper and ruin the moisture barrier.
2. Managing Cut Edges and Penetrations
The most common failure point in moisture-resistant drywall is the exposed gypsum core at cut edges. When cutting around electrical boxes, plumbing penetrations, or at floor/ceiling junctions, the core is exposed.
- Sealing Cut Edges: Apply an alkali-resistant moisture sealer or a high-quality oil-based primer to all exposed cut edges immediately after cutting and before taping.
- Vinyl Trim: Where cut edges meet dissimilar materials (like tile or concrete), use a vinyl J-bead or L-bead caulked to the substrate to protect the core.
- Pipe Penetrations: Cut holes for plumbing pipes no more than 1/4-inch larger than the pipe diameter. Seal the gap between the pipe and the gypsum core with a flexible, mold-resistant silicone caulk.
3. Tub and Shower Flange Details
When installing PURPLE XP over a bathtub or shower pan flange, the board must overlap the flange to direct water down the wall and into the basin, rather than behind the flange. If the flange is too thick to allow the board to lay flat, you must fur out the studs by 1/4-inch to 3/8-inch using treated wood furring strips or shims above the flange line. Never notch the back of the PURPLE XP board to fit over a flange, as this removes the protective back paper and compromises the panel's structural integrity.
Taping, Mudding, and Moisture-Resistant Finishing
Finishing PURPLE XP requires a departure from standard drywall practices. In high-humidity areas, standard pre-mixed drying-type joint compounds (often called 'topping mud') can re-emulsify if exposed to prolonged moisture or high humidity before being fully sealed with paint.
The Setting-Type Compound Protocol
For the bedding coat (first coat) and second coat, you must use a setting-type joint compound (e.g., 45-minute or 90-minute Durabond). Setting compounds undergo a chemical crystallization process, making them virtually impervious to moisture once cured.
- Tape Selection: Use fiberglass mesh tape for flat seams and pre-creased paper tape for internal corners. Fiberglass mesh provides superior tensile strength and allows moisture vapor to escape during the curing process.
- First Coat (Bedding): Embed the tape using a 45-minute or 90-minute setting compound. Apply with a 6-inch taping knife, ensuring the compound fully fills the tapered edge joint.
- Second Coat (Filler): Use a 90-minute setting compound applied with a 10-inch knife. Feather the edges at least 2 inches past the first coat.
- Third Coat (Skim/Finish): For the final coat, a moisture-resistant pre-mixed topping compound can be used if the area will be properly primed and painted, but a setting-type topping compound provides the highest level of moisture protection.
Common Installation Mistakes to Avoid
Even experienced installers make errors when transitioning from standard board to specialized products like Gold Bond PURPLE XP. Avoid these critical mistakes:
- Over-Sanding the Face Paper: The purple face paper is thicker and more durable than standard white paper, but sanding through it during the finishing process exposes the gypsum core. Use a fine-grit sanding sponge (150-grit or higher) and sand only the joint compound, never the field of the board.
- Omitting the Vapor Retarder: While PURPLE XP resists moisture absorption, it is not a vapor barrier. In exterior wet walls (like a bathroom on an outside wall), you must still install a Class I or II vapor retarder (like 4-mil polyethylene) behind the board on the warm-in-winter side of the wall cavity to prevent condensation inside the stud bay.
- Using Standard Primer: After finishing, the entire surface must be sealed with a high-quality, mold-resistant acrylic drywall sealer or primer. Standard PVA primers do not offer sufficient moisture resistance for wet environments and will allow water vapor to penetrate the joint compound during hot showers.
By adhering strictly to these framing, hanging, and finishing protocols, you ensure that the advanced moisture and mold-resistant properties of PURPLE XP gypsum board are fully realized, resulting in a durable, long-lasting finish in demanding environments.
Written by
Elena RodriguezElena Rodriguez is a civil engineer and technical writer specializing in concrete technology, masonry systems, and ASTM/ACI compliance. She earned her B.S. in Civil Engineering from Texas A&M University and spent a decade at a materials testing laboratory, performing over 2,000 concrete compressive strength tests and masonry prism evaluations. Elena is an ACI-certified Field Testing Technician (Grade I) and a member of ASTM Committee C12 on Natural Building Stone. She currently consults on forensic engineering cases involving concrete failures and moisture intrusion. Based in San Antonio, TX, Elena is a proud member of the Society of Women Engineers (SWE) and coaches her daughter's FIRST Robotics team.
More from Elena Rodriguez
View all
Walls & Panels
Cost Analysis: Light Gauge Steel Framing Advantages and Disadvantages
Evaluate light gauge steel framing advantages and disadvantages through a strict cost analysis lens, comparing material, labor, and lifecycle expenses.
Aug 4, 2026

Walls & Panels
Gypsum Board Types: Exact Specifications, Thickness & Dimensions
Compare standard, Type X, and moisture-resistant gypsum board types. Get exact specifications, thicknesses, dimensions, and ASTM standards for your project.
Aug 4, 2026

Fire Resistance
Best Fire-Resistant Outdoor Decking Materials: 2026 Buyer Guide
Discover the best fire-resistant outdoor decking materials for 2026. Compare Class A PVC, aluminum, and hardwood options for WUI compliance and safety.
Aug 4, 2026