How to Treat and Preserve Different Types of Exterior Wood Siding
Master the treatment and preservation of all types of exterior wood siding. Learn species-specific stains, back-priming rules, and maintenance schedules.
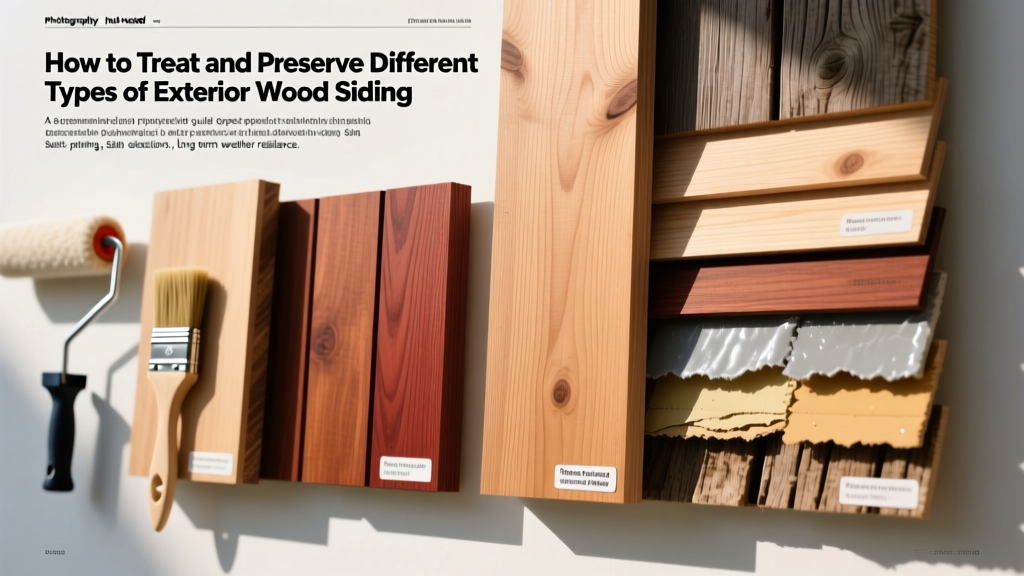
The Physics of Wood Degradation
Wood siding fails rarely due to structural collapse; it fails due to surface degradation, moisture intrusion, and fungal colonization. To effectively treat and preserve exterior wood, you must understand the two primary enemies: ultraviolet (UV) radiation and hygroscopic movement. UV light breaks down lignin—the polymer that binds wood cells together—causing the surface to turn gray and become friable. Once the lignin degrades, moisture easily penetrates the exposed cellulose, leading to dimensional swelling, checking, and eventual rot.
The goal of any preservation strategy is to stabilize the wood's Equilibrium Moisture Content (EMC). Exterior wood should be acclimated and installed at a moisture content between 12% and 15%. Treatments must either block UV radiation while allowing water vapor to escape (breathability) or create a complete, impermeable envelope on all six sides of the board.
Species-Specific Treatment Matrix
Not all wood species react to preservatives and stains equally. The natural extractives, resin content, and density of the wood dictate the required chemical approach. Below is a decision matrix for the most common types of exterior wood siding.
| Wood Species | Natural Durability | Primary Challenge | Recommended Treatment Type | Re-coat Interval |
|---|---|---|---|---|
| Western Red Cedar | High (Decay resistant) | Tannin bleed; surface checking | Penetrating alkyd/oil stains (e.g., Cabot Australian Timber Oil) | 2-4 years |
| Redwood | High (Decay resistant) | Severe tannin bleed when wet | Tannin-blocking alkyd primer + acrylic topcoat, or heavy oil stain | 3-5 years |
| Cypress | Moderate-High | High surface resin content | Solvent wipe + penetrating oil-based semi-transparent stain | 2-3 years |
| Pine / Spruce (SYP) | Low (Prone to rot) | Uneven absorption; rapid decay | Borate pre-treatment (e.g., Bora-Care) + film-forming acrylic (e.g., Sansin ENS) | 4-6 years |
| Accoya (Acetylated) | Exceptional (Class 1) | UV graying (no decay risk) | Specialized non-film-forming UV blockers (e.g., Sikkens Proluxe) | 4-7 years |
The 6-Sided Pre-Installation Protocol
The most critical phase of wood siding preservation happens before the first nail is driven. Factory-applied coatings often leave the back, edges, and end-grains exposed. End-grains act like a bundle of microscopic straws, wicking moisture directly into the core of the board via capillary action.
Step-by-Step Back-Priming and End-Sealing
- Moisture Verification: Use a pin-type moisture meter to ensure the siding is below 15% MC. Applying finishes to wet wood traps moisture inside, guaranteeing premature peeling.
- End-Grain Sealing: Apply a dedicated end-sealer (such as Anchorseal) to all cut ends, miters, and factory edges. This reduces end-grain moisture absorption by up to 90%.
- Back-Priming: Apply a breathable, oil-based alkyd primer (e.g., Zinsser Cover Stain or Benjamin Moore Fresh Start Exterior) to the back face and both edges of every board. Never use a vapor-impermeable latex primer on the back of the siding.
- Face Coating: Apply the first coat of your chosen finish to the face before installation to ensure complete coverage in the lap overlaps and tongue-and-groove joints.
If you apply an impermeable latex paint to the front face of the siding but leave the back unprimed, interior wall moisture migrating outward will become trapped behind the paint film. This causes the paint to blister and peel from the inside out. Always ensure the back-primer is highly breathable (alkyd/oil-based) to allow vapor transmission.
Penetrating Oils vs. Film-Forming Acrylics
Choosing the right chemistry for your finish is the most common point of failure in exterior wood preservation. The USDA Forest Products Laboratory categorizes exterior finishes into two distinct classes, each with specific use cases.
Penetrating Oils and Alkyds
These finishes soak into the wood fibers rather than sitting on the surface. They contain high levels of linseed oil, tung oil, or modified alkyd resins, combined with trans-oxide pigments for UV protection.
- Pros: They do not peel, flake, or blister. When they degrade, they simply fade and erode, making re-coating as simple as cleaning and applying a new layer without sanding.
- Cons: Shorter lifecycle (typically 2 to 4 years on south-facing walls). They offer less protection against physical abrasion.
- Best For: Rough-sawn cedar, shingles, shakes, and complex millwork where sanding for removal would be impossible.
Film-Forming Acrylics and Polyurethanes
These create a physical plastic-like shell over the wood. Modern exterior acrylics (like Sansin ENS or Sikkens Proluxe) are highly elastic to accommodate wood movement.
- Pros: Longer lifecycle (5 to 8 years). Superior moisture blocking and UV reflection due to higher pigment and solids volume.
- Cons: When the film inevitably cracks or fails, moisture gets trapped underneath. Removal requires aggressive mechanical scraping, chemical stripping, or extensive sanding before re-coating.
- Best For: Smooth-sawn pine, spruce, and engineered wood cladding where a uniform, highly protective shell is required.
Restoring Weathered Siding: A Chemical Approach
If wood siding has been left untreated and turned gray, the surface lignin has photodegraded. You cannot simply apply stain over gray wood; the finish will adhere to the dead wood fibers and peel off within a year. According to preservation guidelines from the National Park Service, proper surface preparation is non-negotiable.
- Chemical Stripping/Brightening: Apply an oxalic acid-based wood brightener. Oxalic acid dissolves the gray, oxidized lignin and neutralizes tannin stains. Allow it to dwell for 15-20 minutes, then pressure wash at a maximum of 1,200 PSI using a 40-degree fan tip to avoid furring the wood.
- Mechanical Abrasion: Once dry, lightly sand the surface with 80-grit aluminum oxide sandpaper. Do not use finer grits (like 120 or 150), as they will burnish the wood and close the pores, preventing penetrating oils from absorbing.
- Solvent Wipe: For resinous woods like cypress or pine, wipe the surface with denatured alcohol or a commercial deglosser to remove surface resins that block stain penetration.
Maintenance Timelines and Lifecycle Costs
Preservation is an ongoing cycle. To determine when re-treatment is necessary, perform the water drop test: sprinkle water on the siding. If it beads up, the finish is intact. If it absorbs and darkens the wood within 60 seconds, the UV inhibitors have failed, and immediate re-coating is required to prevent moisture ingress.
Cost Expectations: Professional cleaning and re-staining of exterior wood siding typically ranges from $1.50 to $3.50 per square foot, depending on scaffolding requirements and the condition of the existing finish. DIY application reduces material costs to roughly $0.40 to $0.80 per square foot, utilizing premium products like factory-recommended cedar finishes that ensure long-term warranty compliance.
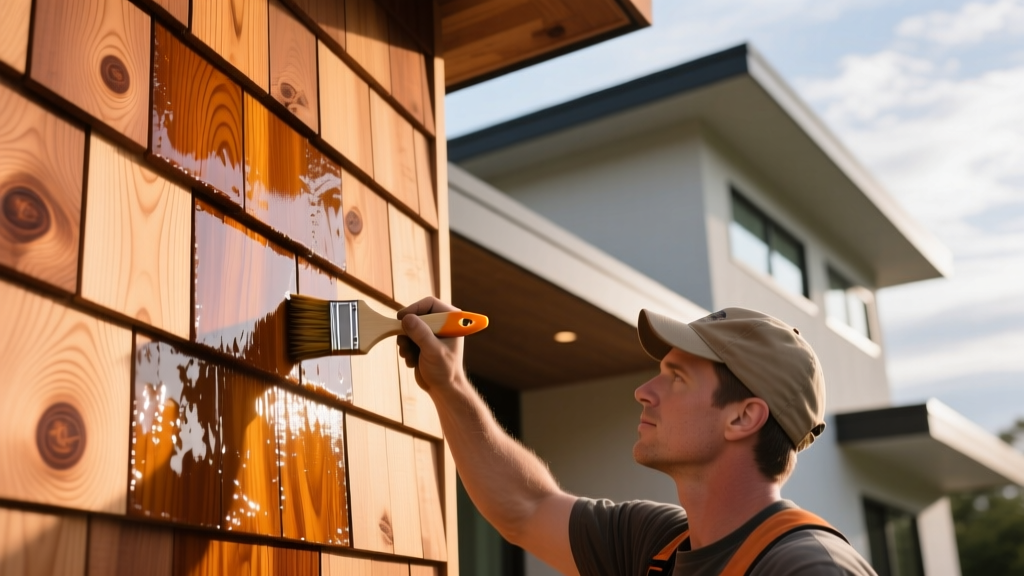
Frequently Asked Questions
Can I treat exterior wood siding in cold weather?
Most oil-based and alkyd stains require ambient and surface temperatures to remain above 50°F (10°C) for at least 48 hours after application. Below this threshold, the resins become too viscous to penetrate the wood pores, leading to surface pooling and tackiness. Some specialized cold-weather acrylics can be applied down to 35°F (2°C), but they require strict adherence to the manufacturer's humidity and temperature windows.
How do I permanently stop tannin bleed on cedar and redwood?
Tannin bleed occurs when water dissolves natural wood tannins and carries them through the finish. To stop it, you must use a dedicated stain-blocking primer containing polyvinyl acetate (PVA) or shellac (such as Zinsser B-I-N) on the affected areas before applying your topcoat. Penetrating oils generally mask tannin bleed better than solid-color acrylics because the semi-transparent nature of the oil blends with the natural wood color variations.
Is borate treatment necessary for all wood siding?
Borate treatments (disodium octaborate tetrahydrate) are highly effective at preventing fungal decay and deterring carpenter ants and termites. However, borates are water-soluble. They are strictly necessary for non-durable species like pine, spruce, and fir, especially in high-rainfall climates. For naturally decay-resistant species like cedar, redwood, or Accoya, borate pre-treatment is redundant and an unnecessary expense, provided the wood is detailed correctly with proper clearances and flashing.
Written by
Sarah WhitfieldSarah Whitfield is a chartered quantity surveyor (MRICS) and construction cost analyst with 15 years of experience in material pricing, procurement strategy, and project budgeting. She earned her degree in Construction Management from the University of Reading (UK) and has worked on projects ranging from $2M custom homes to $180M mixed-use developments across North America and Europe. Sarah currently leads cost estimating for BuildMat Insight, maintaining a proprietary database of 4,000+ material price points updated quarterly. She is a frequent contributor to RSMeans cost data panels and has presented at the International Cost Engineering Council (ICEC) congress. Based in Denver, CO, Sarah is an avid trail runner and volunteer mentor for Women in Construction.
More from Sarah Whitfield
View all
Wood & Lumber
What Are the Different Types of Wood? A Builder's Guide
Compare structural softwoods, finish hardwoods, and engineered lumber. Analyze Janka ratings, MOE values, and 2026 pricing for construction.
Aug 4, 2026
Walls & Panels
Steel Framing vs Wood Framing: Corrosion and Moisture Defense
Compare steel framing vs wood framing for moisture resistance. Learn about galvanized coatings, condensation risks, and corrosion protection strategies.
Jul 21, 2026
Stone & Masonry
How to Cut Stone Veneer: Wet Saw vs Grinder Comparison
Compare the best tools for cutting stone veneer. We review wet saws, angle grinders, and chop saws to help you achieve clean, chip-free cuts.
Jul 21, 2026