Mastering the Types of Wood Drill Bits: Installation Best Practices
Discover the best types of wood drill bits for your project. Learn installation best practices, RPM speeds, and tear-out prevention for flawless woodworking.
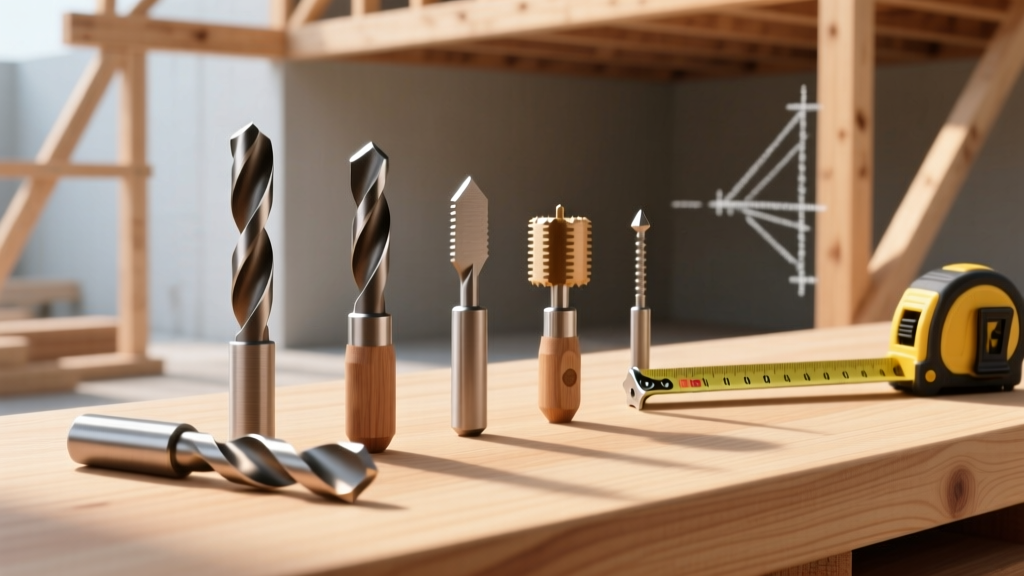
The Anatomy of a Perfect Wood Hole
Drilling into dimensional lumber, engineered wood, or fine hardwoods requires more than just applying downward pressure with a power drill. The structural integrity of your joints, the finish quality of your visible surfaces, and the longevity of your tools all depend on selecting the correct bit geometry for the specific material and task. According to the USDA Forest Products Laboratory Wood Handbook, the cellular structure of wood means that cutting against the grain or generating excessive friction heat can cause micro-fractures, delamination in plywood, and severe tear-out in open-grained species like red oak.
Understanding the distinct types of wood drill bits is the first step toward achieving clean, precise, and structurally sound holes. This guide details the installation best practices, speed calculations, and troubleshooting protocols required for professional-grade results in 2026 and beyond.
Decoding the Types of Wood Drill Bits
Not all bits are created equal. Using a general-purpose twist bit for precision doweling will result in wandering and ragged edges, while using a brad point bit for deep structural framing will lead to rapid binding and motor burnout. Below is a functional matrix to guide your selection.
| Bit Type | Primary Application | Max Practical Diameter | Tear-Out Risk | Ideal Tool Platform |
|---|---|---|---|---|
| Brad Point | Doweling, joinery, hardware mounting | 1/2 inch | Very Low | Hand drill, drill press |
| Forstner | Flat-bottom holes, hinge cups, overlapping holes | 2 inches | Low | Drill press (preferred) |
| Auger | Deep structural boring, timber framing | 1.5 inches | Moderate (Exit) | High-torque hand drill |
| Spade / Paddle | Rough-in plumbing/electrical, framing | 1.5 inches | High (Exit) | High-RPM hand drill |
| Hole Saw | Large diameter pass-throughs, locksets | 6 inches | High (Exit) | Low-RPM high-torque drill |
RPM and Feed Rate: The Mathematics of Clean Drilling
The most common cause of burned wood and ruined bits is incorrect rotational speed. Hardwoods like maple and hickory require higher speeds with lighter feed pressure, while softwoods and engineered materials like MDF require slower speeds to prevent the bit from aggressively grabbing and tearing the fibers.
Use this baseline formula to determine your drill press or variable-speed drill setting: RPM = (4 x Cutting Speed) / Bit Diameter (in inches).
For standard hardwoods, the cutting speed is roughly 100 feet per minute. Therefore, a 1/4-inch (0.25) brad point bit in white oak should run at approximately (4 x 100) / 0.25 = 1,600 RPM. Conversely, a 1-inch Forstner bit in the same material should run at (4 x 100) / 1 = 400 RPM.
Feed rate—the pressure you apply downward—must remain constant. Pushing too hard dulls the cutting lips prematurely, while pushing too lightly allows the bit to rub, generating friction heat that permanently draws the temper out of High-Speed Steel (HSS) bits, turning them a tell-tale straw or blue color.
Installation Best Practices by Bit Type
Brad Point Bits: Precision Doweling and Joinery
Brad point bits feature a sharp center spur that registers the hole location and two outer spurs that score the wood grain before the main cutting lips remove the material. Best Practice: Always use a jig or a center punch to create a physical divot for the brad to seat into. When drilling through-and-through holes, place a sacrificial backer board of MDF behind your workpiece. As the outer spurs exit the workpiece, they will cut cleanly into the backer board, eliminating the blowout and splintering that typically occurs on the exit side.
Forstner Bits: Flat-Bottom Mastery and Hardware Hinging
Because Forstner bits cut primarily via their outer rim and lack a central lead screw, they can drill overlapping holes and angled pockets. Best Practice: For diameters over 1 inch, a handheld drill is highly discouraged due to the immense torque required; use a drill press. When drilling deep holes with a Forstner bit, employ a 'peck drilling' technique: pull the bit out of the hole every 1/4 inch of depth to clear the packed sawdust. Failure to clear chips will cause the bit to overheat and bind, potentially scorching the inside of your mortise.
Auger Bits: Deep Structural Boring
Auger bits feature a threaded lead screw that pulls the bit into the wood, making them ideal for boring deep holes through thick timber or pressure-treated landscape timbers. Best Practice: The lead screw is also a major safety hazard. According to OSHA Hand and Power Tools guidelines, the sudden binding of a bit can cause severe wrist injuries via tool kickback. When using large-diameter auger bits in wet or dense lumber, ensure your drill has a functional side handle installed and braced against your body. Never use a lead-screw auger bit in a drill press, as the aggressive pull can rip the workpiece off the table or damage the quill.
Spade and Hole Saw Bits: Rough-In and Large Diameters
Spade bits are aggressive and fast, while hole saws are necessary for diameters exceeding 2 inches (like standard 2-1/8 inch door locksets). Best Practice: Both bit types suffer from severe exit-side tear-out. To achieve a clean finish when installing visible hardware, drill from the front until the pilot bit just breaks through the back face. Stop drilling, move to the back side, insert the pilot bit into the small hole it created, and complete the cut from the opposite direction. For hole saws, apply a thin coat of paste wax to the teeth when cutting dense hardwoods or MDF to reduce friction and extend the life of the carbide teeth.
Troubleshooting Common Drill Bit Failures
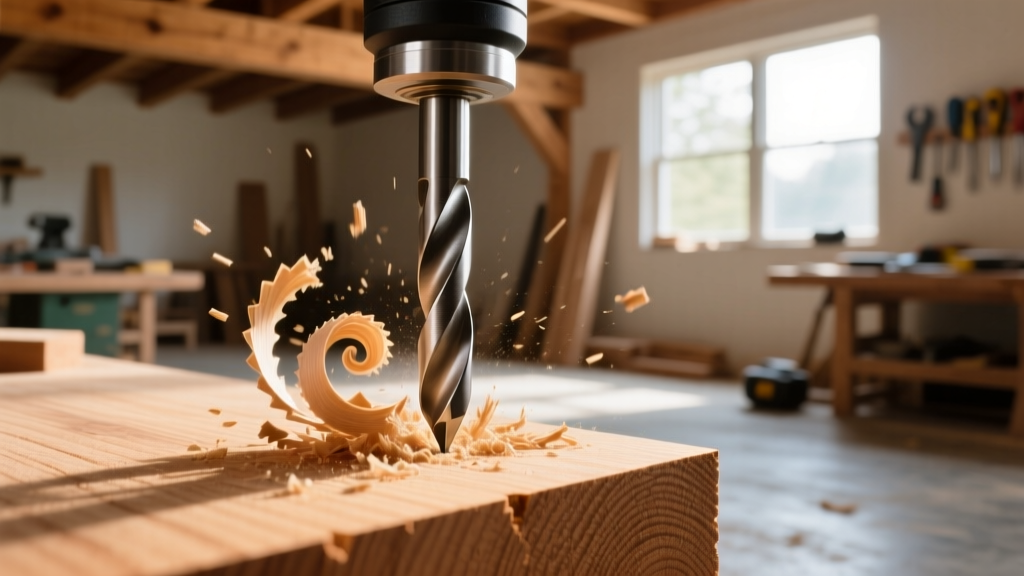
Even with the correct bit type, improper technique will yield poor results. Use this diagnostic framework to correct issues on the job site.
| Symptom | Probable Cause | Corrective Action |
|---|---|---|
| Blackened, smoking wood inside the hole | RPM too low, feed rate too high, or dull cutting lips causing friction. | Increase RPM, reduce downward pressure, and inspect the bit for dulling or resin buildup. |
| Severe splintering on the exit side | Bit geometry (spade/auger) lacks outer scoring spurs; no backer board used. | Use a sacrificial backer board clamped tightly to the exit face, or use the reverse-drilling method. |
| Bit wanders off the center mark upon entry | Brad point is worn down, or the drill was not held perfectly perpendicular at startup. | Start the drill at a low RPM to let the spur score a full circle before applying downward feed pressure. |
| Bit binds and stalls the drill motor | Flutes are packed with sawdust, or the bit has tapered due to improper sharpening. | Implement peck drilling to clear chips. Replace the bit if the relief angle behind the cutting lip is gone. |
Bit Maintenance and Sharpening Protocols
Wood contains silica, resins, and adhesives (in the case of plywood and MDF) that rapidly degrade cutting edges. Pitch and resin buildup act as an insulator, trapping heat against the steel. After every project, clean your bits using a dedicated resin solvent or a simple solution of Simple Green and a brass wire brush. Avoid steel brushes, which can micro-scratch the HSS surface and create nucleation points for rust.
When a brad point bit dulls, do not attempt to sharpen the outer spurs with a standard bench grinder; the geometry is too precise. Instead, use a fine diamond needle file to gently hone the inner cutting lips, maintaining the original clearance angle. If the center brad is snapped or the outer spurs are chipped, retire the bit to rough-framing duties and purchase a replacement for precision joinery.
Written by
Marcus ChenMarcus Chen is a licensed structural engineer (PE) and building materials analyst with over 12 years of experience across residential, commercial, and industrial construction. He holds a Master of Science in Civil Engineering from UC Berkeley and spent six years at Thornton Tomasetti before transitioning to independent consulting and technical writing. Marcus specializes in material selection for seismic-prone regions, concrete reinforcement strategies, and lifecycle cost analysis. His work has been cited by the American Concrete Institute (ACI) and the Structural Engineers Association of California (SEAOC). When he is not on a job site or at his desk, you will find him hiking the Sierra Nevada or restoring a 1920s craftsman bungalow in Oakland, CA.
More from Marcus Chen
View all
Construction Cost
How Much Did the Eiffel Tower Cost to Build?
How much did the Eiffel Tower cost to build in 1889? We adjust for inflation and compare its budget to modern skyscraper construction.
Aug 4, 2026

Fire Resistance
What Is a Fire Resistant Material? Testing & Certification Guide
Discover what is a fire resistant material through ASTM and UL testing. Learn how fire ratings, certifications, and assemblies work in construction.
Aug 4, 2026

Construction Cost
How Much Did the Burj Khalifa Cost to Build?
How much did the Burj Khalifa cost to build? We break down the $1.5B project and extract 5 money-saving strategies for your next build.
Jul 30, 2026