Types of Wood Joinery: The Ultimate PDF Reference Guide
Master wood joinery installation with our comprehensive reference guide. Learn exact tolerances, adhesive specs, and clamping pressures for all joint types.
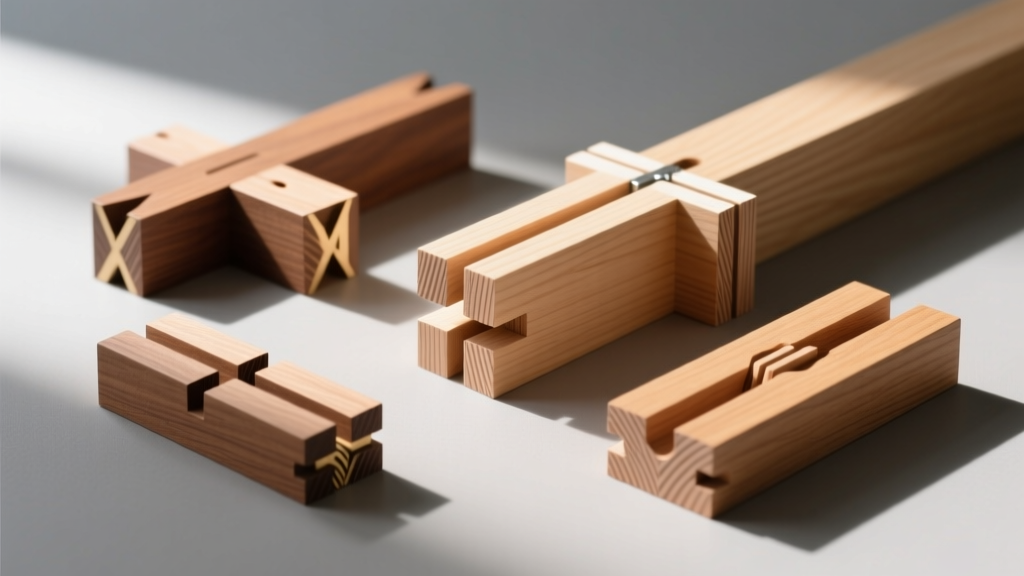
The Problem with Fragmented Joinery Documentation
When shop foremen and site superintendents search for a types of wood joinery pdf, they are typically looking for a single, reliable, printable reference to post on the shop wall or keep in the site trailer. While fragmented PDFs found online often lack up-to-date adhesive specifications, modern CNC tolerance standards, or structural load data, this comprehensive digital guide serves as your definitive master reference. You can print this page directly to PDF for your field manual, ensuring your crew has immediate access to exact installation tolerances, structural guidelines, and clamping protocols for 2026 construction standards.
Wood joinery is the backbone of both structural timber framing and precision architectural millwork. According to the Architectural Woodwork Institute (AWI), improper joint selection and poor adhesive application account for over 60% of millwork failures in the first five years of installation. This guide moves beyond basic definitions to provide actionable installation best practices, exact machining tolerances, and troubleshooting frameworks for professional builders.
Structural Timber Joints: Load-Bearing Best Practices
Structural joinery relies on mechanical interlocking and, in modern applications, high-strength structural adhesives. These joints must withstand significant shear, tension, and compression forces without relying solely on metal fasteners.
Mortise and Tenon (Pegged vs. Glued)
The mortise and tenon remains the gold standard for heavy timber framing. For structural applications, the tenon should be cut to exactly one-third the thickness of the timber.
- Machining Tolerance: Maintain a gap of 0.003 in. to 0.005 in. between the mortise wall and tenon cheek for optimal PVA glue penetration.
- Drawbore Pegging: When using mechanical oak or locust pegs, offset the peg hole in the tenon by 1/16 in. closer to the shoulder than the holes in the mortise. This draws the joint tight as the peg is driven home, eliminating the need for clamping in large-scale timber framing.
- Shoulder Fit: The tenon shoulder must bear 100% of the compressive load. If the shoulder is uneven, the joint will rock, leading to catastrophic failure under vertical loads.
Scarf Joints for Splicing
When continuous timber lengths are unavailable, scarf joints are used to splice members. The USDA Forest Products Laboratory recommends a minimum slope ratio of 1:12 (one unit of vertical rise for every twelve units of horizontal run) for structural splicing in bending members.
- Adhesive Protocol: Because scarf joints involve massive end-grain and long-grain gluing surfaces, use a gap-filling structural epoxy or a resorcinol-formaldehyde resin. Standard PVA will starve due to end-grain absorption.
- Clamping: Use specialized angled clamping cauls that match the 1:12 slope to apply even, perpendicular pressure across the entire glue line.
Wood must be acclimated to its end-use environment before joinery is cut. For interior millwork, target 6-8% MC. For exterior structural timber, target 12-15% MC. Cutting joints in unacclimated wood guarantees seasonal gapping or crushing as the fibers equilibrate, ruining the precision tolerances required for structural adhesives.
Millwork & Cabinetry: Precision Alignment Joints
Architectural millwork prioritizes aesthetic perfection, alignment, and resistance to seasonal wood movement. The APA - The Engineered Wood Association and AWI standards dictate strict tolerances for these visible joints.
Dovetails and Finger Joints
Used primarily in drawer boxes and high-end casework, dovetails provide exceptional tensile strength in one direction.
- CNC vs. Hand-Cut Tolerances: CNC routing holds tolerances of +/- 0.002 in., requiring low-viscosity PVA or specialized wood epoxies to ensure capillary penetration. Hand-cut dovetails typically fall within +/- 0.010 in. and benefit from standard-viscosity PVA (like Titebond II or III) which bridges microscopic gaps.
- Assembly Best Practice: Always apply glue to the end-grain of the tails first, allowing it to size for 3 minutes before applying a second coat and assembling. This prevents the dry end-grain from wicking moisture out of the glue line, which causes starved joints.
Biscuit and Dowel Reinforcement
Biscuits and dowels are alignment aids as much as they are structural reinforcements. They are critical for panel glue-ups and face-frame assembly.
- Sizing Rules: Use #20 biscuits for 3/4 in. stock, and #10 biscuits for 1/2 in. stock. The biscuit slot should be 1/8 in. longer than the biscuit itself to allow for lateral adjustment during clamping.
- Dowel Precision: When using fluted hardwood dowels, the hole depth must be 1/16 in. deeper than the dowel length to provide a reservoir for hydraulic glue squeeze-out. If the hole is exactly the length of the dowel, the trapped hydraulic pressure will split the wood upon clamping.
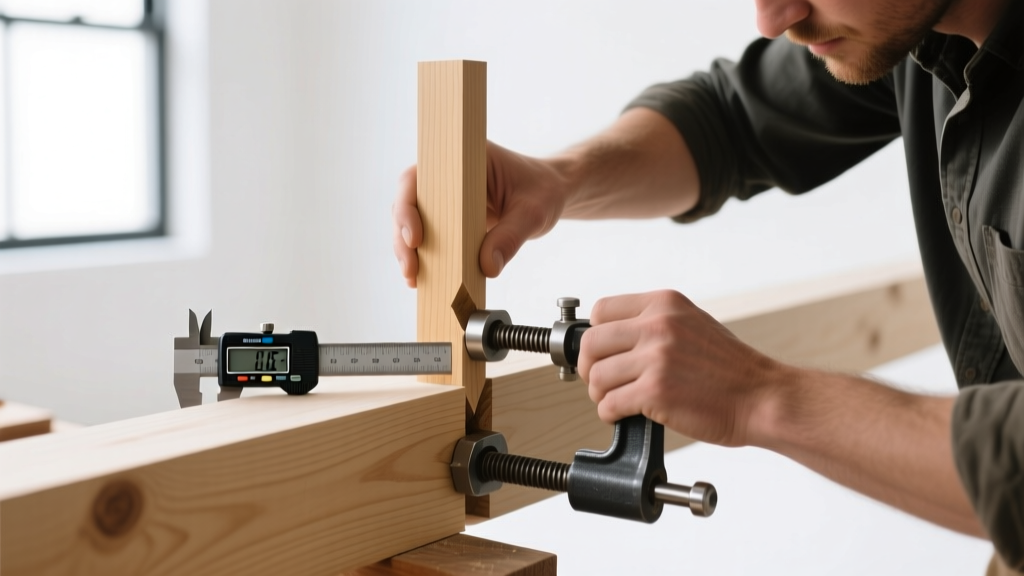
Joint Specification & Installation Matrix
Use the following matrix to determine the correct adhesive, clamping pressure, and machining tolerance for your specific application. Data aligns with current AWI premium-grade standards.
| Joint Type | Primary Application | Machining Tolerance | Recommended Adhesive | Clamping Pressure |
|---|---|---|---|---|
| Mortise & Tenon | Timber Framing, Doors | +/- 0.005 in. | Type I PVA or Polyurethane | 150 - 200 PSI |
| Dovetail | Drawer Boxes, Casework | +/- 0.002 in. | Low-Viscosity PVA | 100 - 150 PSI |
| Biscuit / Dowel | Panel Glue-ups, Frames | +/- 0.010 in. | Standard PVA (Aliphatic) | 100 - 150 PSI |
| Scarf Joint | Structural Splicing | 1:12 Slope Ratio | Structural Epoxy | 150 - 200 PSI |
| Pocket Hole | Face Frames, Cabinets | Jig Dependent | PVA + Mechanical Screw | Self-Clamping (Screw) |
Adhesive Selection & Clamping Pressure Protocols
The strongest joint will fail if the adhesive is mismatched to the wood species or if the clamping pressure is incorrect. The goal of clamping is not to squeeze the joint as tightly as possible, but to apply enough pressure to force the wood fibers into intimate contact while maintaining a continuous glue film.
Clamping Pressure by Wood Density
- Softwoods (Pine, Cedar, Fir): 100 to 150 PSI. Excessive pressure will crush the cellular structure, leading to permanent deformation and glue starvation.
- Medium Hardwoods (Walnut, Cherry, Mahogany): 125 to 175 PSI.
- Dense Hardwoods (Hard Maple, Hickory, White Oak): 175 to 250 PSI. These species require higher pressure to overcome surface roughness and ensure adhesive penetration.
Adhesive Open Time and Temperature
Standard aliphatic resin (yellow glue) has an open time of 5 to 10 minutes at 70°F. If your shop temperature drops below 55°F, the adhesive will chalk and fail to cure properly. In cold environments, switch to a polyurethane adhesive or use heated clamping blankets to maintain the glue line temperature above 60°F during the initial cure phase.
Troubleshooting Joint Failures: A Decision Framework
When a joint fails inspection or breaks under stress, use this diagnostic framework to identify the root cause and adjust your installation protocol.
Symptom: Glue Starvation (Weak, Chalky Glue Line)
- Cause: Excessive clamping pressure squeezing out all adhesive, or overly dry end-grain absorbing the moisture from the glue before it can cross-link.
- Fix: Calibrate your clamps to the correct PSI range. For end-grain joints, apply a 10% water-diluted PVA sizing coat first, let it become tacky (approx. 3 minutes), then apply full-strength glue for the final assembly.
Symptom: Glue Creep (Joint Shifts After Curing)
- Cause: Standard PVA adhesives remain slightly thermoplastic and can creep under continuous heavy loads, especially in structural applications like rafters or heavy shelving.
- Fix: Switch to a cross-linking PVA (like Titebond III) or a structural resorcinol/epoxy system for joints under continuous static loads. Ensure mechanical fasteners (dowels, pegs) share the load.
Symptom: Wood Splitting During Assembly
- Cause: Hydraulic lock. The glue and trapped air have nowhere to escape when the tenon or dowel is driven into a blind hole.
- Fix: Always drill blind holes 1/16 in. deeper than the male component. Use fluted or grooved dowels to provide an escape channel for air and excess adhesive.
Final Inspection Checklist for Millwork Installers
Before releasing any joined assembly from the clamps or moving it to the finishing department, verify the following metrics:
- Visual Squeeze-Out: A continuous, uniform bead of glue squeeze-out should be visible along the entire joint line, indicating adequate pressure and glue coverage.
- Squareness Check: Measure diagonals on casework and frames. The variance between opposing diagonals must be less than 1/32 in. for premium AWI-grade millwork.
- Surface Preparation: Remove all squeeze-out with a sharp chisel or damp (not wet) sponge within 30 minutes. Dried PVA squeeze-out will seal the wood pores and cause severe blotching when stain or clear finishes are applied.
By treating joinery as a precise engineering discipline rather than a rough carpentry task, you ensure structural longevity and aesthetic perfection. Keep this guide accessible on your shop floor to maintain the highest standards of wood installation.
Written by
Marcus ChenMarcus Chen is a licensed structural engineer (PE) and building materials analyst with over 12 years of experience across residential, commercial, and industrial construction. He holds a Master of Science in Civil Engineering from UC Berkeley and spent six years at Thornton Tomasetti before transitioning to independent consulting and technical writing. Marcus specializes in material selection for seismic-prone regions, concrete reinforcement strategies, and lifecycle cost analysis. His work has been cited by the American Concrete Institute (ACI) and the Structural Engineers Association of California (SEAOC). When he is not on a job site or at his desk, you will find him hiking the Sierra Nevada or restoring a 1920s craftsman bungalow in Oakland, CA.
More from Marcus Chen
View all
Construction Cost
How Much Did the Eiffel Tower Cost to Build?
How much did the Eiffel Tower cost to build in 1889? We adjust for inflation and compare its budget to modern skyscraper construction.
Aug 4, 2026
Fire Resistance
What Is a Fire Resistant Material? Testing & Certification Guide
Discover what is a fire resistant material through ASTM and UL testing. Learn how fire ratings, certifications, and assemblies work in construction.
Aug 4, 2026

Construction Cost
How Much Did the Burj Khalifa Cost to Build?
How much did the Burj Khalifa cost to build? We break down the $1.5B project and extract 5 money-saving strategies for your next build.
Jul 30, 2026