Rebar vs Wire Mesh for Concrete Slabs: Installation Guide
Master the rebar vs wire mesh for concrete decision. This installation guide details load capacities, spacing, and step-by-step placement techniques.
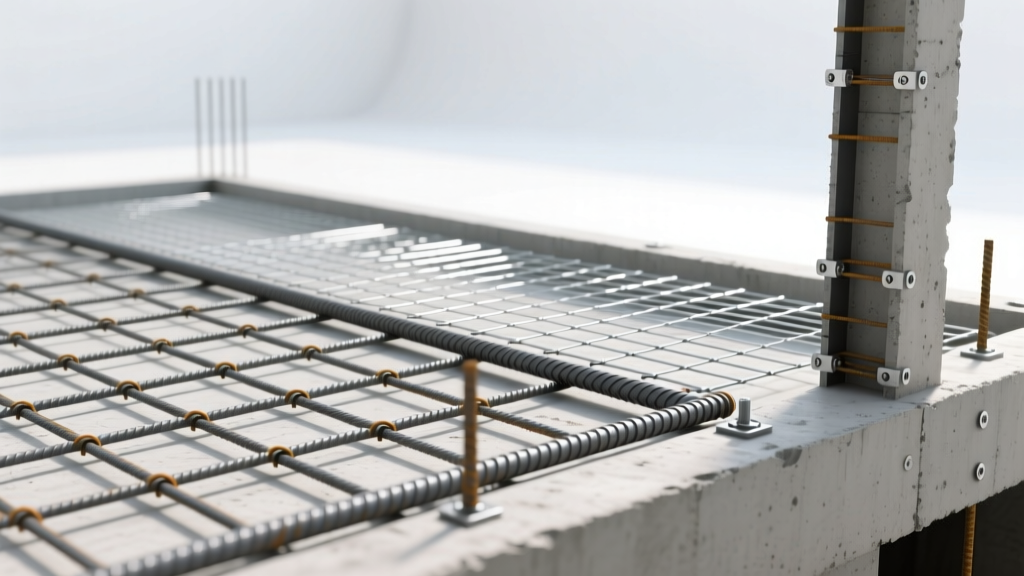
The Structural Showdown: Rebar vs Wire Mesh for Concrete
Choosing the correct reinforcement is the most critical decision in flatwork construction. The debate of rebar vs wire mesh for concrete is not about which material is universally superior, but rather which material aligns with the structural loads, soil conditions, and shrinkage characteristics of your specific project. While both materials address concrete's inherent weakness in tension, they perform entirely different primary functions.
According to guidelines published by the Portland Cement Association, concrete cracks due to tensile stresses from drying shrinkage and temperature gradients. Reinforcement does not stop concrete from cracking; it holds the cracks tightly together and transfers loads across them. Below is a structural comparison matrix to guide your material specification.
| Feature | Steel Rebar (Grade 60) | Welded Wire Mesh (WWM) |
|---|---|---|
| Primary Function | Structural load transfer, bending resistance | Temperature and shrinkage crack control |
| Tensile Strength | 60,000 PSI (Yield) | 65,000 to 75,000 PSI (Ultimate) |
| Placement Depth | Lower third or mid-depth of slab | Upper third of slab (1-2 inches from top) |
| 2026 Material Cost | $0.85 - $1.10 per linear foot (#4 bar) | $0.45 - $0.65 per square foot (W1.4) |
| Best Application | Driveways, foundations, heavy commercial | Patios, sidewalks, interior slabs-on-grade |
When to Specify #3, #4, or #5 Rebar
Rebar (reinforcing bar) is manufactured with surface deformations to create a mechanical bond with the concrete. For 95% of residential and light commercial flatwork, ASTM A615 Grade 60 rebar is the industry standard. The American Concrete Institute (ACI) provides strict framing requirements based on bar diameter.
- #3 Rebar (3/8-inch diameter): Yields 0.11 square inches of steel area per bar. Ideal for 4-inch thick residential sidewalks and light-duty patio slabs where soil bearing capacity is high and stable.
- #4 Rebar (1/2-inch diameter): Yields 0.20 square inches of steel area. The undisputed workhorse for 5-inch to 6-inch residential driveways, garage floors, and shed foundations. It provides sufficient bending resistance for standard passenger vehicles and light trucks.
- #5 Rebar (5/8-inch diameter): Yields 0.31 square inches of steel area. Reserved for 6-inch to 8-inch commercial aprons, heavy equipment pads, and retaining walls subject to high lateral earth pressure.
Decoding Welded Wire Mesh (WWM) Gauges and Grids
Welded Wire Mesh (WWM) is manufactured by resistance-welding cold-drawn steel wires at right angles. It is designated by the 'W' system, which indicates the cross-sectional area of the wire in hundredths of a square inch. The Concrete Reinforcing Steel Institute (CRSI) categorizes these based on structural demand.
- 6x6 W1.4xW1.4 (9-gauge): The most common residential mesh. Excellent for controlling plastic shrinkage in 4-inch patios and interior basement floors.
- 6x6 W2.0xW2.0 (approx. 6-gauge): A heavier mesh used for 5-inch driveway slabs and warehouse floors where forklift traffic is expected.
- 6x6 W2.9xW2.9 (approx. 4-gauge): Heavy-duty structural mesh, often used in precast concrete panels and municipal infrastructure.
Step-by-Step Installation: Rebar Grids
Proper rebar installation requires precise spacing and elevation control. If the rebar ends up at the bottom of the slab after the pour, it provides almost zero structural benefit.
- Prepare the Subgrade: Compact the base material (usually 4 to 6 inches of crushed aggregate) and lay down a 10-mil or 15-mil polyethylene vapor barrier. This prevents moisture migration and reduces slab friction during curing shrinkage.
- Set the Chairs: Place heavy-duty plastic or concrete rebar chairs (bolsters) every 4 feet. For a 5-inch slab exposed to earth, the PCA mandates a minimum 3-inch concrete cover from the soil, meaning the rebar should sit roughly 1.5 to 2 inches up from the vapor barrier.
- Lay and Tie the Grid: Lay out the #4 rebar on a 16-inch or 18-inch grid (check local engineering specs). Tie the intersections using 16-gauge black annealed tie wire. You do not need to tie every single intersection; tying every other intersection in a checkerboard pattern is sufficient to hold the grid rigid during the concrete pour.
- Execute Lap Splices: When two bars must overlap, ACI 318 requires a minimum lap splice length of 40 bar diameters for Grade 60 steel in tension. For #4 rebar (0.5 inches), this means a minimum overlap of 20 inches. Tie the splice securely at both ends and the center.
Step-by-Step Installation: Wire Mesh Sheets
The most common failure in wire mesh installation is placing it on the ground and pouring concrete over it. Wire mesh must be positioned in the upper third of the slab to effectively bridge shrinkage cracks that initiate at the surface.
- Unroll and Position: Unroll the WWM sheets over the vapor barrier. Standard rolls are 5 feet wide by 150 feet long, while flat sheets are typically 5 feet by 10 feet.
- Overlap the Seams: Overlap adjacent sheets by a minimum of one full grid square (6 inches) and tie the overlapping edges together with tie wire to prevent the sheets from curling up during the pour.
- Elevate the Mesh: Use 3-inch or 4-inch WWM chairs (specifically designed with a wide base for mesh) to elevate the grid. Alternatively, experienced finishers will 'hook' the mesh upward with a rake as the concrete is placed, but using physical chairs guarantees accurate placement and prevents the mesh from being stepped to the bottom of the slab.
- Cut with Bolt Cutters: When trimming mesh around plumbing penetrations or edges, use heavy-duty bolt cutters. Avoid angle grinders, as the intense heat destroys the galvanized coating and weakens the resistance-welded joints.
Hybrid Reinforcement: Using Both for Heavy Loads
For heavy-duty commercial driveways, fire lanes, or RV pads, engineers frequently specify a hybrid approach. In this scenario, a grid of #4 or #5 rebar is placed in the lower third of the slab to handle heavy bending moments and structural loads, while a layer of 6x6 W1.4 WWM is placed in the upper third (just below the finish surface) to aggressively control surface shrinkage and temperature cracking. This dual-layer system maximizes the tensile capacity of the slab but requires strict attention to chair heights to maintain the 2-inch separation between the two steel layers.
Never confuse standard rebar or WWM installation with post-tension (PT) slab construction. PT slabs use high-strength steel tendons encased in plastic sheathing that are hydraulically stressed after the concrete cures. Cutting into a PT slab to install plumbing or anchor heavy machinery without an X-ray scan can cause catastrophic structural failure and lethal whip-back from severed cables.

Common Installation Failures and How to Avoid Them
- Stepping on the Mesh: Concrete workers walking on elevated wire mesh during the pour will push the chairs through the vapor barrier and pin the mesh to the subgrade. Mandate the use of walkways or specify concrete-topped chairs that resist point-loads.
- Inadequate Edge Clearance: Steel expands and contracts at a different rate than concrete. If rebar or mesh extends all the way to the edge of the slab, it will create a direct path for moisture to enter and rust the steel. Maintain a strict 2-inch clearance from all formwork edges.
- Skipping the Vapor Barrier: Pouring directly over dirt or unwashed gravel allows moisture from the soil to wick into the slab, accelerating the corrosion of the reinforcement and causing efflorescence on the surface.
Frequently Asked Questions
Can I use fiberglass rebar (GFRP) instead of steel?
Yes. Glass Fiber Reinforced Polymer (GFRP) rebar is completely immune to corrosion and is increasingly popular in 2026 for coastal properties and MRI facility foundations. However, GFRP has a lower modulus of elasticity than steel, meaning it deflects more under load. You typically need to upsize GFRP by one bar size (e.g., use #5 GFRP where you would use #4 steel) and follow the manufacturer's specific bend-radius guidelines, as GFRP cannot be bent on-site.
Do I need reinforcement for a simple 4-inch patio?
If the patio is poured over a highly stable, well-compacted subgrade and is not supporting structural weight, you can technically pour it unreinforced. However, adding 6x6 W1.4 wire mesh is a low-cost insurance policy (roughly $0.50 per square foot) that will keep inevitable shrinkage cracks tightly closed, preventing water infiltration and frost heave in freezing climates.
Written by
Elena RodriguezElena Rodriguez is a civil engineer and technical writer specializing in concrete technology, masonry systems, and ASTM/ACI compliance. She earned her B.S. in Civil Engineering from Texas A&M University and spent a decade at a materials testing laboratory, performing over 2,000 concrete compressive strength tests and masonry prism evaluations. Elena is an ACI-certified Field Testing Technician (Grade I) and a member of ASTM Committee C12 on Natural Building Stone. She currently consults on forensic engineering cases involving concrete failures and moisture intrusion. Based in San Antonio, TX, Elena is a proud member of the Society of Women Engineers (SWE) and coaches her daughter's FIRST Robotics team.
More from Elena Rodriguez
View all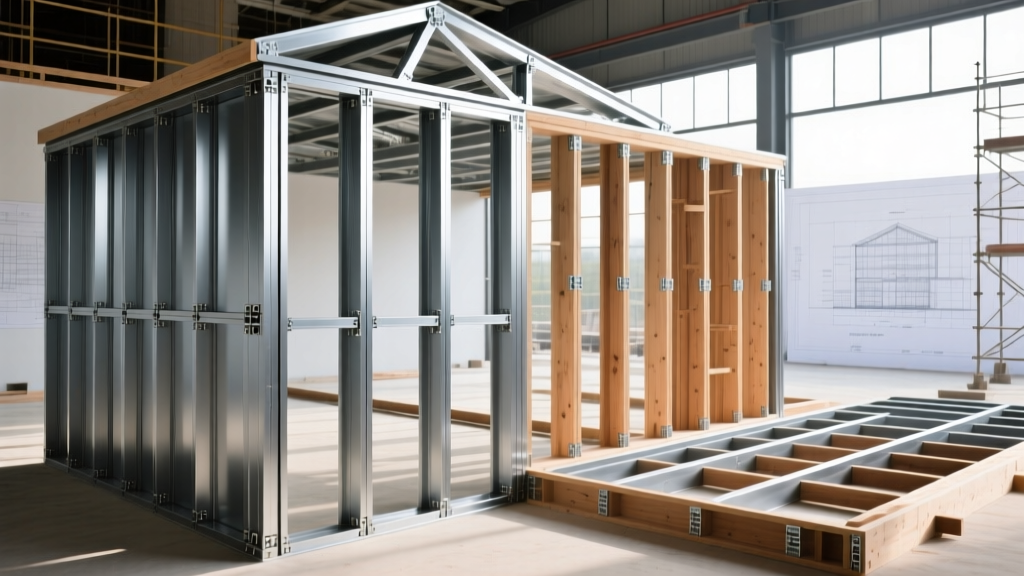
Walls & Panels
Cost Analysis: Light Gauge Steel Framing Advantages and Disadvantages
Evaluate light gauge steel framing advantages and disadvantages through a strict cost analysis lens, comparing material, labor, and lifecycle expenses.
Aug 4, 2026
Walls & Panels
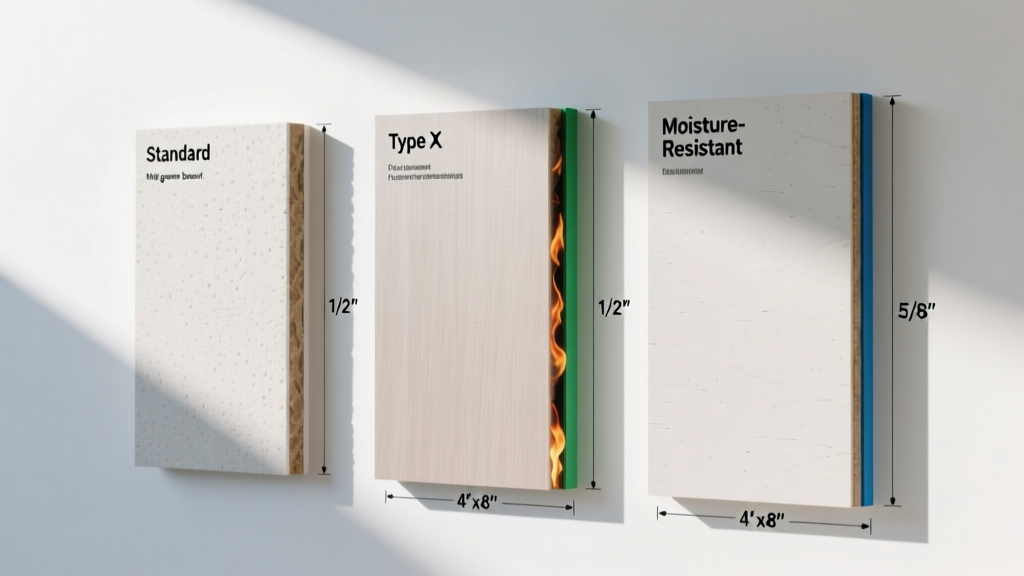
Gypsum Board Types: Exact Specifications, Thickness & Dimensions
Compare standard, Type X, and moisture-resistant gypsum board types. Get exact specifications, thicknesses, dimensions, and ASTM standards for your project.
Aug 4, 2026
Fire Resistance
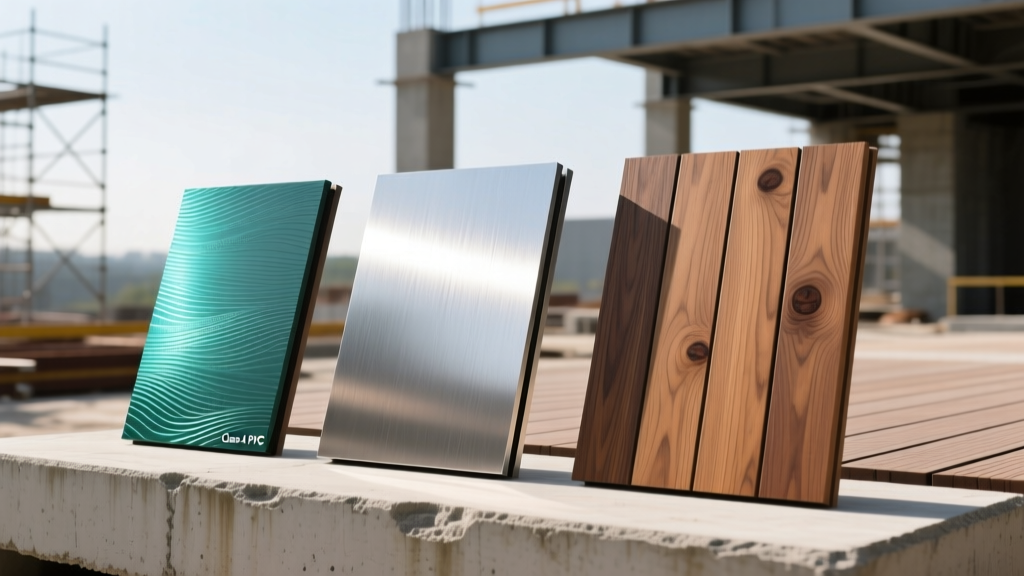
Best Fire-Resistant Outdoor Decking Materials: 2026 Buyer Guide
Discover the best fire-resistant outdoor decking materials for 2026. Compare Class A PVC, aluminum, and hardwood options for WUI compliance and safety.
Aug 4, 2026