Proven Application Techniques for Waterproof Bathroom Materials
Learn expert application techniques for waterproof bathroom materials. Discover step-by-step installation methods for membranes, boards, and liquid coatings.

The Substrate Foundation: Where Waterproofing Succeeds or Fails
Applying waterproof bathroom materials to an improperly prepared substrate is the leading cause of moisture intrusion and tile failure. Before any liquid membrane or sheet barrier is unrolled, the substrate must be rigid, clean, and dimensionally stable. Standard drywall or greenboard is strictly prohibited in wet areas by modern building codes. Instead, installers must use cementitious backer boards (like USG Durock or James Hardie HardieBacker) or extruded polystyrene foam boards (like Johns Manville GoBoard or Wedi).
When installing cement backer board, fasteners must be corrosion-resistant and spaced no more than 8 inches apart across the field and 6 inches along the edges. All joints must be taped with alkali-resistant fiberglass mesh tape and filled with the same thin-set mortar used for tile installation. A critical, often-missed step is maintaining a 1/4-inch expansion gap at the floor-to-wall transition and between board joints, which must later be filled with a high-quality polyurethane sealant rather than rigid mortar to accommodate structural deflection.
Application Technique 1: Liquid-Applied Membranes
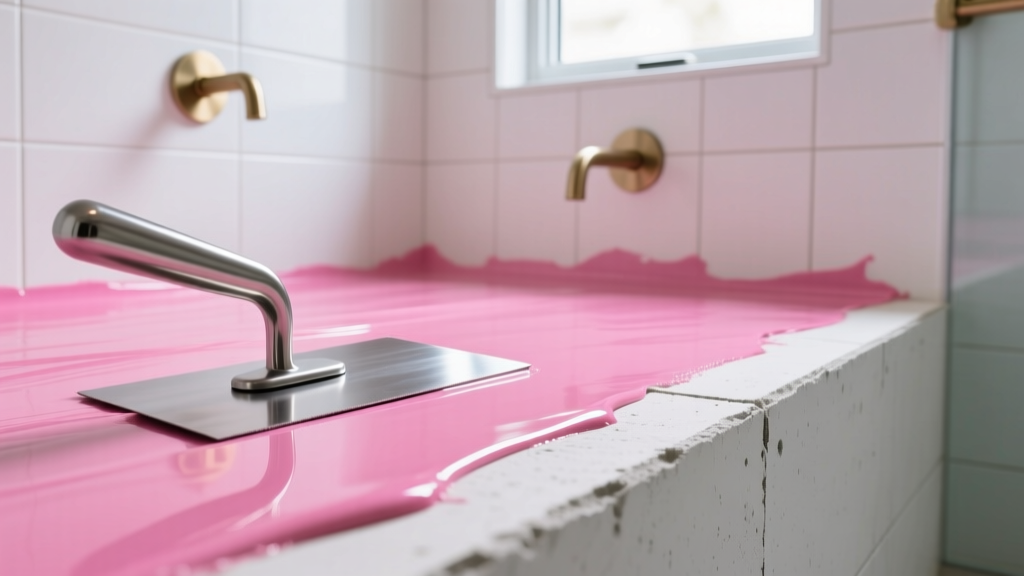
Liquid-applied membranes, such as Custom Building Products RedGard or LATICRETE Hydro Ban, are favored for their ability to conform to complex geometries and create a seamless, monolithic barrier. These materials must meet ANSI A118.10 standards for load-bearing, bonded, waterproof membranes.
Step-by-Step Liquid Application
- Prime the Substrate: While not always required for cement boards, highly porous surfaces or gypsum-based underlayments require a primer coat diluted with water (typically a 1:4 ratio of membrane to water) to prevent rapid moisture extraction from the main coats.
- Detail the Corners and Joints: Apply a heavy coat of the liquid membrane to all inside corners, outside corners, and board seams. Immediately embed a 4-inch wide alkali-resistant fiberglass mesh or the manufacturer's specific reinforcing fabric into the wet liquid. This prevents the membrane from splitting if the substrate experiences micro-movements.
- Apply the First Full Coat: Using a 3/16-inch V-notch trowel or a 3/8-inch nap roller, apply the first coat. The key metric here is wet film thickness. According to the Custom Building Products technical data sheet, RedGard must be applied at 30 wet mils, which dries to approximately 20 dry mils.
- Verify Thickness: Use a wet film thickness gauge immediately after rolling. If the gauge reads below 30 mils, apply more material immediately.
- Apply the Second Coat: Once the first coat has dried to a solid, uniform color (usually 1.5 to 2 hours at 70°F), apply the second coat perpendicular to the first. This cross-hatching technique eliminates pinholes and roller marks.
At current market rates, liquid membranes cost approximately $1.10 to $1.60 per square foot for materials, making them highly cost-effective for standard alcove showers, though labor intensive due to the required drying time between coats.
Application Technique 2: Sheet Membranes
Sheet membranes, most notably the Schluter Kerdi system, utilize a pliable polyethylene core with a fleece webbing on both sides for mechanical anchoring. The primary advantage of sheet membranes is the elimination of curing wait times; tile can be installed immediately after the membrane is set.
Mortar Selection and Coverage Requirements
The most common failure in sheet membrane application is using the wrong mortar or failing to achieve full coverage. Schluter-Kerdi requires an unmodified thin-set mortar meeting ANSI A118.1, or a specific modified mortar like Schluter SET (ANSI A118.4/A118.15). Using highly modified mortars (ANSI A118.11) between the membrane and the substrate can trap moisture, preventing the mortar from curing properly and leading to delamination.
Apply the mortar to the substrate using a 1/4-inch x 3/16-inch V-notch or a 5/16-inch x 5/16-inch square-notch trowel. Press the sheet membrane into the mortar using a flat trowel or a specialized membrane roller, working from the center outward to expel all air pockets. You must lift a corner of the installed membrane periodically to verify 100% mortar coverage on the fleece. If coverage is incomplete, the membrane will not bond, and water will track behind it.
Industry Standard: The Tile Council of North America (TCNA) mandates that all sheet membrane seams must overlap by a minimum of 2 inches, and the overlapping area must be fully embedded in thin-set mortar with no voids.
Material Comparison Matrix: Liquid vs. Sheet vs. Foam Boards
| Feature | Liquid Membrane (e.g., RedGard) | Sheet Membrane (e.g., Kerdi) | Waterproof Foam Board (e.g., Wedi) |
|---|---|---|---|
| Material Cost (per sq ft) | $1.10 - $1.60 | $2.50 - $3.20 | $3.50 - $5.00 |
| Installation Speed | Moderate (requires drying time) | Fast (immediate tiling) | Very Fast (structural + waterproof) |
| Complex Geometry Handling | Excellent (conforms to any shape) | Good (requires folding/cutting) | Poor (requires custom routing) |
| Vapor Permeability | Low (varies by brand) | Extremely Low (0.90 perms) | Near Zero |
| Primary Failure Risk | Applied too thin (pinholes) | Incomplete mortar coverage | Improper joint sealant application |
Critical Transition Details: Drains, Corners, and Penetrations
The field of a wall is rarely where waterproofing fails; failures occur at transitions and penetrations. Addressing these requires specific application techniques.
Shower Drains
For liquid membranes, you must use a traditional clamping drain with weep holes. The liquid membrane is applied over the preslope, up the flange, and into the throat of the drain. For sheet membranes and foam boards, a bonding flange drain (like the Schluter Kerdi-Drain) is mandatory. The membrane is bonded directly to the integrated fleece flange using thin-set mortar, eliminating the need for a secondary mortar bed and weep holes entirely.
Pipe Penetrations and Valves
When waterproofing around shower valves and mixing pipes, do not rely solely on liquid membrane or caulk. Cut a precise slit in the sheet membrane or foam board, slide it over the pipe, and apply a continuous bead of ASTM C920 compliant 100% silicone or polyurethane sealant around the pipe before securing the membrane. For liquid systems, use prefabricated rubber pipe seals embedded in the wet liquid coating to accommodate the thermal expansion and contraction of copper and PEX piping.
Environmental Controls and Curing Timelines
Application techniques are useless if environmental conditions prevent proper curing. Liquid membranes are highly sensitive to temperature and humidity. The ambient temperature must remain between 50°F and 95°F during application and for 72 hours afterward. In high-humidity environments (above 80% relative humidity), the curing time for a 30-mil wet coat can extend from 2 hours to over 12 hours. Attempting to apply a second coat or install tile over a tacky, uncured liquid membrane will trap solvents, leading to blistering and eventual membrane degradation.
Sheet membranes bypass this issue entirely, as the Portland cement-based thin-set mortar cures via hydration, which is actually enhanced by the moisture-retaining properties of the polyethylene core. However, thin-set applied in temperatures below 50°F will suffer from retarded hydration, resulting in a weak, crumbly bond.
Flood Testing: The Ultimate Verification
According to the International Association of Plumbing and Mechanical Officials (IAPMO) Uniform Plumbing Code, all shower pans must undergo a 24-hour flood test before tile installation begins. Plug the drain below the weep holes or bonding flange, and fill the shower pan with water to a depth of at least 2 inches above the highest point of the curb or threshold.
Mark the water line with a pencil. After 24 hours, inspect the water level and the ceiling or subfloor beneath the shower. Any drop in the water level that cannot be attributed to evaporation indicates a breach in the waterproofing system. If a leak is detected, the pan must be drained, the breach located (often at the curb corners or drain connection), repaired, and the 24-hour test repeated. Skipping this step is a critical error that turns a minor application flaw into a catastrophic structural repair once the tile and grout are laid.
Written by
Sarah WhitfieldSarah Whitfield is a chartered quantity surveyor (MRICS) and construction cost analyst with 15 years of experience in material pricing, procurement strategy, and project budgeting. She earned her degree in Construction Management from the University of Reading (UK) and has worked on projects ranging from $2M custom homes to $180M mixed-use developments across North America and Europe. Sarah currently leads cost estimating for BuildMat Insight, maintaining a proprietary database of 4,000+ material price points updated quarterly. She is a frequent contributor to RSMeans cost data panels and has presented at the International Cost Engineering Council (ICEC) congress. Based in Denver, CO, Sarah is an avid trail runner and volunteer mentor for Women in Construction.
More from Sarah Whitfield
View all
Wood & Lumber
What Are the Different Types of Wood? A Builder's Guide
Compare structural softwoods, finish hardwoods, and engineered lumber. Analyze Janka ratings, MOE values, and 2026 pricing for construction.
Aug 4, 2026

Walls & Panels
Steel Framing vs Wood Framing: Corrosion and Moisture Defense
Compare steel framing vs wood framing for moisture resistance. Learn about galvanized coatings, condensation risks, and corrosion protection strategies.
Jul 21, 2026

Stone & Masonry
How to Cut Stone Veneer: Wet Saw vs Grinder Comparison
Compare the best tools for cutting stone veneer. We review wet saws, angle grinders, and chop saws to help you achieve clean, chip-free cuts.
Jul 21, 2026