Troubleshooting Drywall Flashing: The Right Gypsum Board Primer Fix
Fix drywall flashing, joint banding, and peeling paint. Learn how to select and apply the right gypsum board primer for flawless repair results.

The Root Cause of Drywall Paint Failures
Paint failures on newly finished or repaired drywall rarely stem from the topcoat itself. The culprit is almost always inadequate surface sealing. When joint compound and the paper face of the gypsum board absorb moisture at different rates, the result is visible joint banding, photographing, flashing, and eventual peeling. Selecting the correct gypsum board primer is the only reliable fix to equalize surface porosity and ensure a uniform sheen.
Standard drywall paper has a different absorption rate than the calcium carbonate and gypsum dust found in joint compounds. If a standard architectural topcoat is applied directly to an unprimed or poorly primed surface, the binder in the paint is absorbed unevenly. This leaves the pigment stranded on the surface in some areas and pulled deep into the substrate in others, creating the mottled, uneven appearance known as flashing.
Diagnostic Matrix: Identifying Your Primer Failure
Before purchasing a replacement product, accurately diagnose the failure mode. Use this matrix to determine why the current finish is failing and which primer chemistry is required for the repair.
| Symptom | Visual Indicator | Root Cause | Required Primer Chemistry |
|---|---|---|---|
| Joint Banding | Visible outlines of taped seams under flat lighting | Porosity mismatch between paper and compound; insufficient mil thickness | High-build acrylic or PVA (Polyvinyl Acetate) |
| Flashing | Uneven sheen when viewed from an angle or under raking light | Topcoat binder absorbed into substrate; lack of a sealing primer layer | High-build acrylic drywall primer |
| Peeling/Blistering | Paint lifting at the edges of repaired patches or in humid rooms | Use of water-soluble PVA in high-humidity zones; poor adhesion to glossy surfaces | Penetrating problem-surface sealer or alkali-resistant acrylic |
| Fuzzing/Raised Grain | Rough, sandpaper-like texture on the paper face after painting | Water in standard primer raised the paper fibers; lack of pre-sanding | Pre-sanded penetrating sealer or high-solids acrylic |
Fixing Joint Banding and Flashing on Level 4 Finishes
The Gypsum Association's GA-214 standard outlines specific finish levels, but even a perfect Level 4 finish will fail visually without the right primer. Level 4 finishes leave the joint compound slightly more porous than the surrounding paper.
The Porosity Problem
Standard PVA primers (typically priced between $20 and $30 per gallon) are designed primarily for Level 5 finishes, where a thin skim coat of joint compound covers the entire board, creating a uniform surface. When applied over a Level 4 finish, standard PVA often lacks the solids content to bridge the porosity gap between the paper and the taped joints.
The High-Build Solution
To repair flashing on a Level 4 surface, you must use a high-build acrylic gypsum board primer. Products like Sherwin-Williams PrepRite Drywall Primer or Benjamin Moore Sure Seal contain higher volume solids (typically 35-45% compared to the 18-22% found in standard PVA). These primers lay down a thicker dry film, effectively filling the microscopic voids in the joint compound and creating a uniform surface for the topcoat. Expect to pay $45 to $60 per gallon for these high-build formulations, but the cost is justified by eliminating the need for multiple topcoats.
Repairing Peeling Paint in High-Moisture Zones
Why PVA Fails in Humid Environments
Polyvinyl Acetate (PVA) is an excellent, cost-effective sealer for dry, climate-controlled interiors. However, its chemical structure makes it vulnerable to moisture vapor transmission. In a bathroom repair scenario, if a contractor patches a wall and primes it with PVA before applying a semi-gloss bathroom paint, the ambient shower humidity will eventually penetrate the topcoat, reactivate the PVA, and break the adhesive bond.
The Penetrating Sealer Fix
For high-moisture repairs, or when repairing drywall where the paper face has been torn or damaged during wallpaper removal, a penetrating problem-surface sealer is mandatory. Zinsser Gardz or Kilz Klear ($35 to $50 per gallon) are acrylic-based, water-thin sealers that penetrate deeply into the gypsum core and damaged paper fibers. Upon drying, they bind the loose particles together into a hard, moisture-resistant, and non-porous surface that will not re-emulsify. According to Painting Contractors Association (PCA) standards, sealing damaged substrates before applying standard primers is critical for long-term adhesion in wet environments.
Step-by-Step Repair Protocol for Failed Primer
When troubleshooting a failed drywall finish, simply rolling another coat of paint over the defect will not work. Follow this precise protocol to strip, prep, and re-prime the affected area.
- Scrape and Sand the Failure Zone: Use a 6-inch taping knife to scrape away any peeling or blistered paint. Sand the transition edges with a pole sander fitted with a 150-grit sanding screen to feather the boundary between the bare drywall and the existing sound paint.
- Clean the Substrate: Vacuum the dust and wipe the area with a TSP (Trisodium Phosphate) substitute. Standard water will not remove the oily residues left by skin contact or household aerosols, which can cause fish-eyes in the new primer.
- Apply Penetrating Sealer (If Paper is Damaged): If the sanding process exposed the brown inner layer of the drywall paper, apply one coat of a penetrating sealer like Zinsser Gardz using a synthetic bristle brush. Allow it to dry for exactly 60 minutes at 70°F (21°C).
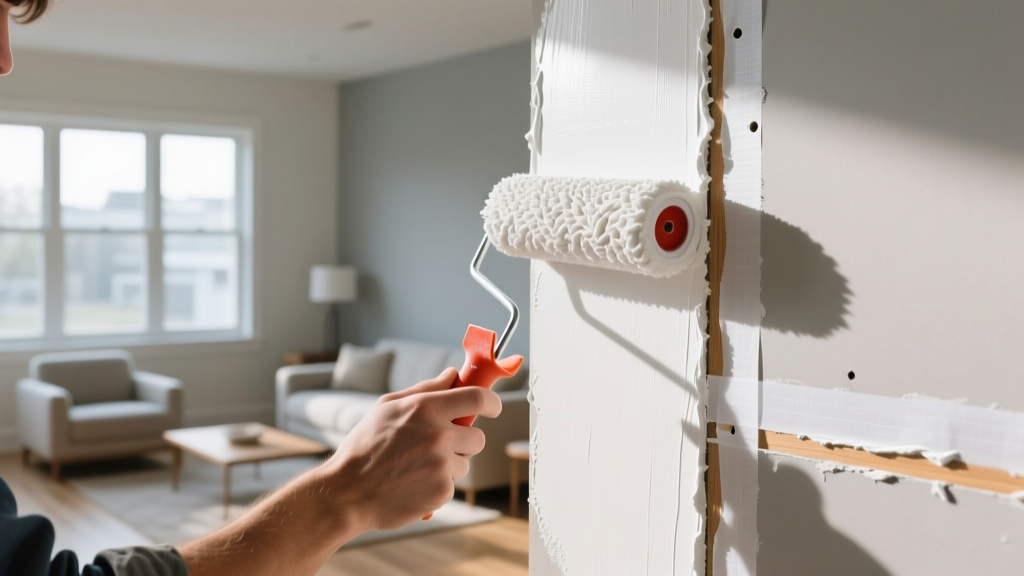
- Apply the High-Build Gypsum Board Primer: Pour your high-build acrylic primer through a paint strainer. Use a 3/8-inch nap woven roller cover. Apply the primer at a wet film thickness that yields a 1.5 to 2.0 mil Dry Film Thickness (DFT). This typically requires rolling out at a rate of 250 to 300 square feet per gallon.
- Inspect with Raking Light: Once the primer is dry to the touch (usually 1 to 2 hours), place a high-lumen LED work light directly against the wall to cast a raking shadow. Look for any remaining joint banding or pockmarks. If defects are visible, apply a thin skim coat of topping compound, sand, and spot-prime before proceeding to the topcoat.
Primer Specifications and Coverage Guidelines
Professional results require adherence to manufacturer specifications regarding application rates and environmental conditions. Over-thinning or over-spreading a gypsum board primer is the most common cause of callback repairs.
| Primer Type | Volume Solids | Target DFT | Coverage Rate | Recommended Nap Size |
|---|---|---|---|---|
| Standard PVA | 18% - 22% | 0.8 - 1.2 mils | 300 - 400 sq ft/gal | 3/8-inch woven |
| High-Build Acrylic | 35% - 45% | 1.5 - 2.0 mils | 200 - 250 sq ft/gal | 3/8-inch or 1/2-inch woven |
| Penetrating Sealer | 8% - 12% | N/A (Substrate penetration) | 300 - 500 sq ft/gal | 3/8-inch or synthetic brush |
Always verify the ambient temperature and relative humidity before application. Most water-based gypsum board primers require a minimum surface temperature of 50°F (10°C) and will fail to coalesce properly if humidity exceeds 85%. For optimal troubleshooting and repair, consult the technical data sheet (TDS) for your specific USG interior drywall solutions or equivalent manufacturer to confirm compatibility with your chosen topcoat system.
Written by
Elena RodriguezElena Rodriguez is a civil engineer and technical writer specializing in concrete technology, masonry systems, and ASTM/ACI compliance. She earned her B.S. in Civil Engineering from Texas A&M University and spent a decade at a materials testing laboratory, performing over 2,000 concrete compressive strength tests and masonry prism evaluations. Elena is an ACI-certified Field Testing Technician (Grade I) and a member of ASTM Committee C12 on Natural Building Stone. She currently consults on forensic engineering cases involving concrete failures and moisture intrusion. Based in San Antonio, TX, Elena is a proud member of the Society of Women Engineers (SWE) and coaches her daughter's FIRST Robotics team.
More from Elena Rodriguez
View all
Walls & Panels
Cost Analysis: Light Gauge Steel Framing Advantages and Disadvantages
Evaluate light gauge steel framing advantages and disadvantages through a strict cost analysis lens, comparing material, labor, and lifecycle expenses.
Aug 4, 2026

Walls & Panels
Gypsum Board Types: Exact Specifications, Thickness & Dimensions
Compare standard, Type X, and moisture-resistant gypsum board types. Get exact specifications, thicknesses, dimensions, and ASTM standards for your project.
Aug 4, 2026

Fire Resistance
Best Fire-Resistant Outdoor Decking Materials: 2026 Buyer Guide
Discover the best fire-resistant outdoor decking materials for 2026. Compare Class A PVC, aluminum, and hardwood options for WUI compliance and safety.
Aug 4, 2026