Master the Gypsum Board Arch: Framing and Bending Techniques
Learn precise framing, wet-bending, and kerfing techniques to install a flawless gypsum board arch. Includes 2026 material costs and corner bead tips.
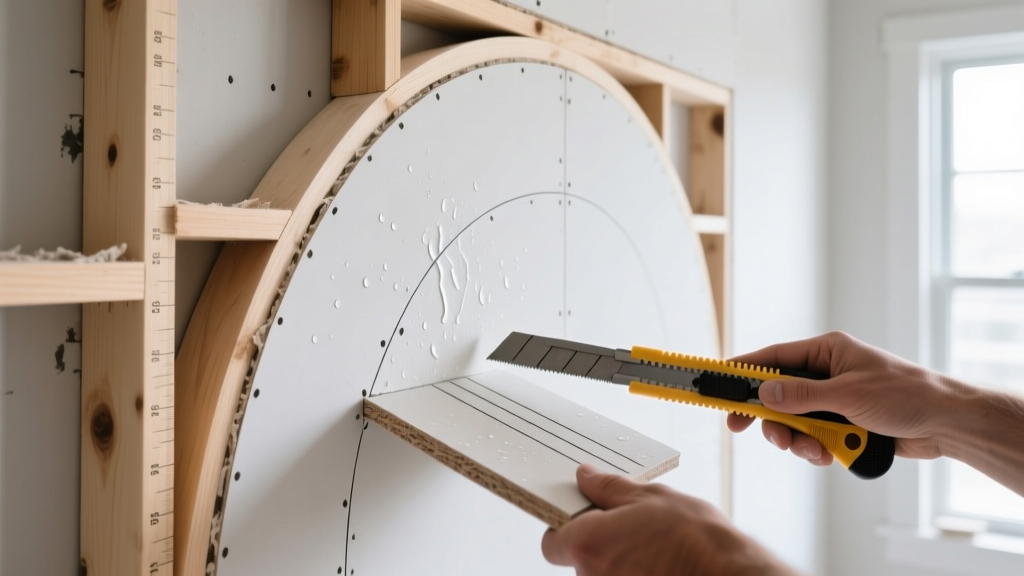
The Anatomy of a Drywall Arch: Choosing Your Bending Method
Constructing a curved archway requires overcoming the natural rigidity of gypsum cores. While standard 1/2-inch panels will snap if forced beyond a 10-foot radius, professional installers rely on specific framing geometries and material manipulation to achieve tight radii. The success of a gypsum board arch hinges entirely on selecting the correct bending method for your specific radius and fire-rating requirements.
According to the Gypsum Association Installation Guidelines, manipulating the gypsum core without compromising the structural integrity of the face paper requires precise moisture control or mechanical scoring. Below is a decision matrix to help you choose the right approach for your project.
| Method | Minimum Radius | Best Application | Pros & Cons |
|---|---|---|---|
| Wet-Bending 1/4" Flex Board | 15 inches (wet) | Tight archways, barrel ceilings | Pro: Smoothest curve. Con: Requires drying time; lower impact resistance. |
| Dry-Bending 1/4" Flex Board | 32 inches (dry) | Wide hallways, gentle curves | Pro: No moisture wait time. Con: Cannot handle tight radii without snapping. |
| Scoring (Kerfing) 1/2" Board | 24 inches | Standard arches requiring 1/2" thickness | Pro: Uses standard materials. Con: Labor-intensive; requires heavy mudding to hide facets. |
Precision Framing for Curved Archways
You cannot hang a curved gypsum board arch on standard straight framing. The underlying support must perfectly mirror the intended arc. Installers typically choose between kerfed wood studs or flexible metal tracks.
Kerfing Wood Studs vs. Flexible Metal Track
For wood framing, use 2x4 or 2x6 dimensional lumber. Measure and mark the back of the board every 1 inch along the curve. Using a circular saw or miter saw, cut 3/4-inch deep kerfs into the wood at each mark. Do not cut all the way through; leave 3/4 inch of solid wood at the face to maintain structural tension. When you bend the kerfed wood, it will naturally form a smooth polygon that approximates a curve.
Alternatively, metal framing offers superior precision for arches. Products like Dietrich Industries Flex-Track allow you to snip the flanges every 2 inches, bending the track to the exact radius without the dust and labor of kerfing wood. Secure the track to the structural header using 1-inch self-drilling tek screws every 6 inches.
To ensure your framing is a perfect geometric arc, drive a screw into the floor at the exact center point of your arch's radius. Tie a mason's string to the screw, measure out to your exact radius, and tie a pencil to the other end. Draw your arc directly onto the floor, then transfer those marks up to your header using a laser level or plumb bob.
Executing the Gypsum Board Arch Bend
Once the framing is secured and verified for plumb and true curvature, you must manipulate the board. The two most reliable methods for achieving a seamless gypsum board arch are wet-bending flexible board and scoring standard board.
Method A: Wet-Bending 1/4-Inch Flexible Board
For radii tighter than 32 inches, 1/4-inch flexible gypsum board (such as USG Sheetrock Brand Flexible Firecode C) is mandatory. To achieve a 15-inch radius, the board must be wet-bent.
- Score the Back Paper: Lightly score the back paper of the panel parallel to the curve, about 1 inch apart. Do not cut into the gypsum core.
- Apply Moisture: Using a clean, damp (not dripping) sponge, lightly wet the face paper of the board. The goal is to relax the paper fibers, not dissolve the gypsum core.
- Wait 15 Minutes: Allow the moisture to penetrate. The board will become pliable.
- Fasten Immediately: Starting from the center of the arch and working outward, secure the board using 1-1/4-inch drywall screws. Critical Spacing: Place screws every 4 inches along the curve. Wider spacing will result in "flat-spotting" between studs, ruining the curve.
- Dry Time: Allow 24 to 48 hours for the board to completely dry before applying any joint compound. Trapped moisture will cause blistering during the mudding phase.
Method B: Scoring the Back Paper (Kerfing Drywall)
If you must use standard 1/2-inch board to match adjacent wall thicknesses, you will need to score the back. Lay the board flat and score the back paper every 1.5 to 2 inches with a utility knife. Snap the gypsum core at each score line, but leave the face paper completely intact. The board will now fold like an accordion. When wrapped around the arch, the faceted back will sit against the framing, while the intact face paper provides a relatively smooth surface. This method requires significantly more joint compound to feather out the flat spots between scores.
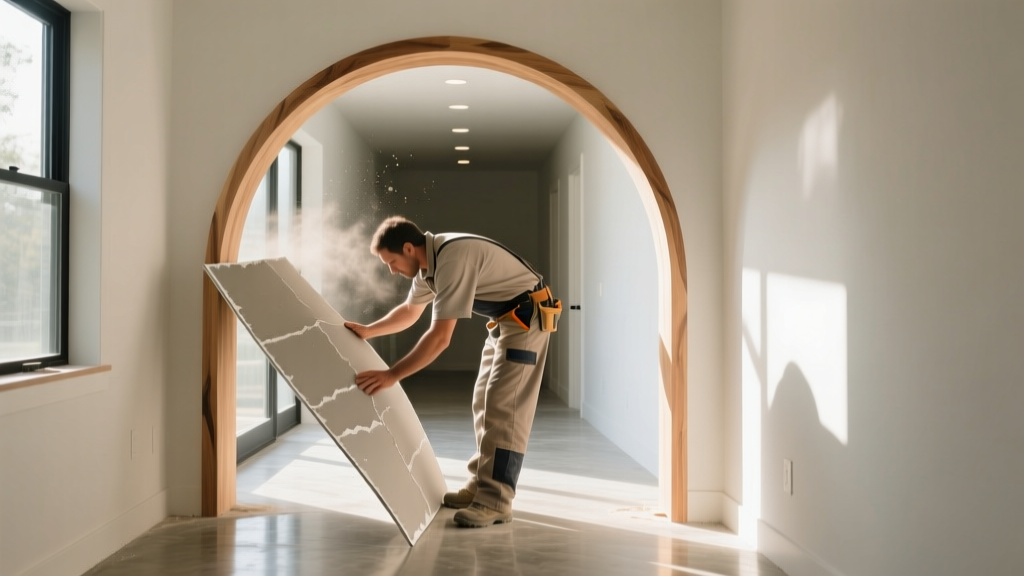
Finishing: Flexible Corner Beads and Curved Mudding
The apex and edges of a gypsum board arch are high-stress tension points. Standard metal corner beads will not bend to a radius and will kink, causing visible bulges. You must use flexible vinyl arch beads, such as the Trim-Tex Magic Corner or standard Flexible Vinyl Arch Bead.
- Adhesion: Spray 3M Super 77 adhesive on both the drywall edge and the vinyl bead. Press firmly into place.
- Mechanical Fastening: Use a heavy-duty staple gun to secure the bead's flanges every 3 inches. Do not rely on adhesive alone; the tension of the curve will pull the bead away from the wall over time.
- First Coat (Bedding): Use a setting-type compound like USG Durabond 90 for the first coat. Setting compounds undergo virtually zero shrinkage and provide a rigid, impact-resistant lock over the flexible bead. Apply with a 6-inch curved trowel or a standard trowel bent slightly to match the arch's radius.
- Second and Third Coats: Switch to a lightweight topping compound (like USG Sheetrock Brand Topping Joint Compound) for the final coats to ensure easy sanding and a feathered edge.
For comprehensive finishing standards and trowel techniques, refer to the AWCI Center for Craftsmanship guidelines on Level 4 and Level 5 finishes for curved surfaces.
Common Failure Modes and Edge Cases
Even experienced drywall hangers encounter issues when installing a gypsum board arch. Recognizing these failure modes before they happen will save hours of rework.
| Failure Mode | Cause | Prevention Strategy |
|---|---|---|
| Apex Cracking | Tension at the top of the arch; lack of continuous backing. | Ensure framing studs meet perfectly at the apex. Use continuous flexible bead; never stop a bead short of the apex. |
| Paint Blistering | Trapped moisture from wet-bending reacting with drywall primer. | Verify board is bone-dry (use a moisture meter, reading <15%) before applying PVA primer. |
| Faceting / Flat Spots | Screws spaced too far apart (e.g., 12" OC) on the curve. | Mandate 4-inch screw spacing on all curved framing members. |
| Bead Kinking | Using standard metal bead or bending vinyl bead too sharply without relief cuts. | Snip the flanges of the vinyl bead every 2 inches on tight inside radii. |
2026 Material Cost Breakdown
Budgeting for curved drywall requires accounting for specialized materials and increased labor time. Below are the current 2026 market estimates for materials required to frame, hang, and finish a standard 4-foot wide, 8-foot high archway (approx. 16 linear feet of curve).
| Material | Unit | Est. Unit Cost | Qty Needed | Total Cost |
|---|---|---|---|---|
| 1/4" Flexible Firecode Gypsum Board | 4x8 Sheet | $28.50 | 2 | $57.00 |
| Flexible Metal Arch Track | Linear Foot | $1.85 | 16 | $29.60 |
| Flexible Vinyl Arch Bead (10ft stick) | Stick | $14.00 | 2 | $28.00 |
| Durabond 90 Setting Compound (25lb bag) | Bag | $19.00 | 1 | $19.00 |
| 1-1/4" Coarse Thread Drywall Screws | 1lb Box | $8.50 | 1 | $8.50 |
| Total Material Cost | $142.10 | |||
Note: Labor costs for curved archways typically run 2.5x to 3x higher than flat wall installation due to the precision required in framing, the wet-bending wait times, and the multiple trowel passes needed to hide faceting. Always consult the latest USG Technical Submittals for specific fire-rating assemblies if your archway is part of a rated corridor or shaft enclosure.
Written by
Elena RodriguezElena Rodriguez is a civil engineer and technical writer specializing in concrete technology, masonry systems, and ASTM/ACI compliance. She earned her B.S. in Civil Engineering from Texas A&M University and spent a decade at a materials testing laboratory, performing over 2,000 concrete compressive strength tests and masonry prism evaluations. Elena is an ACI-certified Field Testing Technician (Grade I) and a member of ASTM Committee C12 on Natural Building Stone. She currently consults on forensic engineering cases involving concrete failures and moisture intrusion. Based in San Antonio, TX, Elena is a proud member of the Society of Women Engineers (SWE) and coaches her daughter's FIRST Robotics team.
More from Elena Rodriguez
View all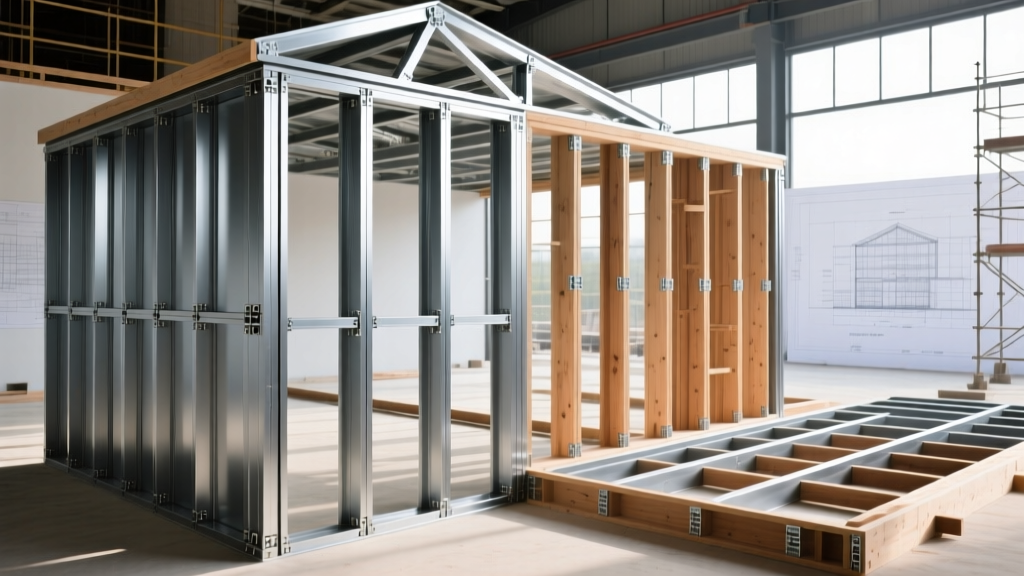
Walls & Panels
Cost Analysis: Light Gauge Steel Framing Advantages and Disadvantages
Evaluate light gauge steel framing advantages and disadvantages through a strict cost analysis lens, comparing material, labor, and lifecycle expenses.
Aug 4, 2026
Walls & Panels
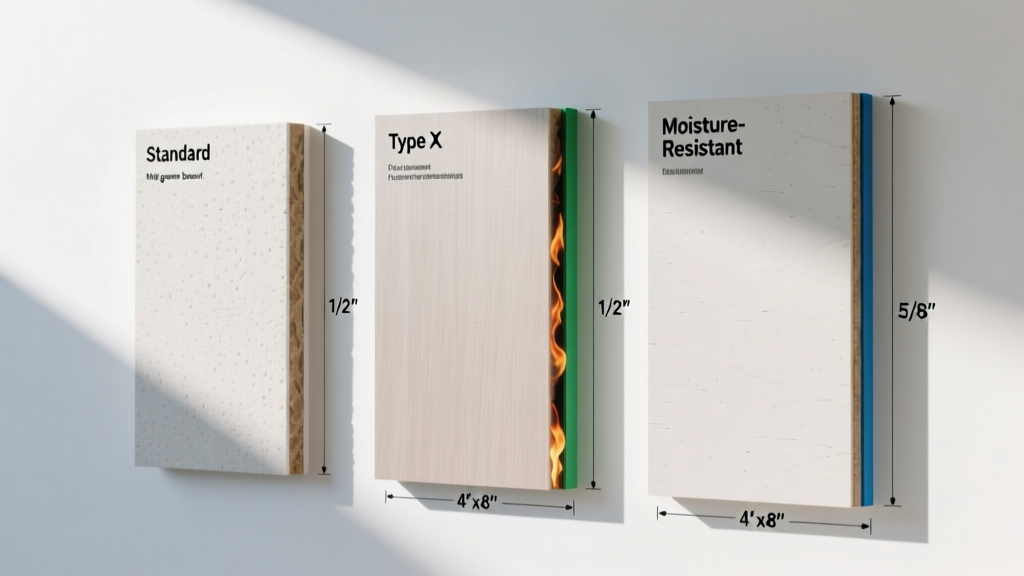
Gypsum Board Types: Exact Specifications, Thickness & Dimensions
Compare standard, Type X, and moisture-resistant gypsum board types. Get exact specifications, thicknesses, dimensions, and ASTM standards for your project.
Aug 4, 2026
Fire Resistance
Best Fire-Resistant Outdoor Decking Materials: 2026 Buyer Guide
Discover the best fire-resistant outdoor decking materials for 2026. Compare Class A PVC, aluminum, and hardwood options for WUI compliance and safety.
Aug 4, 2026