Repairing CertainTeed Type X Gypsum Board: Troubleshooting Guide
Learn how to troubleshoot and repair CertainTeed Type X gypsum board. Fix cracks, restore fire ratings, and solve joint failures with expert steps.

Identifying Common Failures in Fire-Shield Installations
CertainTeed Type X gypsum board, primarily marketed under the Fire-Shield brand, is engineered with a dense, glass-fiber-reinforced core designed to maintain structural integrity during a fire. Standard 5/8-inch Fire-Shield weighs approximately 2.2 pounds per square foot, significantly heavier than standard 1/2-inch drywall. This added mass and specialized core chemistry introduce unique installation stresses. When troubleshooting failures in these assemblies, contractors must recognize that a cosmetic repair is insufficient if the underlying fire-resistive properties of the UL or ULC rated assembly have been compromised.
Any penetration, crack, or improper patch in a wall or ceiling lined with CertainTeed Type X gypsum board can void the 1-hour or 2-hour fire-resistance rating of the entire assembly. Standard joint compound alone does not possess the firestop properties required to seal penetrations in rated partitions.
Troubleshooting Matrix: Symptom, Cause, and Repair Protocol
Diagnosing the root cause of drywall failure is critical before applying any compound. The following matrix outlines specific failure modes associated with 5/8-inch Type X installations and the precise protocols required to resolve them without violating building codes.
| Symptom | Root Cause Analysis | CertainTeed-Specific Repair Protocol |
|---|---|---|
| Ridging at tapered joints | Truss uplift or using drying-type compound for all coats on heavy 5/8-inch board, causing excessive shrinkage. | Sand ridge flush. Apply a base coat of setting-type compound (e.g., CertainTeed ProForm) to lock the joint, followed by ProMix Plus for finishing. |
| Fastener pops (screw heads breaking through paper) | Installer used 1-1/4-inch screws instead of the required 1-5/8-inch Type S screws, failing to grip the framing adequately. | Drive a new 1-5/8-inch Type S coarse-thread screw 2 inches above the pop. Fill both depressions with setting compound and tape if the paper face is torn. |
| Diagonal cracking at door/window headers | Structural settling combined with improper staggering of vertical butt joints directly over header corners. | Route out the crack to a V-groove. Embed fiberglass mesh tape and apply three coats of setting-type compound to bridge the structural movement. |
| Sagging in ceiling applications | Framing spaced at 24 inches on-center instead of the maximum 16 inches on-center required for 5/8-inch ceiling applications. | Remove the sagging panel. Add blocking to reduce framing spacing to 16 inches on-center, then install new Fire-Shield panels perpendicular to the framing. |
Restoring the 1-Hour Fire Rating After Penetration Repairs
The most complex troubleshooting scenario involving CertainTeed Type X gypsum board occurs when tradespeople (plumbers, electricians, HVAC technicians) cut unsealed penetrations through a fire-rated partition. The fire rating of a Type X assembly relies on the calcination process, where the chemically combined water in the gypsum core absorbs heat. A hole breaches this thermal barrier.
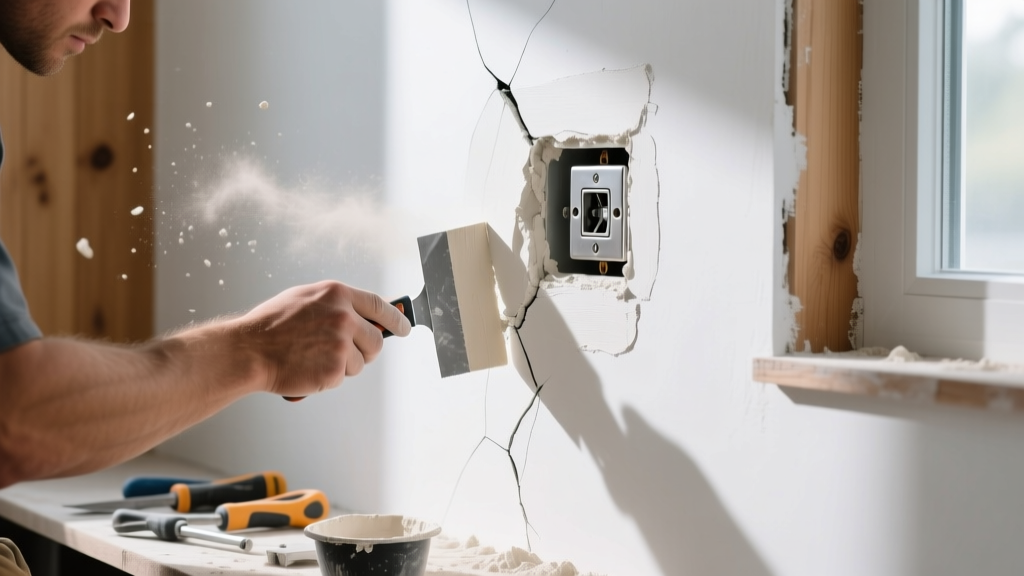
Step-by-Step Electrical Box Patching in Rated Assemblies
When an electrical box has been improperly cut out or abandoned in a Type X wall, you must restore the membrane. According to the Gypsum Association Fire Resistance Manual, the repair must match the original tested design.
- Cut a Clean Perimeter: Use a drywall saw to square off the damaged area around the compromised box. Do not leave jagged edges, as these create voids where heat can transfer.
- Install Backing: Insert a wooden cleat or a galvanized steel patch bracket behind the hole. Secure it to the existing 5/8-inch drywall using 1-5/8-inch drywall screws.
- Insert the Fire-Rated Patch: Cut a piece of scrap CertainTeed Fire-Shield 5/8-inch board to fit the hole exactly. Leave a maximum 1/8-inch gap around the perimeter.
- Firestop the Gap: If the penetration involves active cables, you must apply an intumescent firestop sealant or install a tested firestop putty pad behind the box. Standard joint compound is not recognized as a firestop material by the UL Fire Resistance Directory.
- Tape and Finish: Apply fiberglass mesh tape over the seams. Fill the 1/8-inch gaps with a setting-type joint compound, which provides a harder, denser fill that mimics the mass of the gypsum core better than lightweight drying compounds.
Fixing Joint Ridge and Fastener Pops in Type X
Fastener pops are disproportionately common in Type X installations compared to standard 1/2-inch drywall. The increased weight of the 5/8-inch board (roughly 70 pounds per 4x8 sheet) exerts greater sheer force on the fasteners before the joint compound cures and locks the panel to the framing.
Why Type X Pops Differ from Standard Drywall
When a 1-1/4-inch screw is used on 5/8-inch CertainTeed Type X, only 5/8-inch of the screw penetrates the wood stud. This leaves less than half an inch of thread bite, which is entirely insufficient to resist the thermal expansion and contraction of the wood framing during HVAC cycling.
The Fix: Never attempt to simply drive the popped screw deeper; the gypsum core around the original hole is already crushed and compromised. Instead, drive a new 1-5/8-inch Type S coarse-thread screw (for wood) or fine-thread screw (for light-gauge steel) exactly two inches above or below the pop. Sink the new screw head just below the paper face without breaking the paper. Fill the old pop and the new dimple with a high-strength setting compound like CertainTeed ProForm 90.
Moisture Intrusion: When to Replace vs. Repair
A critical troubleshooting error is attempting to repair water-damaged standard Type X gypsum board. Unless the installed product is specifically CertainTeed Fire-Shield Moisture Resistant (which features a green face paper and water-resistant core additives), standard Type X will permanently lose its structural integrity when exposed to moisture.
If a roof leak or plumbing failure wets a standard Fire-Shield partition, the gypsum core will rehydrate, soften, and eventually harbor mold. The glass fibers will not prevent the calcined gypsum from turning to mush. Repair Protocol: You must cut out the affected section at least 12 inches beyond the visible water stain to reach dry, rigid core material. Replace the section with new 5/8-inch Type X, tape the joints, and apply a fire-rated sealant at the floor track if the assembly requires a continuous fire barrier to the deck above.
Sourcing Compatible CertainTeed Compounds for Type X
The performance of your repair relies heavily on the chemical compatibility of the joint treatment system. When troubleshooting ridge cracking or shrinkage over Type X butt joints, verify the compound sequence. CertainTeed Gypsum Technical Resources recommend specific formulations to handle the mass and movement of 5/8-inch panels.
- First Coat (Embedding Tape): Use a setting-type compound (e.g., CertainTeed ProForm 45 or 90). Setting compounds undergo a chemical crystallization process, resulting in virtually zero shrinkage and high shear strength, which is vital for locking heavy Type X panels together.
- Second Coat (Filling): A setting-type or a heavy-weight drying compound like ProMix All Purpose. Avoid lightweight drying compounds for the fill coat on 5/8-inch board, as their high shrinkage rate can pull away from the tapered edges, creating a visible depression.
- Third Coat (Finishing): CertainTeed ProMix Plus or ProMix Ultra. These lightweight drying compounds are engineered for easy sanding and feathering, ensuring a Level 4 or Level 5 finish without requiring excessive labor to blend the repair into the surrounding wall.
By strictly adhering to these troubleshooting protocols, contractors can ensure that repairs to CertainTeed Type X gypsum board not only restore the aesthetic surface but also maintain the critical life-safety fire ratings required by modern building codes.
Written by
Elena RodriguezElena Rodriguez is a civil engineer and technical writer specializing in concrete technology, masonry systems, and ASTM/ACI compliance. She earned her B.S. in Civil Engineering from Texas A&M University and spent a decade at a materials testing laboratory, performing over 2,000 concrete compressive strength tests and masonry prism evaluations. Elena is an ACI-certified Field Testing Technician (Grade I) and a member of ASTM Committee C12 on Natural Building Stone. She currently consults on forensic engineering cases involving concrete failures and moisture intrusion. Based in San Antonio, TX, Elena is a proud member of the Society of Women Engineers (SWE) and coaches her daughter's FIRST Robotics team.
More from Elena Rodriguez
View all
Walls & Panels
Cost Analysis: Light Gauge Steel Framing Advantages and Disadvantages
Evaluate light gauge steel framing advantages and disadvantages through a strict cost analysis lens, comparing material, labor, and lifecycle expenses.
Aug 4, 2026

Walls & Panels
Gypsum Board Types: Exact Specifications, Thickness & Dimensions
Compare standard, Type X, and moisture-resistant gypsum board types. Get exact specifications, thicknesses, dimensions, and ASTM standards for your project.
Aug 4, 2026

Fire Resistance
Best Fire-Resistant Outdoor Decking Materials: 2026 Buyer Guide
Discover the best fire-resistant outdoor decking materials for 2026. Compare Class A PVC, aluminum, and hardwood options for WUI compliance and safety.
Aug 4, 2026