Troubleshooting Paint Gypsum Board Failures and Flashing
Learn how to diagnose and repair common defects when you paint gypsum board, including joint banding, flashing, and peeling, using professional methods.

Diagnostic Matrix: Identifying Your Drywall Paint Failure
Applying paint to gypsum board seems straightforward until the finish cures and reveals underlying substrate flaws. When you paint gypsum board without addressing porosity differences, moisture intrusion, or texture mismatches, the resulting defects require targeted repairs. Before grabbing a roller, identify the exact failure mode using the diagnostic matrix below.
| Visual Symptom | Root Cause | Primary Repair Strategy |
|---|---|---|
| Joint Banding (Telegraphing) | Differential shrinkage and porosity between the paper face and joint compound under raking light. | Skim-coat with lightweight all-purpose mud; sand to Level 5; seal with high-solids acrylic. |
| Flashing (Uneven Sheen) | Uneven absorption rates causing the topcoat to dry at different speeds across the wall. | Spot-prime repaired areas with PVA or acrylic drywall sealer before applying the uniform topcoat. |
| Blistering / Bubbling | Trapped moisture behind the paint film or applying paint over a damp substrate. | Scrape blisters, test moisture content, apply stain-blocking primer, and repaint. |
| Peeling / Flaking | Poor adhesion due to painting over dust, silicone, or unsealed calcimine surfaces. | Remove loose paint, wash with TSP substitute, scuff-sand, and apply an adhesive bonding primer. |
Fixing Joint Banding and Telegraphing
Joint banding is the most frequent complaint from homeowners and commercial clients after a fresh paint job. It occurs because the joint compound absorbs paint differently than the gypsum board's paper face. According to the Gypsum Association, achieving a true Level 5 finish is the only guaranteed way to eliminate telegraphing under critical lighting conditions (such as large windows or overhead LEDs).
The Skim-Coat Repair Protocol
If you are dealing with severe joint banding on an already painted wall, you must reset the surface profile. Follow these exact steps to eliminate the defect:
- Degloss and Scuff: Sand the existing painted wall with 120-grit aluminum oxide sandpaper. This removes the topcoat sheen and provides a mechanical tooth for the new compound. Vacuum the dust using a HEPA-filtered shop vac.
- Apply the Skim Coat: Use a lightweight all-purpose joint compound (such as USG Sheetrock Brand UltraLightweight). Thin it slightly with water until it reaches the consistency of thick pancake batter. Using a 12-inch or 14-inch drywall knife, pull the compound tightly across the wall, leaving a layer no thicker than 1/16 inch.
- Feather the Edges: Apply firm pressure to the edges of the knife to feather the compound into the surrounding painted surface, ensuring no hard ridges are left behind.
- Sand to Level 5: Once fully cured (typically 12-24 hours depending on humidity), sand the entire wall with 150-grit or 180-grit sanding screens. The surface should feel uniformly smooth like glass.
- Prime with High-Solids Acrylic: Do not use standard PVA primer over a skim coat. Use a high-solids acrylic sealer like Zinsser Gardz or Benjamin Moore Fresh Start High-Hiding All Purpose to lock down the dust and equalize porosity.
Resolving Flashing and Uneven Sheen
Flashing happens when the topcoat dries at inconsistent rates, resulting in dull and shiny patches across the same wall. This is almost always a primer failure. When you paint gypsum board that has been patched, the patched areas are highly porous and suck the binder out of the topcoat, leaving only the pigment on the surface.
Primer Selection Matrix for Flashing Repairs
Choosing the correct primer is dictated by the severity of the repair and the sheen of your topcoat. The Painting Contractors Association (PCA) mandates that all patched areas must be spot-primed and allowed to dry completely before the overall prime coat is applied.
| Primer Type | Best Use Case | Top Product Recommendation | Dry Time Before Topcoat |
|---|---|---|---|
| PVA (Polyvinyl Acetate) | New, unpatched drywall; flat/matte topcoats only. | Kilz PVA Drywall Primer | 1-2 Hours |
| 100% Acrylic Drywall Sealer | Patched walls, skim coats, and eggshell/satin topcoats. | Sherwin-Williams PrepRite Drywall Conditioner | 2-4 Hours |
| High-Solids Problem Surface Sealer | Heavy repairs, glossy topcoats, and severe porosity differences. | Zinsser Gardz Problem Surface Sealer | 3-5 Hours |
Troubleshooting Blistering and Adhesion Loss
Blisters and peeling paint indicate a catastrophic breakdown of the adhesive bond between the paint film and the gypsum board paper. This is rarely a paint defect; it is almost always an environmental or preparation failure.
Step 1: Moisture Testing
Before attempting any repair, you must rule out active moisture intrusion. Use a pinless moisture meter (such as the Wagner Orion 700) to scan the affected area.
- Normal Readings: Gypsum board should read between 0.5% and 1.5% moisture content. Wood framing behind the board should be below 15%.
- Danger Zone: Readings above 2% on the drywall indicate trapped moisture. If you paint gypsum board with high internal moisture, the water vapor will eventually try to escape, pushing the paint film off the paper face and creating blisters.
If moisture is elevated, do not paint. Locate the source (roof leak, plumbing condensation, or high indoor humidity) and allow the wall to dry completely using industrial dehumidifiers.
Step 2: The Adhesion Repair Sequence
Once the wall is confirmed dry, execute the following repair sequence to restore adhesion:
- Scrape and Remove: Use a 3-inch carbide scraper to remove all blistered and peeling paint down to the bare gypsum paper. Feather the edges of the remaining sound paint with 100-grit sandpaper so there is no hard ridge.
- Wash the Surface: Wipe the exposed area with a damp sponge and a TSP (Trisodium Phosphate) substitute to remove drywall dust, drywall soap residue, and airborne grease. Rinse with clean water and let dry.
- Seal the Exposed Paper: Exposed gypsum board paper will fuzz and swell when water-based primers are applied. Coat the bare spots with an oil-based or shellac-based primer (like Zinsser B-I-N) to seal the paper fibers and prevent bubbling.
- Re-Mud and Blend: Apply a thin layer of setting-type joint compound (like USG Durabond 45) over the sealed paper to rebuild the surface level. Setting-type compounds are chemically cured, meaning they will not shrink or pull moisture from the primer beneath them.
- Final Prime and Paint: Once the compound is sanded smooth, spot-prime with your chosen acrylic sealer and apply two coats of your topcoat.
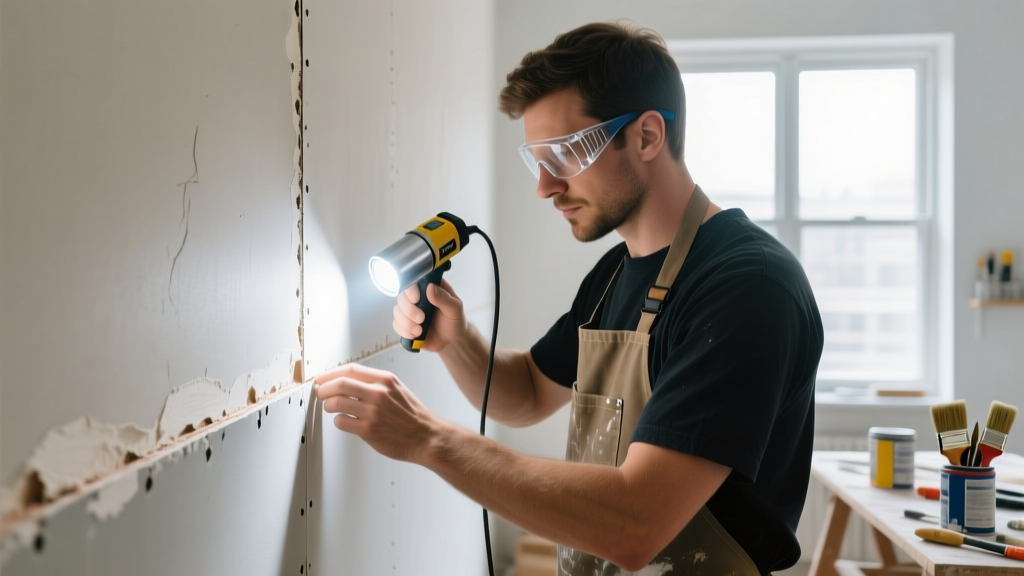
Environmental Parameters for Gypsum Board Painting
Even with perfect preparation, environmental conditions can cause paint failures. According to USG Corporation's technical submittals and major paint manufacturers, the ambient conditions must be strictly controlled during application and curing.
- Temperature: Maintain a room temperature of at least 55°F (13°C). Temperatures below this threshold prevent acrylic coalescence, meaning the paint particles will not fuse together properly, leading to a chalky, weak film that peels easily.
- Humidity: Keep relative humidity below 70%. High humidity drastically extends the open time of the paint, causing sags on vertical surfaces and delaying the evaporation of water from the film, which can soften the drywall paper face.
- Airflow: Provide gentle, cross-ventilation. Do not point high-velocity fans directly at the wet wall, as this causes flash-drying (the top of the paint film skins over while the bottom remains wet), resulting in micro-cracking and poor adhesion.
Frequently Asked Questions
Can I paint directly over bare gypsum board without primer?
No. The paper face of bare drywall is highly porous and will absorb the binder from your topcoat, leaving a weak, chalky finish that cannot be washed. Furthermore, without a primer to seal the surface, future repainting will cause the water in the new paint to reactivate the original topcoat, causing it to peel off in large sheets. Always use a dedicated drywall primer.
Why does my patched drywall look duller than the rest of the wall?
This is a classic flashing issue. The joint compound in the patched area absorbed more of the paint's resin than the surrounding factory paper. To fix this, you must apply a second coat of paint, but first, spot-prime the dull patch with a clear acrylic sealer or a dedicated drywall primer to equalize the absorption rate before rolling the final topcoat.
Is it necessary to sand between the primer and the topcoat?
For flat or matte finishes, sanding the primer is optional unless there are visible debris nibs. However, if you are applying an eggshell, satin, or semi-gloss topcoat, you must lightly hand-sand the primed surface with 220-grit sandpaper. This removes raised drywall paper fibers (fuzz) and creates a micro-scratch pattern that dramatically improves the mechanical adhesion of the glossy topcoat.
Written by
Sarah WhitfieldSarah Whitfield is a chartered quantity surveyor (MRICS) and construction cost analyst with 15 years of experience in material pricing, procurement strategy, and project budgeting. She earned her degree in Construction Management from the University of Reading (UK) and has worked on projects ranging from $2M custom homes to $180M mixed-use developments across North America and Europe. Sarah currently leads cost estimating for BuildMat Insight, maintaining a proprietary database of 4,000+ material price points updated quarterly. She is a frequent contributor to RSMeans cost data panels and has presented at the International Cost Engineering Council (ICEC) congress. Based in Denver, CO, Sarah is an avid trail runner and volunteer mentor for Women in Construction.
More from Sarah Whitfield
View all
Wood & Lumber
What Are the Different Types of Wood? A Builder's Guide
Compare structural softwoods, finish hardwoods, and engineered lumber. Analyze Janka ratings, MOE values, and 2026 pricing for construction.
Aug 4, 2026

Walls & Panels
Steel Framing vs Wood Framing: Corrosion and Moisture Defense
Compare steel framing vs wood framing for moisture resistance. Learn about galvanized coatings, condensation risks, and corrosion protection strategies.
Jul 21, 2026

Stone & Masonry
How to Cut Stone Veneer: Wet Saw vs Grinder Comparison
Compare the best tools for cutting stone veneer. We review wet saws, angle grinders, and chop saws to help you achieve clean, chip-free cuts.
Jul 21, 2026