Corrosion Protection Strategies for Framing Inside a Steel Building
Learn how to prevent rust and condensation damage when framing inside a steel building. Compare G90 vs G185 coatings, thermal breaks, and vapor barriers.
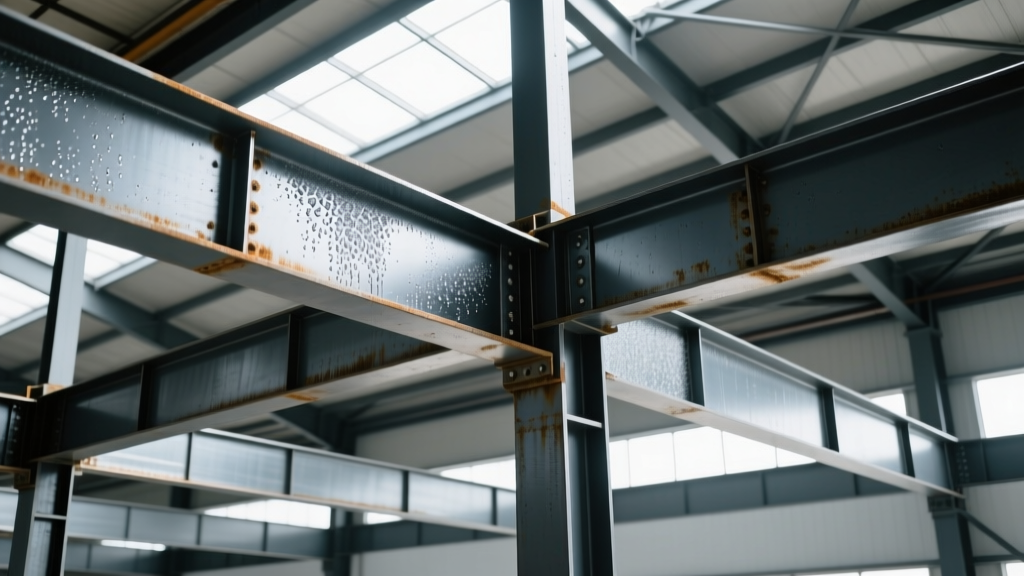
The Hidden Threat: Condensation-Driven Corrosion in Steel Interiors
When framing inside a steel building, the primary enemy is not structural overload, but condensation. The exterior metal cladding of a pre-engineered metal building (PEMB) acts as a Class I vapor retarder (perm rating < 0.1). When interior warm, moisture-laden air migrates outward during winter, it hits the cold interior surface of the exterior steel skin and condenses. If your interior framing is in direct contact with the exterior envelope, capillary action draws this moisture directly into the stud cavities, leading to rapid oxidation and structural degradation.
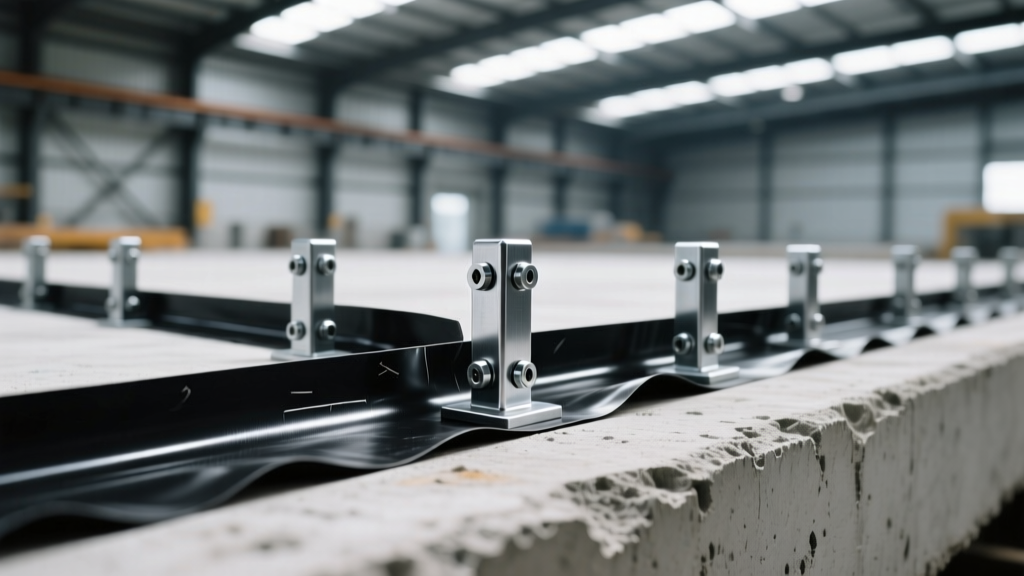
Decoding Galvanization: G60 vs. G90 vs. G185 for Interior Framing
The American Galvanizers Association outlines the differences between batch hot-dip and continuous galvanizing processes. For light-gauge steel framing (LSF), continuous galvanizing per ASTM A653 is the standard. The 'G' number refers to the total weight of the zinc coating on both sides of the steel sheet in ounces per square foot (oz/ft²). Selecting the correct coating weight is the first line of defense against interior corrosion.
| Coating Designation | Zinc Weight (oz/ft²) | Thickness (mils per side) | Best Application in Steel Buildings | Cost Premium vs G60 |
|---|---|---|---|---|
| G60 | 0.60 | ~0.50 | Interior non-load-bearing partitions in fully conditioned, climate-controlled office spaces. | Baseline |
| G90 | 0.90 | ~0.75 | Standard perimeter framing, exterior wall furring, and ceiling grids in standard commercial steel buildings. | +12% to +18% |
| G185 | 1.85 | ~1.50 | Perimeter framing in agricultural, wash-bay, indoor pool, or unconditioned warehouse environments. | +35% to +45% |
Critical Failure Points in Interior Steel Framing
Corrosion rarely occurs uniformly across a stud. It initiates at specific geometric and material intersections where moisture accumulates or galvanic cells form. When framing inside a steel building, inspect and protect these specific vulnerability zones:
- The Base Track (Sill): Concrete slabs wick ground moisture and emit alkaline vapor. The bottom track of your steel framing is highly susceptible to alkaline-induced zinc degradation and bottom-up rust.
- Envelope Penetrations: Where interior partition walls tie into the exterior girts or purlins. Dissimilar metal contact (e.g., zinc-coated studs against bare steel or aluminum girts) creates galvanic corrosion if moisture is present.
- HVAC Proximity: Framing located within 3 feet of uninsulated supply ducts or air handling units experiences localized dew-point drops, leading to 'sweating' directly onto the steel studs.
- Cut Ends and Punch-outs: Factory-applied galvanization does not cover field cuts or utility punch-outs. These exposed raw steel edges become immediate anodic sites for rust.
Step-by-Step Isolation and Protection Protocol
To achieve a zero-corrosion interior envelope, contractors must implement a physical and thermal isolation strategy. Follow this exact sequence when framing inside a steel building:
- Apply a Butyl Sill Sealant: Do not rely on standard polyethylene foam sill sealers. Apply a 40-mil butyl rubber membrane (e.g., Protecto Wrap BT25XL) to the concrete slab before laying the bottom track. Butyl remains pliable and blocks both liquid water and alkaline vapor.
- Install Thermal Break Tape: Before standing the studs, apply a 1/8-inch thick, closed-cell polyethylene thermal break tape to the outer flange of the studs that will face the exterior envelope. This prevents direct steel-to-steel contact with the exterior girts, eliminating thermal bridging and capillary moisture paths.
- Treat Field Cuts with Cold Galvanizing Compound: Keep an aerosol can of zinc-rich cold galvanizing compound (minimum 93% pure zinc in the dry film, meeting ASTM A780) on site. Spray all field cuts, drilled holes, and weld burns immediately after cutting.
- Upgrade Fastener Metallurgy: Standard zinc-plated drywall screws will rust and bleed through finishes. Use Type 410 stainless steel self-drilling screws with a corrosion-resistant zinc/aluminum flake coating for standard areas. For high-humidity zones, mandate Type 304 or 316 stainless steel fasteners.
Environmental Controls: Managing the Dew Point
Physical barriers must be paired with proper thermodynamics. According to the U.S. Department of Energy, vapor retarder placement is dictated by the climate zone. In a steel building, the exterior metal skin already serves as an exterior vapor barrier. Therefore, you must prevent interior moisture from entering the wall cavity in the first place.
For climate zones 4 through 8, install a Class II vapor retarder (such as kraft-faced fiberglass batts or a smart vapor retarder like MemBrain) on the warm-in-winter side (interior) of the framing. Alternatively, use closed-cell spray foam (ccSPF) applied directly to the interior side of the exterior metal panels. ccSPF acts as both a Class I vapor retarder and a thermal barrier, raising the temperature of the interior steel framing above the dew point, entirely eliminating condensation.
Real-World Cost Breakdown: Upgrading Your Framing Package
Upgrading your corrosion protection package adds upfront material costs but prevents catastrophic remediation expenses. Below is a comparative cost analysis for a 5,000 sq. ft. steel building perimeter framing package (based on 2026 material pricing):
| Material / Strategy | Standard Builder Grade (G60) | Corrosion-Resistant Upgrade (G90 + Isolation) |
|---|---|---|
| Studs (20-gauge, 8ft) | $1.45 / linear ft | $1.75 / linear ft |
| Bottom Track Sill Seal | $0.15 / linear ft (Foam) | $0.65 / linear ft (Butyl Membrane) |
| Thermal Break Tape | Not included | $0.35 / linear ft |
| Fasteners (Per 1000) | $28.00 (Zinc plated) | $65.00 (Type 410 SS coated) |
| Total Estimated Premium | Baseline | +$1,850 - $2,400 total project |
Expert FAQ: Troubleshooting Interior Rust
Q: I see white powdery deposits on my interior steel studs. Is the framing failing?
A: This is 'wet storage stain' or white rust (zinc oxide/zinc hydroxide). It occurs when newly galvanized steel is stored in damp, unventilated conditions before installation. While it looks alarming, it rarely compromises the structural integrity of the zinc coating. Wire-brush the white powder and apply a zinc-rich primer if the underlying steel is exposed.
Q: Can I use pressure-treated lumber for the bottom track instead of steel to avoid concrete corrosion?
A: Proceed with extreme caution. Modern pressure-treated lumber (PT) uses alkaline copper quaternary (ACQ) or copper azole (CA) preservatives. These copper-based chemicals are highly corrosive to standard galvanized steel and aluminum. If you must use PT lumber as a sill plate, you must separate it from the steel framing using a heavy-duty rubberized asphalt membrane or specify stainless steel fasteners and hardware.
Q: How do I handle corrosion where interior steel framing attaches to the primary structural I-beams?
A: The primary rigid frame is typically coated with a red-oxide or galvanized finish. When attaching interior LSF to these beams, avoid welding if possible, as it destroys the coating. Use powder-actuated fasteners or structural self-drilling screws. If welding is mandatory, grind the weld to bare metal, apply a zinc-rich primer, and topcoat with a polyurethane enamel to match the surrounding protection.
For further technical specifications on metal building envelope design and condensation control, consult the Metal Construction Association's technical resources. Proper material selection and isolation techniques during the framing phase are the most cost-effective ways to ensure the longevity of your steel building's interior.
Written by
Sarah WhitfieldSarah Whitfield is a chartered quantity surveyor (MRICS) and construction cost analyst with 15 years of experience in material pricing, procurement strategy, and project budgeting. She earned her degree in Construction Management from the University of Reading (UK) and has worked on projects ranging from $2M custom homes to $180M mixed-use developments across North America and Europe. Sarah currently leads cost estimating for BuildMat Insight, maintaining a proprietary database of 4,000+ material price points updated quarterly. She is a frequent contributor to RSMeans cost data panels and has presented at the International Cost Engineering Council (ICEC) congress. Based in Denver, CO, Sarah is an avid trail runner and volunteer mentor for Women in Construction.
More from Sarah Whitfield
View all
Wood & Lumber
What Are the Different Types of Wood? A Builder's Guide
Compare structural softwoods, finish hardwoods, and engineered lumber. Analyze Janka ratings, MOE values, and 2026 pricing for construction.
Aug 4, 2026
Walls & Panels
Steel Framing vs Wood Framing: Corrosion and Moisture Defense
Compare steel framing vs wood framing for moisture resistance. Learn about galvanized coatings, condensation risks, and corrosion protection strategies.
Jul 21, 2026

Stone & Masonry
How to Cut Stone Veneer: Wet Saw vs Grinder Comparison
Compare the best tools for cutting stone veneer. We review wet saws, angle grinders, and chop saws to help you achieve clean, chip-free cuts.
Jul 21, 2026