Hardwood Floor Stain Options: A Selection Framework by Wood Species
Master hardwood floor stain options with our pro selection framework. Learn how wood species, grain porosity, and undertones dictate your final finish.

The Core Variables in Stain Selection
Selecting from available hardwood floor stain options requires moving beyond simple color swatches. The final appearance of a stained floor is a chemical and physical interaction between the stain's pigments, the wood's cellular structure, and its natural extractives. A stain that looks like a rich espresso on open-grained Red Oak may turn out muddy and blotchy on closed-grained Maple. Professional flooring contractors rely on a selection framework based on three variables: grain porosity, natural undertones, and the chemical binder of the stain itself. According to the USDA Forest Products Laboratory, the anatomical differences between ring-porous and diffuse-porous woods dictate how deeply pigments penetrate the earlywood and latewood bands, fundamentally altering color depth and contrast.
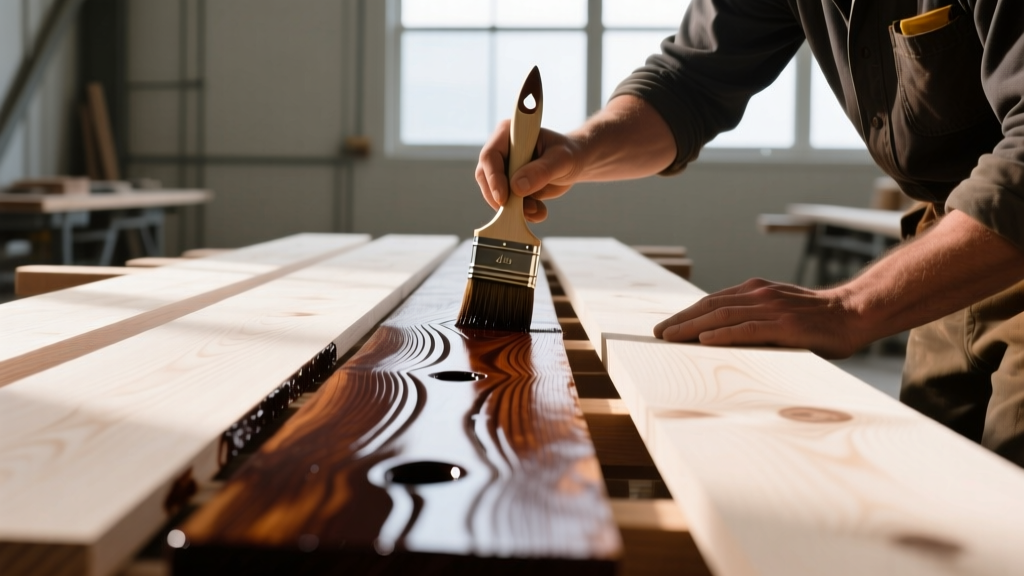
Wood Species Porosity & Stain Absorption Matrix
Before choosing a color, you must match the stain type to the wood's anatomical classification. Ring-porous woods have large earlywood vessels that absorb heavy pigment loads, creating high contrast. Diffuse-porous woods have uniform, smaller cells that resist deep penetration, requiring specialized conditioners or gel formulations.
| Wood Species | Grain Structure | Janka Hardness | Stain Behavior | Recommended Stain Type |
|---|---|---|---|---|
| Red Oak | Ring-porous | 1,290 lbf | High absorption; strong grain contrast. | Traditional oil-based penetrating stains. |
| White Oak | Ring-porous (tyloses plugged) | 1,360 lbf | Moderate absorption; tyloses block deep end-grain penetration. | Hardwax oils or water-popped oil stains. |
| Hard Maple | Diffuse-porous | 1,450 lbf | Low absorption; highly prone to blotchiness and lap marks. | Gel stains or pre-stain wood conditioners. |
| Hickory | Ring-porous | 1,820 lbf | Extreme density variation between early/latewood causes uneven staining. | Dye stains or diluted hardwax oils. |
| Brazilian Cherry | Diffuse-porous | 2,350 lbf | Natural oils resist penetration; darkens naturally via UV oxidation. | Clear sealers or light enhancing oils. |
Undertone Mapping: Neutralizing vs. Enhancing
Every wood species has a base undertone that will shift the final stain color. Ignoring color theory is the primary reason DIY and inexperienced contractor finishes look 'off'. When evaluating hardwood floor stain options, use the color wheel to either neutralize the wood's natural hue or enhance it.
Red & Orange Base Woods (Red Oak, Jatoba, Mahogany)
The Challenge: Applying a standard brown stain (like Minwax Dark Walnut) over Red Oak often results in a rust or cherry appearance because the yellow/red pigments in the stain amplify the wood's natural red extractives.
The Framework Fix: Use stains with a green or ash base to neutralize the red. Duraseal 'Antique Brown' or Bona 'Drifast' in cool-toned browns contain subtle green pigments that cancel out the red, yielding a true, neutral brown. For gray finishes, a pure gray stain will turn purple on Red Oak; you must mix in a drop of green or yellow pigment to counteract the shift.
Yellow & Tan Base Woods (White Oak, Ash, Pine)
The Challenge: White Oak has a yellow/tan base that shifts cool gray stains toward a muddy green or olive tone.
The Framework Fix: To achieve a true modern gray or greige on White Oak, contractors use a 'water-popping' technique to open the grain, followed by a stain with a slight violet or blue base to neutralize the yellow. Bona 'Classic Gray' is specifically formulated with these cool undertones to render a clean gray on White Oak without turning green.
Binder Chemistry: Penetrating Oils vs. Hardwax vs. Dyes
The vehicle that carries the pigment determines the floor's longevity, repairability, and cost. The National Wood Flooring Association (NWFA) categorizes finishes by their curing mechanisms, which directly impacts stain selection.
- Traditional Penetrating Oil Stains (e.g., Duraseal, Minwax Pro): These use linseed oil and mineral spirits to carry pigments deep into the wood. They require a separate topcoat (usually 2-3 coats of waterborne or oil-modified polyurethane). Material Cost: $0.40 - $0.60 per sq. ft. for stain, plus $1.20 - $1.80 per sq. ft. for polyurethane topcoats.
- Hardwax Oils (e.g., Rubio Monocoat Oil Plus 2C, Osmo Polyx): These combine stain and topcoat into a single molecular bond with the top microns of the wood cellulose. They do not build a surface film. Hardwax oils require the wood to be sanded to a finer grit (usually 150) and offer a matte, natural feel. Material Cost: $0.90 - $1.30 per sq. ft. (A 350ml kit of Rubio Monocoat costs ~$140 and covers ~400 sq. ft.).
- Reactive Dye Stains (e.g., Bona DriFast, Loba 2K Color): Used for extreme color changes or ebonizing. Dyes use microscopic colorants that penetrate closed-grain woods much deeper than macro-pigments. They are often paired with a clear sealer to lock in the color without muddying the grain.
Step-by-Step Sample Testing Protocol
Never commit to a full floor based on a manufacturer's printed swatch. Follow this exact protocol to test hardwood floor stain options on the actual jobsite material.
- Prepare Test Boards: Cut three 12-inch sections from the actual flooring batch being installed. Sand them using the exact same grit sequence planned for the full floor (e.g., 36 -> 60 -> 100 grit for traditional oil; up to 150 grit for hardwax oils).
- Water-Pop (If Required): For water-based stains or achieving darker colors on White Oak, wipe the board with a damp (not wet) sponge. This raises the grain and opens the pores. Wait 45 minutes for the moisture to equilibrate.
- Apply Stain: Apply the stain across the grain, then wipe with the grain. Use clean, lint-free cotton rags. Do not use paper towels, which leave micro-fibers that trap pigment and create a hazy finish.
- Cure and Topcoat: Allow the stain to cure for the manufacturer's specified time (usually 12-24 hours for oil, 4-6 hours for water-based). Apply one coat of your intended topcoat. Stains always look lighter when dry and shift color once a topcoat is applied.
- Evaluate in Situ: Place the samples in the room where the floor will be installed. Observe them under both natural daylight and the room's artificial lighting at night. LED lighting with a low CRI (Color Rendering Index) can drastically distort stain colors, making grays look blue and browns look green.
Common Failure Modes & Edge Cases
Even with the right product, improper application leads to costly rework. Anticipate these specific failure modes:
Tannin Bleed on White Oak
White Oak contains high levels of tannic acid. If you apply a waterborne polyurethane directly over a water-popped White Oak floor, the water in the finish will reactivate the tannins, causing yellow or brown streaks to bleed through the topcoat. The Fix: Always use a tannin-blocking sealer, such as Bona AmberSeal or a dewaxed shellac barrier coat, between the stain and the waterborne topcoat.
Blotchiness on Maple and Pine
Because Maple and Pine have highly irregular density patterns between earlywood and latewood, liquid stains absorb unevenly, creating dark, ugly splotches. The Fix: Avoid traditional liquid stains entirely. Use a high-quality gel stain (like General Finishes Gel Stain) which sits on the surface rather than penetrating, or apply a dedicated pre-stain wood conditioner to partially seal the pores before staining.
Lap Marks on Large Open Areas
When staining large, open-concept areas, the leading edge of the stain dries before the contractor can wipe it, leaving permanent, dark overlap lines. The Fix: Work in manageable 3-to-4 board width rows, maintaining a wet edge. Add a retarder (like Penetrol for oil-based stains) to slow the flash-off time in low-humidity environments, allowing more working time to blend the seams seamlessly.
Mastering hardwood floor stain options requires treating the process as a materials science exercise rather than a purely aesthetic one. By mapping the wood species to the correct stain chemistry, neutralizing natural undertones, and rigorously testing on-site, you ensure a durable, visually flawless finish that aligns with modern architectural standards.
Written by
Sarah WhitfieldSarah Whitfield is a chartered quantity surveyor (MRICS) and construction cost analyst with 15 years of experience in material pricing, procurement strategy, and project budgeting. She earned her degree in Construction Management from the University of Reading (UK) and has worked on projects ranging from $2M custom homes to $180M mixed-use developments across North America and Europe. Sarah currently leads cost estimating for BuildMat Insight, maintaining a proprietary database of 4,000+ material price points updated quarterly. She is a frequent contributor to RSMeans cost data panels and has presented at the International Cost Engineering Council (ICEC) congress. Based in Denver, CO, Sarah is an avid trail runner and volunteer mentor for Women in Construction.
More from Sarah Whitfield
View all
Wood & Lumber
What Are the Different Types of Wood? A Builder's Guide
Compare structural softwoods, finish hardwoods, and engineered lumber. Analyze Janka ratings, MOE values, and 2026 pricing for construction.
Aug 4, 2026

Walls & Panels
Steel Framing vs Wood Framing: Corrosion and Moisture Defense
Compare steel framing vs wood framing for moisture resistance. Learn about galvanized coatings, condensation risks, and corrosion protection strategies.
Jul 21, 2026

Stone & Masonry
How to Cut Stone Veneer: Wet Saw vs Grinder Comparison
Compare the best tools for cutting stone veneer. We review wet saws, angle grinders, and chop saws to help you achieve clean, chip-free cuts.
Jul 21, 2026